| Alteration In Princeton |
| Here we are in Princeton, NJ again. On this, our current job, we were hired as the General Contractor to take a tired looking home with numerous problems, and transform it (hopefully) into the dream house the owners,( Mike and Kathy Havardansky) have always wanted. I'll start out by putting a picture of the house before we started and as usual will picture guide you through the progress. Please be patient there are lots of pictures. |

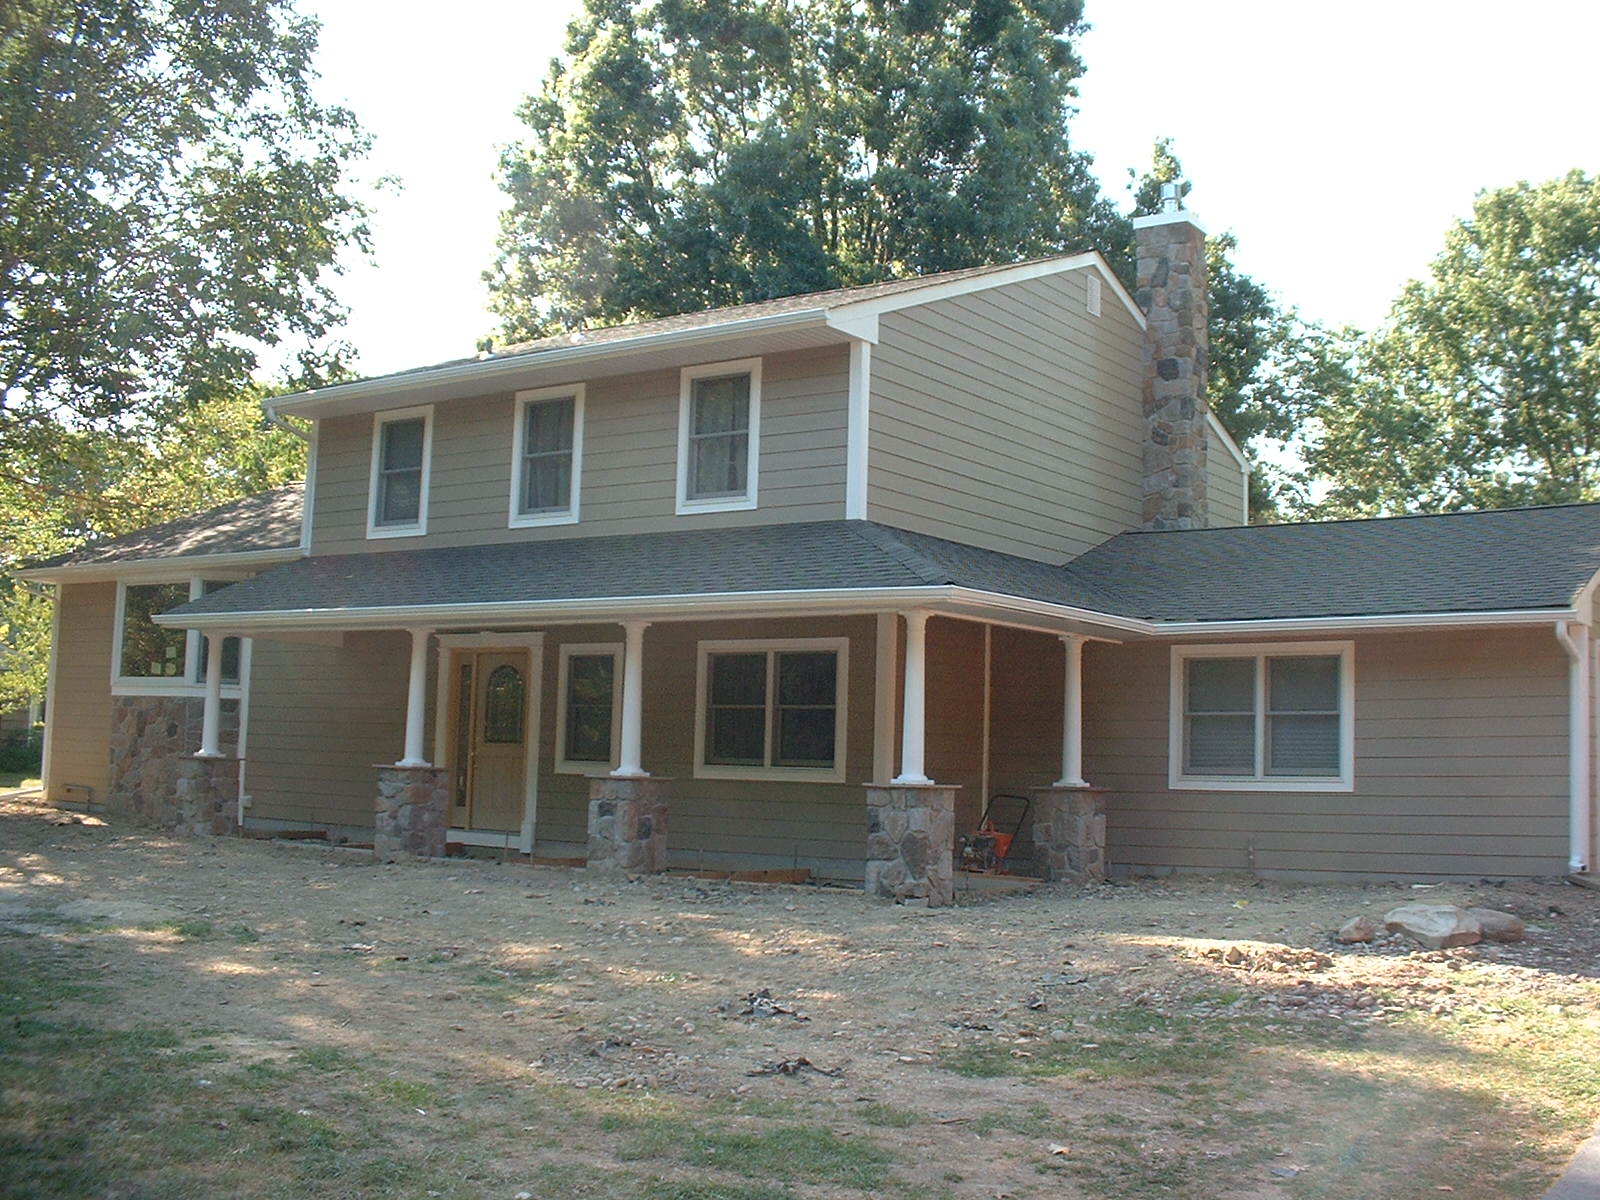
This is the before picture.
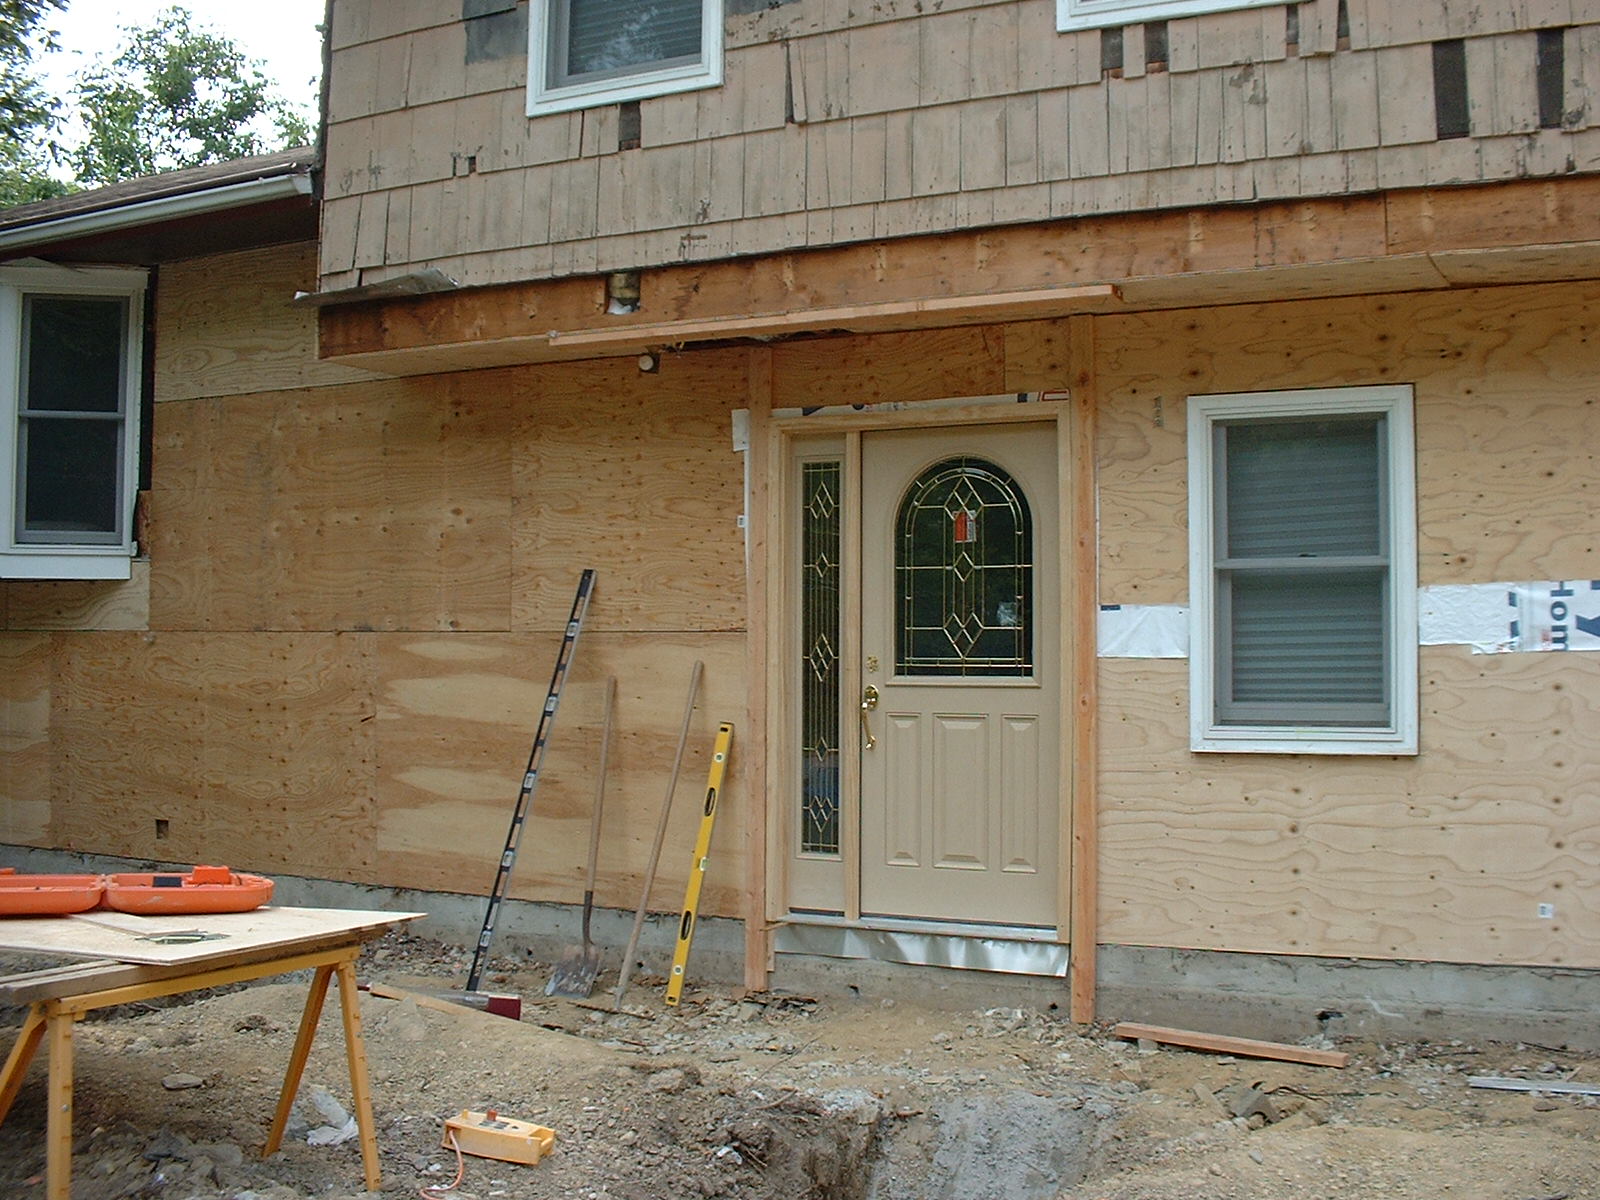
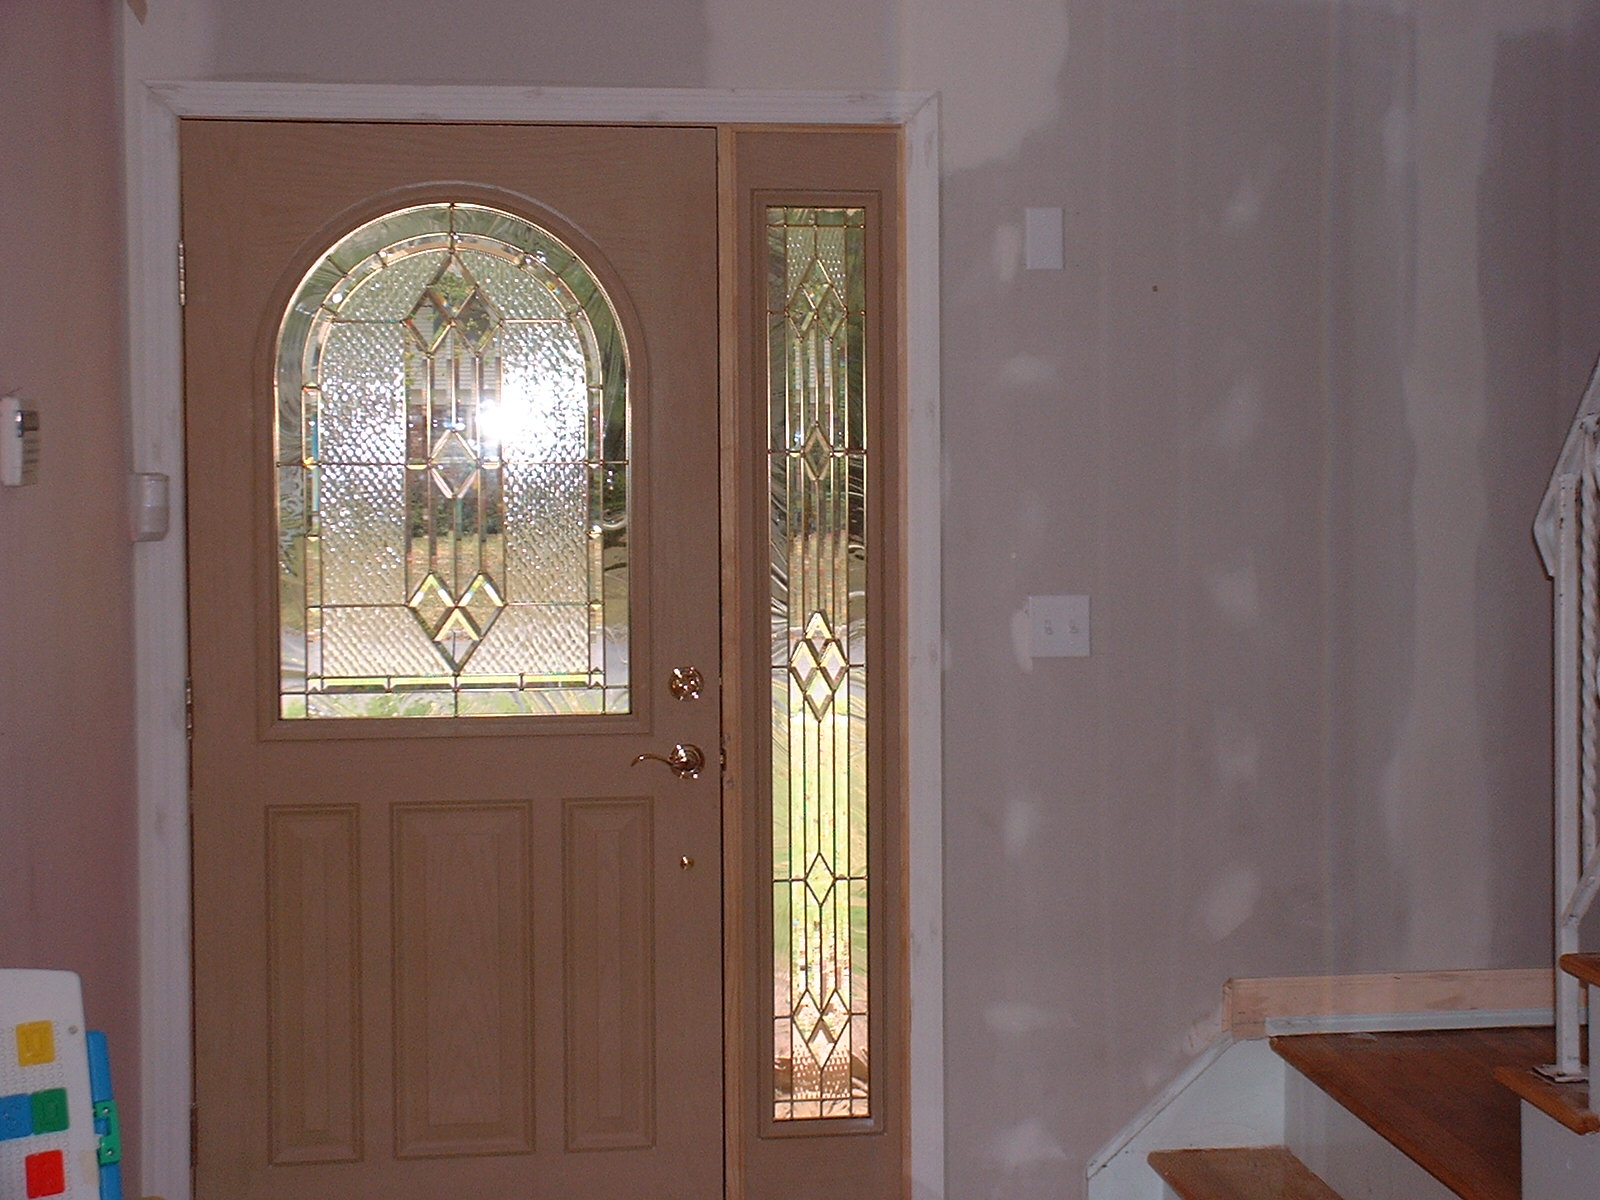
We are going to Install all new exterior
doors. The front door will be enlarged with a
sidelight. The porch will be torn down and a
wrap around porch will be installed. The
stucco will be ripped off and "Hardy Board"
siding will be installed. The roof will be
striped down to plywood and a new roof will
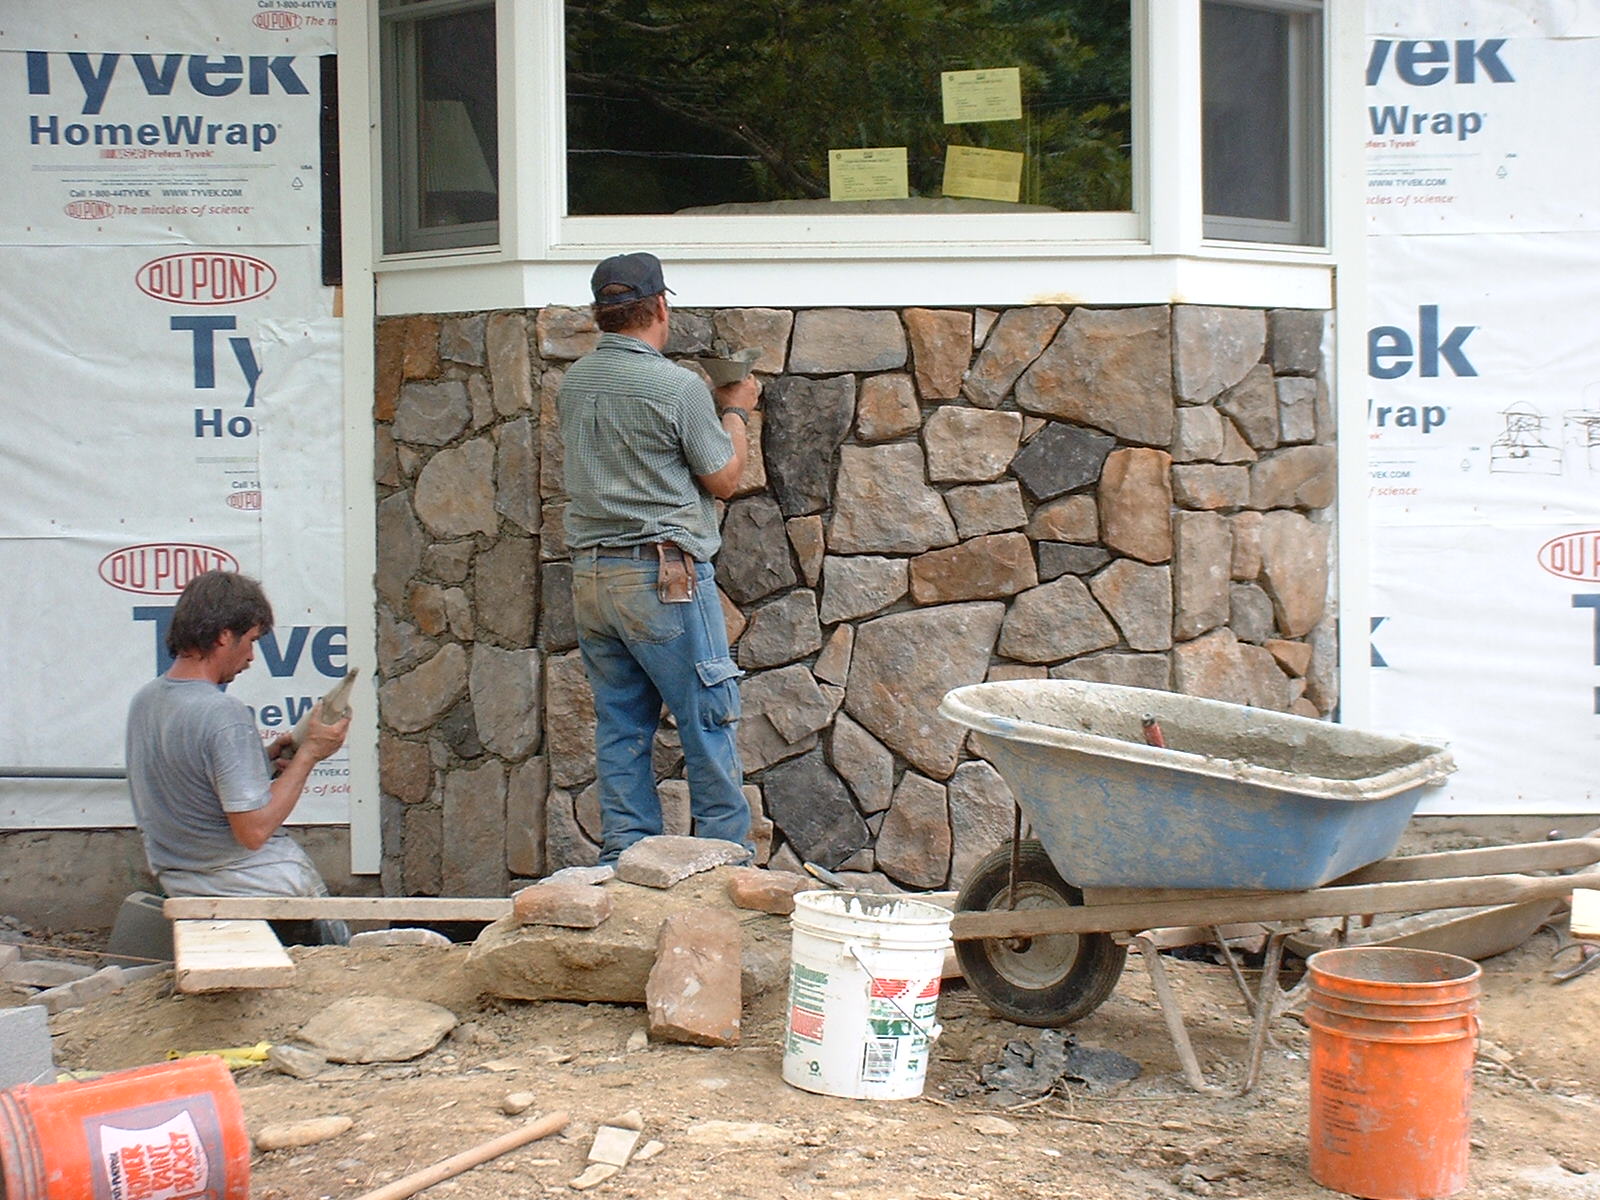
be installed. Cultured stone will be installed
under the bay window, on the support piers
for the porch, and on the new chimney
stack for the new gas fireplace. And much
much more...............
We are going to Install all new exterior
doors. The front door will be enlarged with a
sidelight. The porch will be torn down and a
wrap around porch will be installed. The
stucco will be ripped off and "Hardy Board"
siding will be installed. The roof will be
striped down to plywood and a new roof will
be installed. Cultured stone will be installed
under the bay window, on the support piers
for the porch, and on the new chimney
stack for the new gas fireplace. And much
much more...............
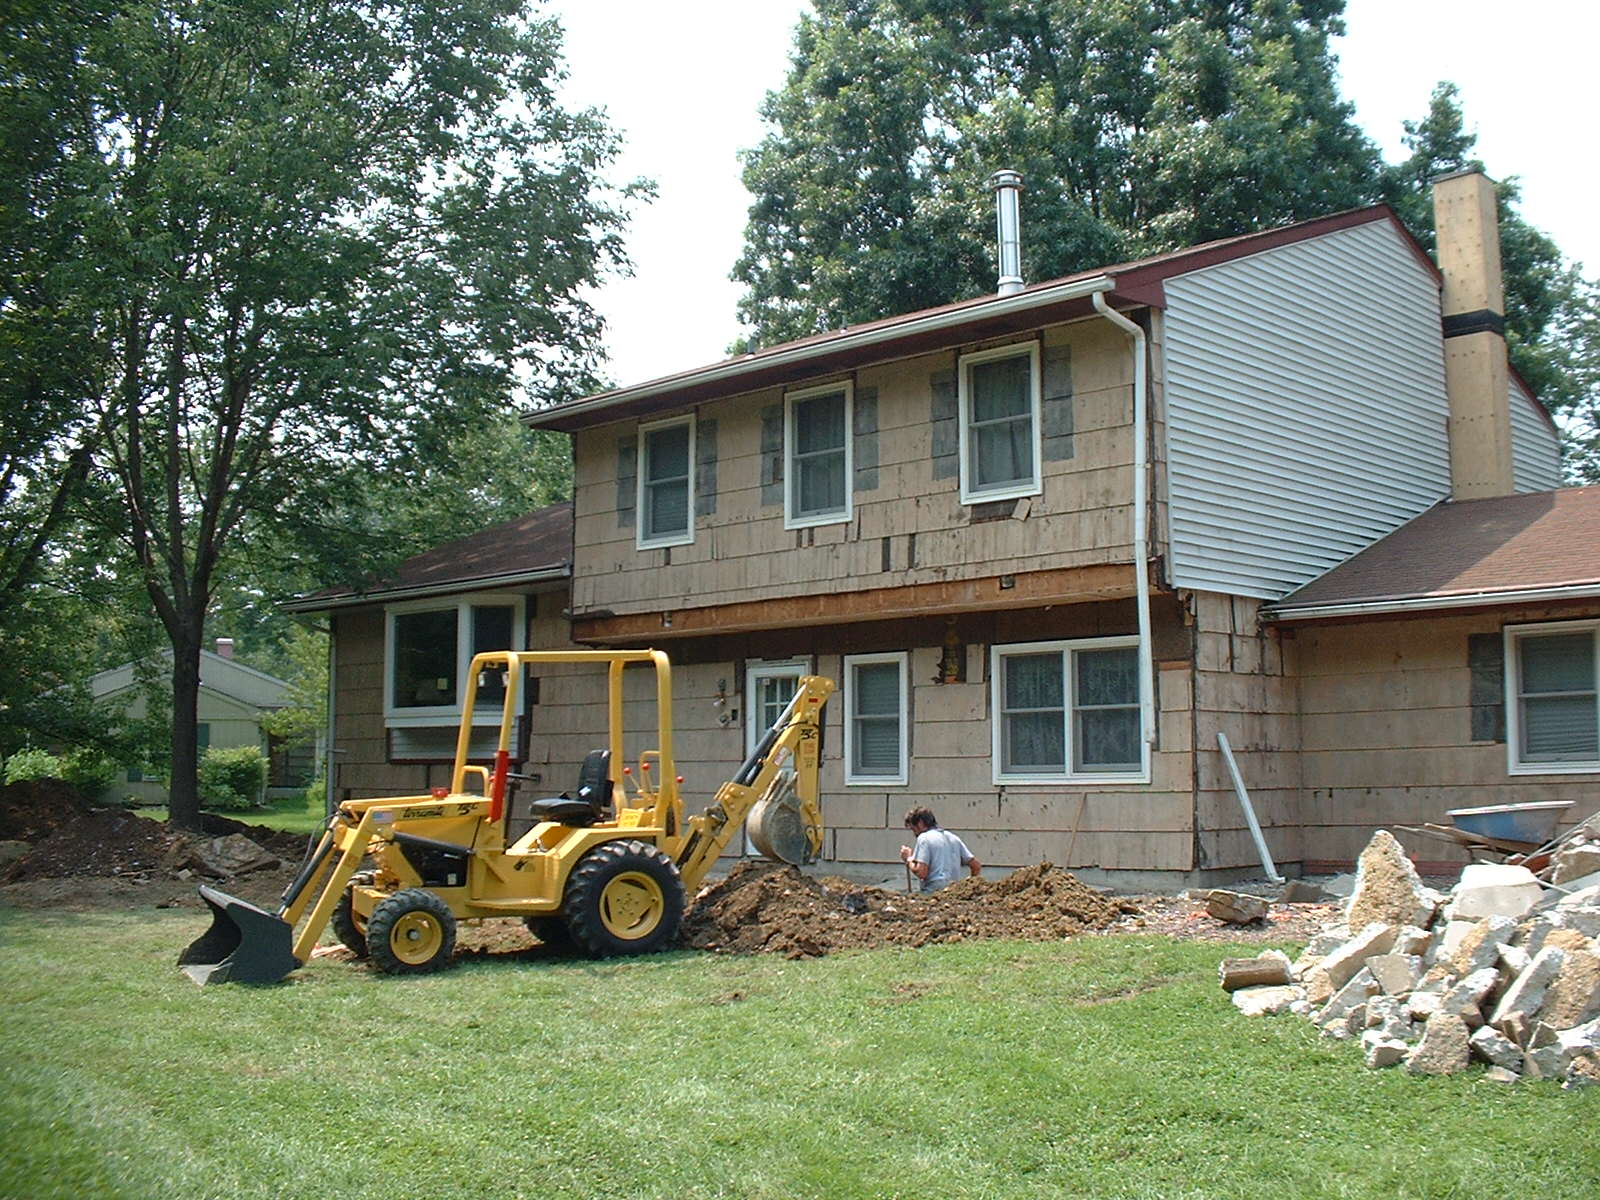


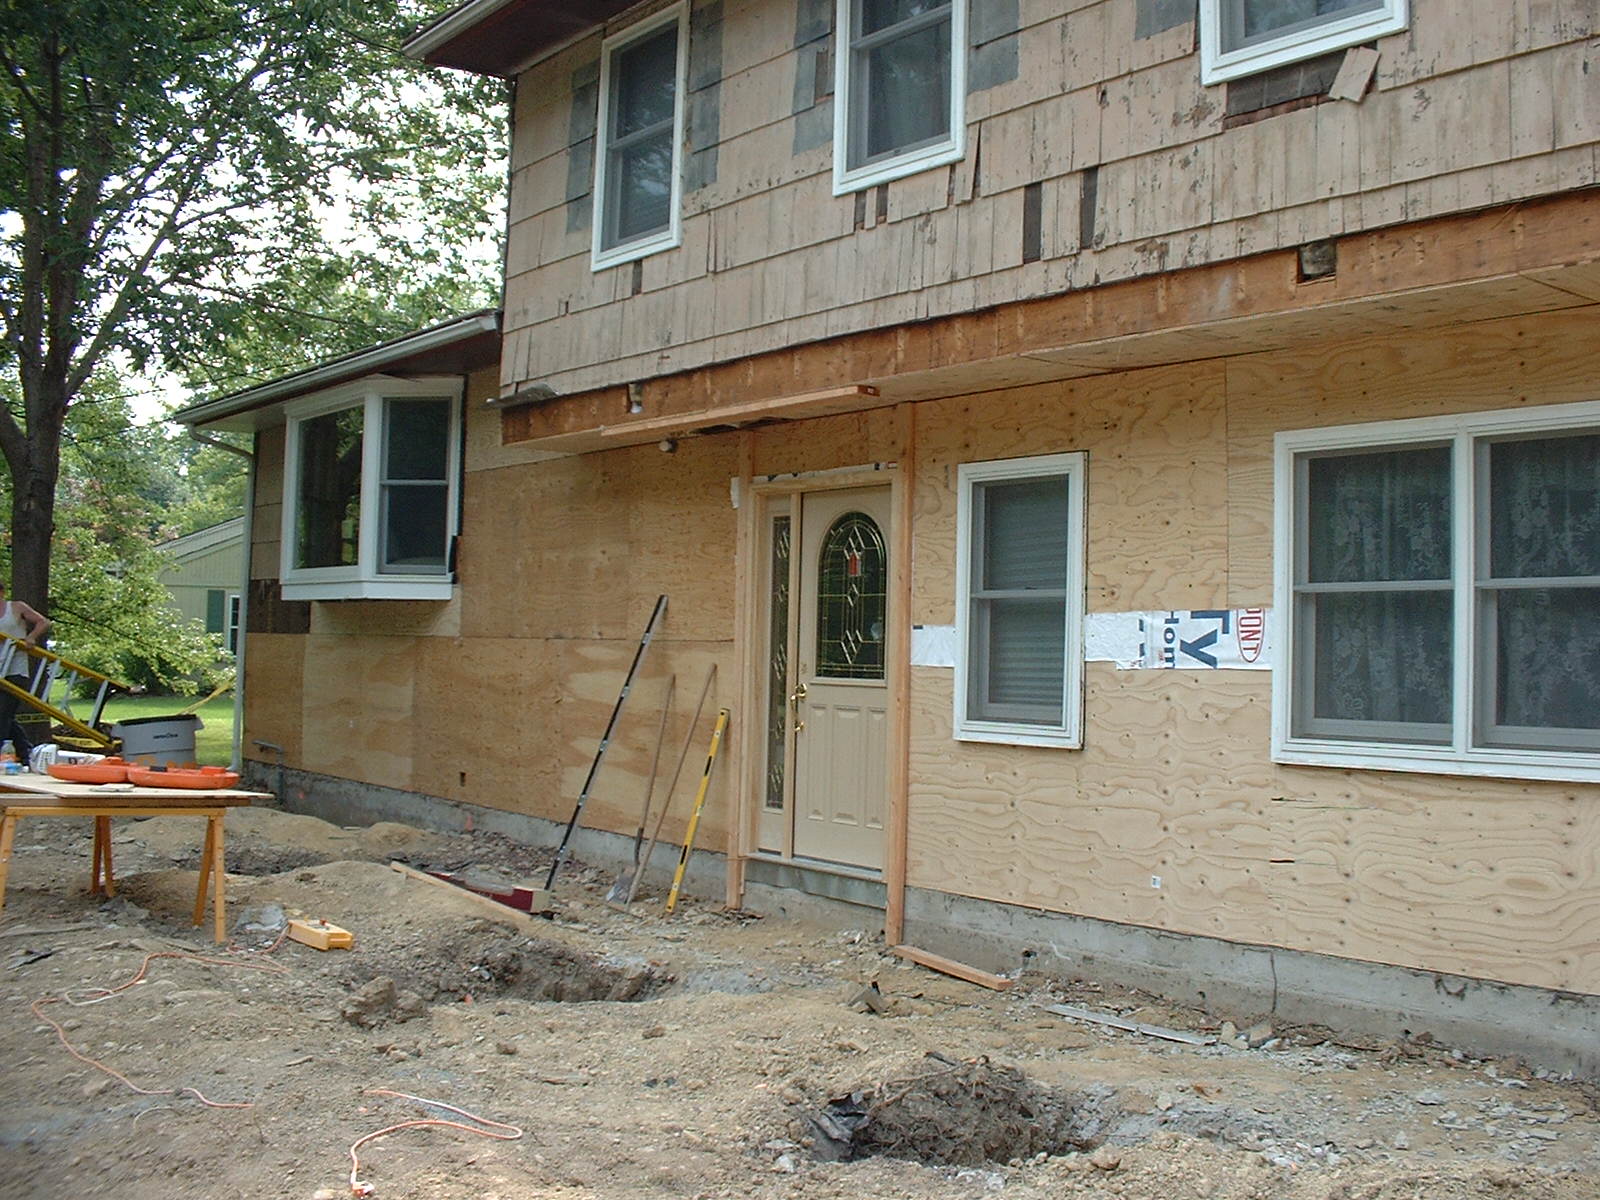
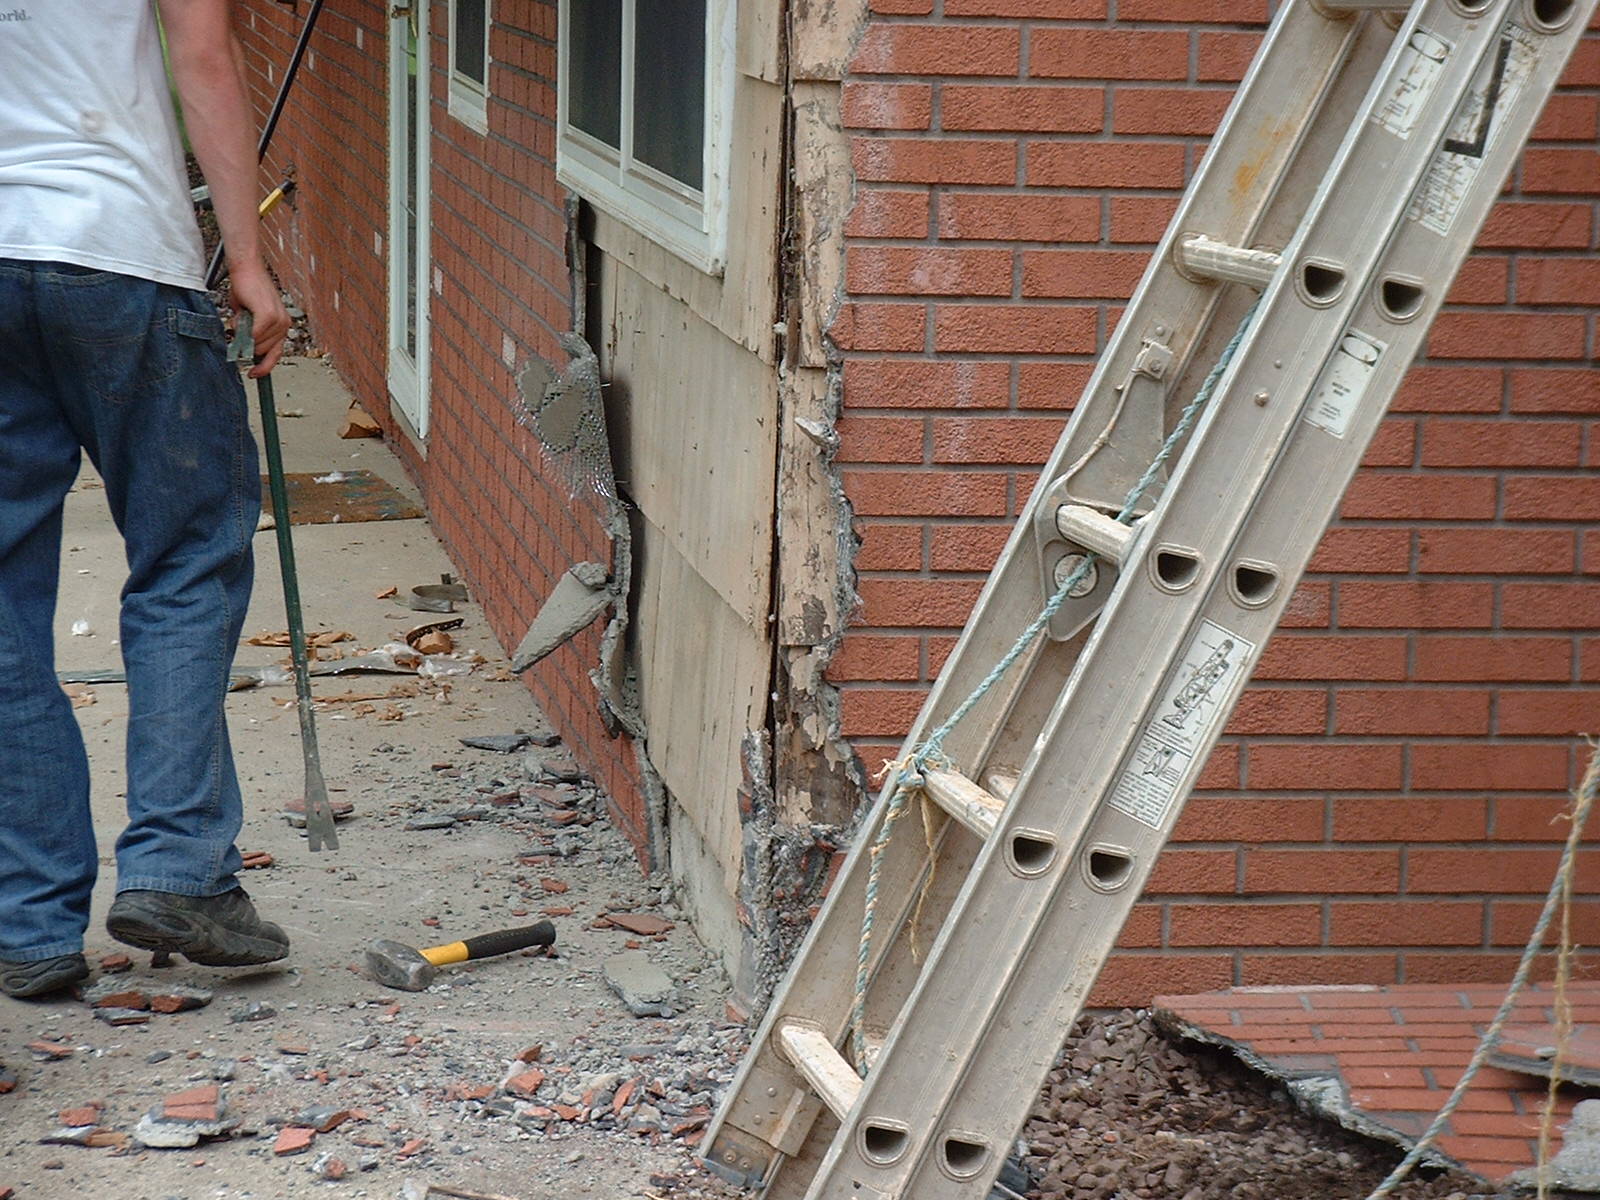
| On the pictures on the top right and left, we needed to take off the brickface stucco and the stucco on the top, so we could prepare for the new porch. Under the stucco was old shingles, and under the shingles was a compressed board that was used extensivly in the late 60's and 70's. There were parts of this material that had gotten moisture and was falling apart. It was decided to tear off all of this material and sheath the house with 1/2" plywood. But once we started to take off the old sheathing we found that at one time the house was infested with mice, which had tunneled through the insulation. Some of the insulation was completely gone in sections. So, we replaced all the bad insulation also. This kind of put a kink in my schedule. The machine was there to remove the old concrete porch slab, and dig footings for the porch piers and the base for the bay window, which is to get cultured stone. |


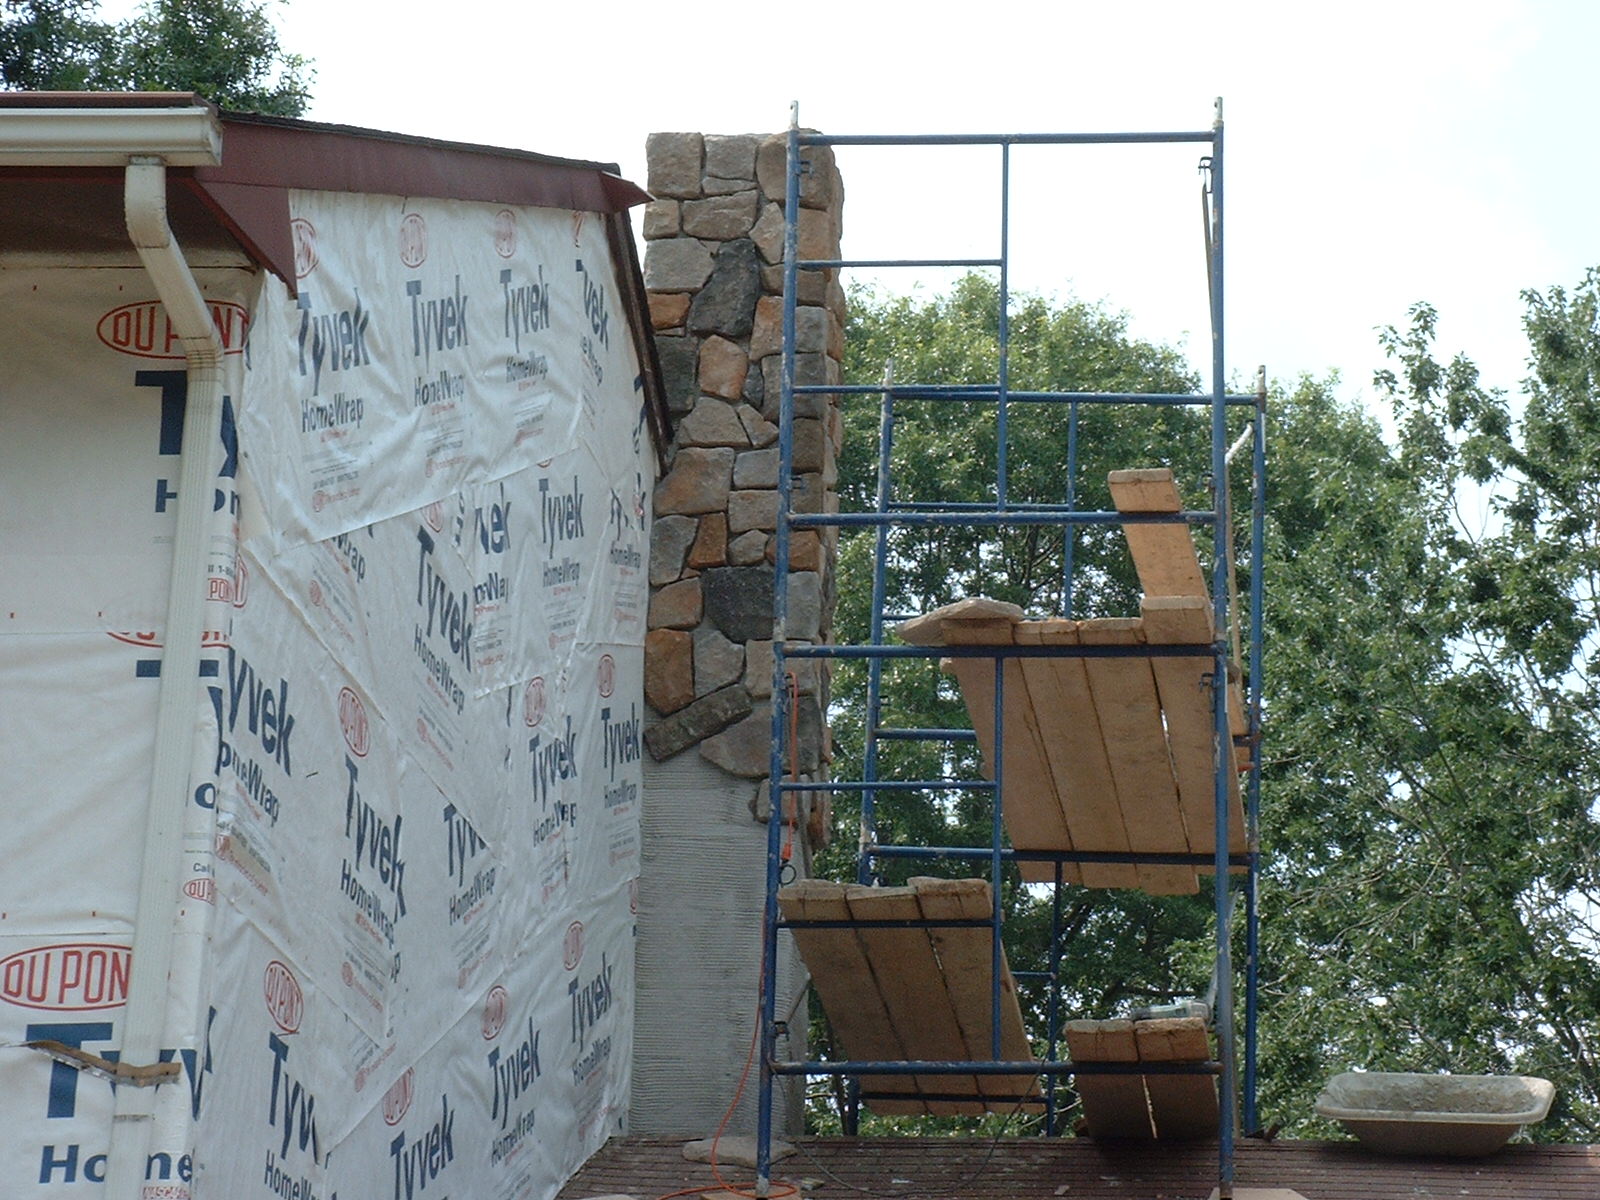
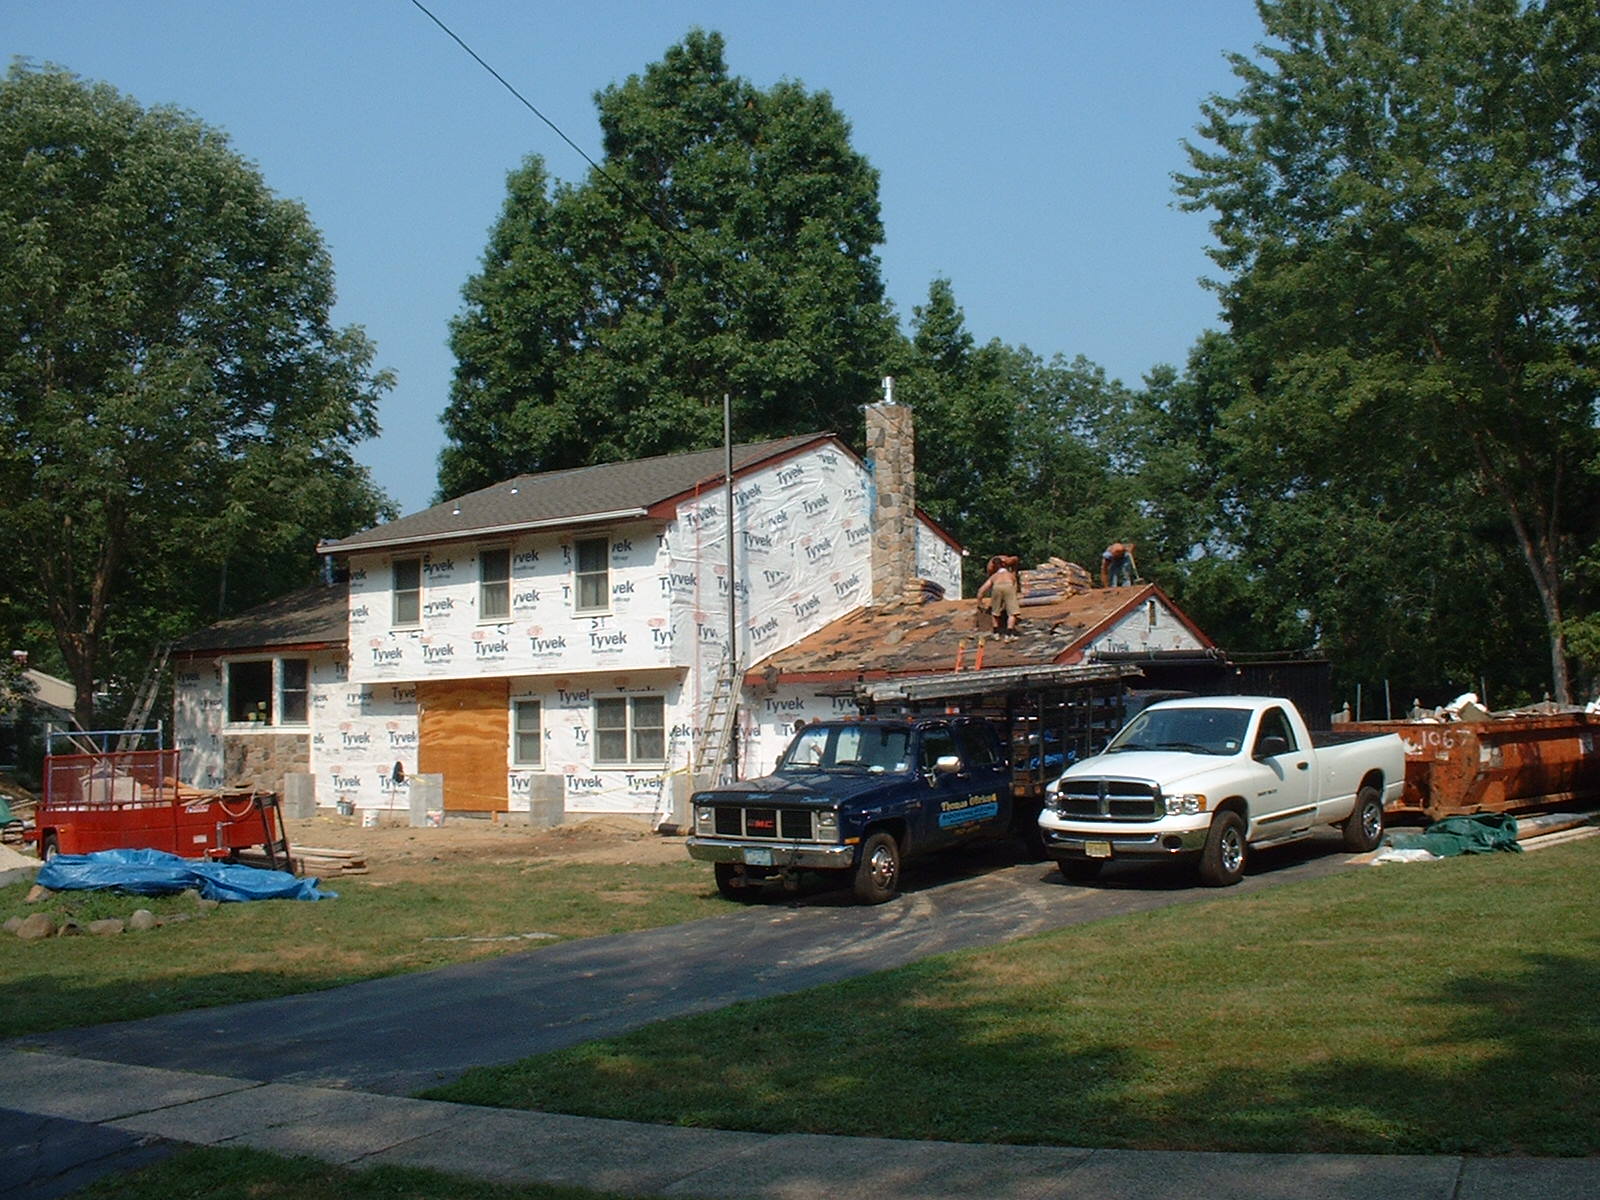
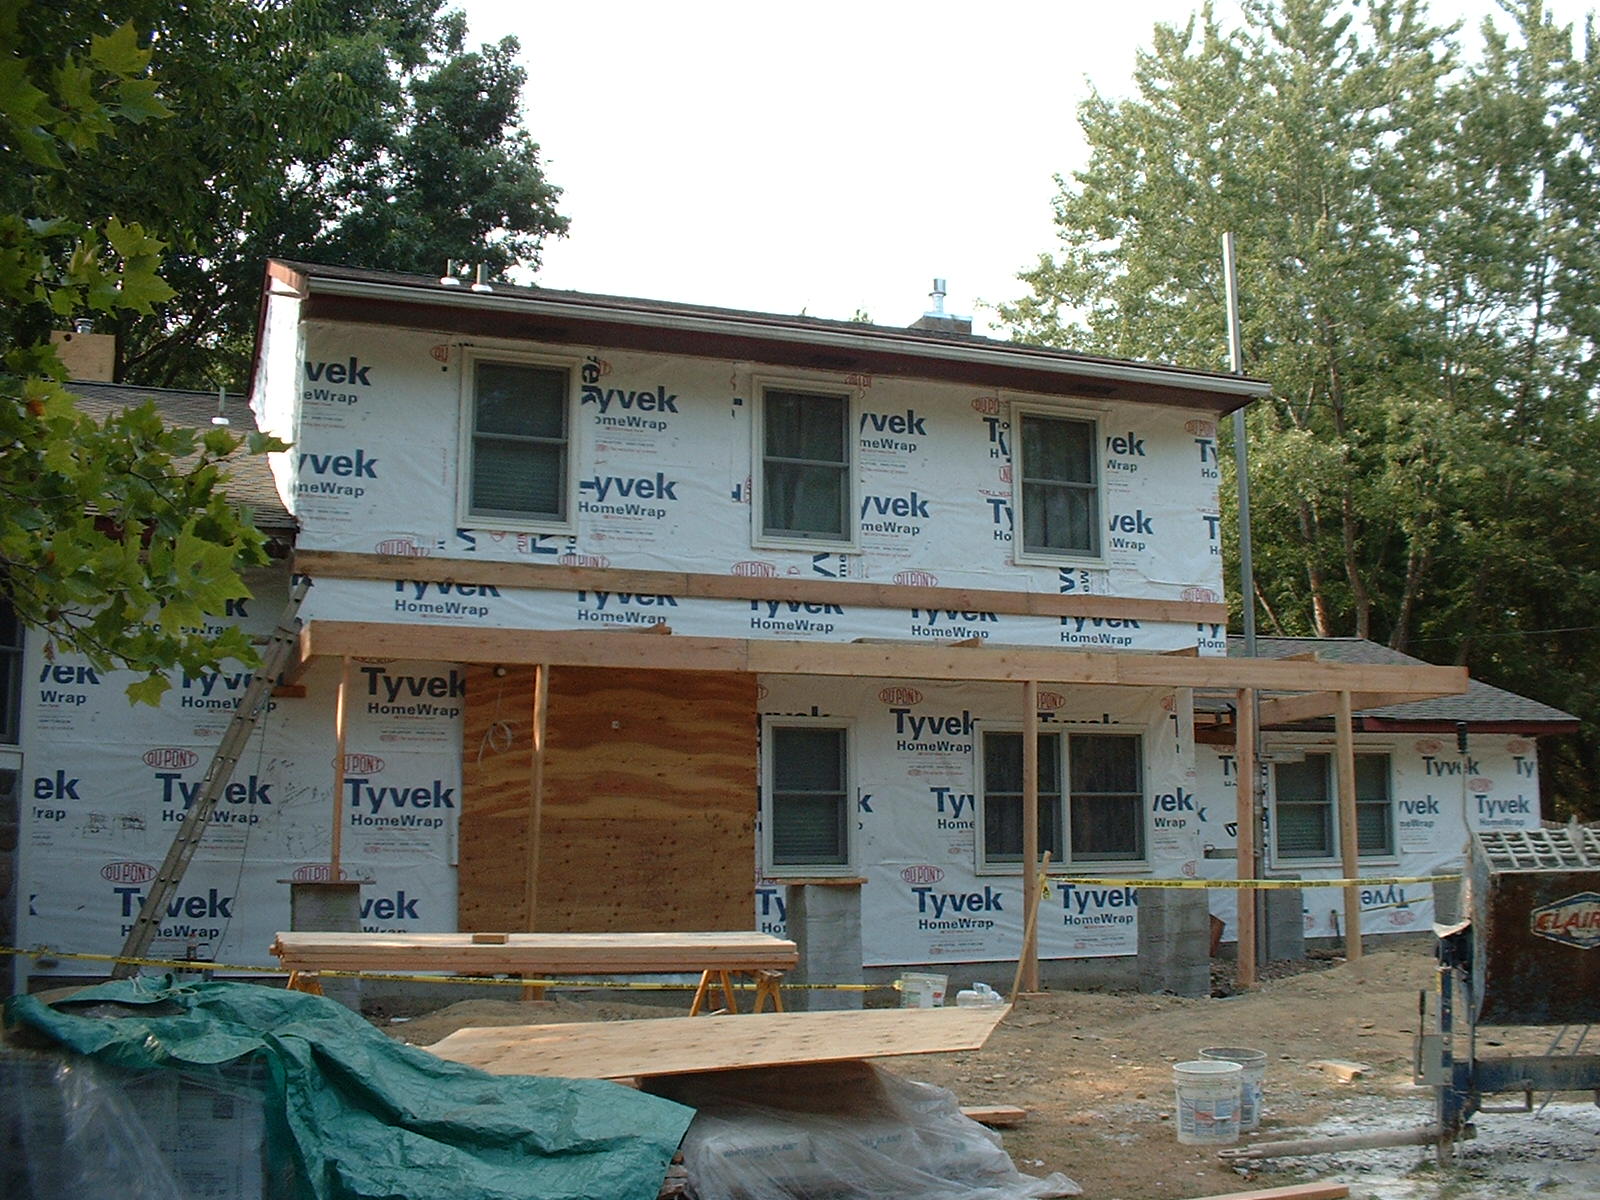
| The sheathing is now almost completely finished(just the garage needs to be done) and the house is wrapped in "TYVEK". We are ready to start the cultured stone work on the chimney stack. The new gas fireplace will be installed this week also. Did I mention that for three weeks the heat index was about 110 degrees? |

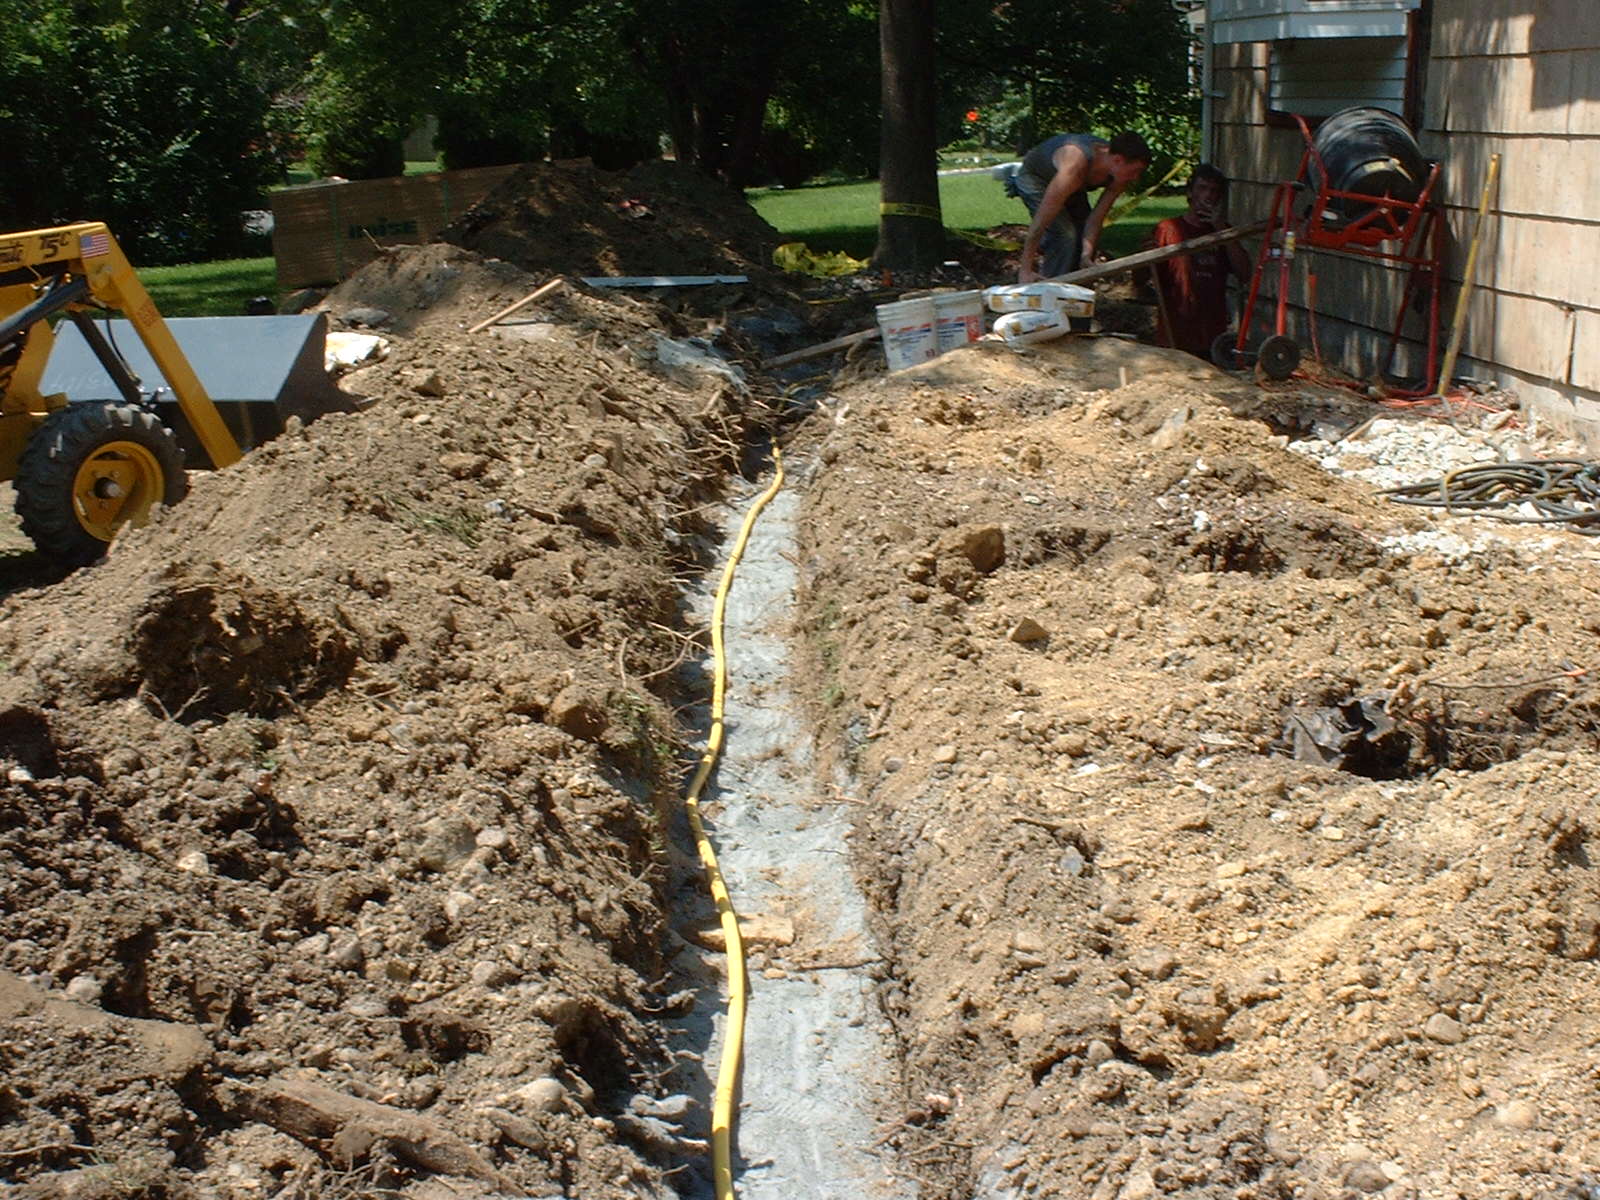

| The holes for the porch piers are dug, the gas line is extended from the main basement through the front yard and into the garage for the new gas fireplace. The cultured stone is now ready to be jointed. The garage is now re-sheathed and wrapped. |


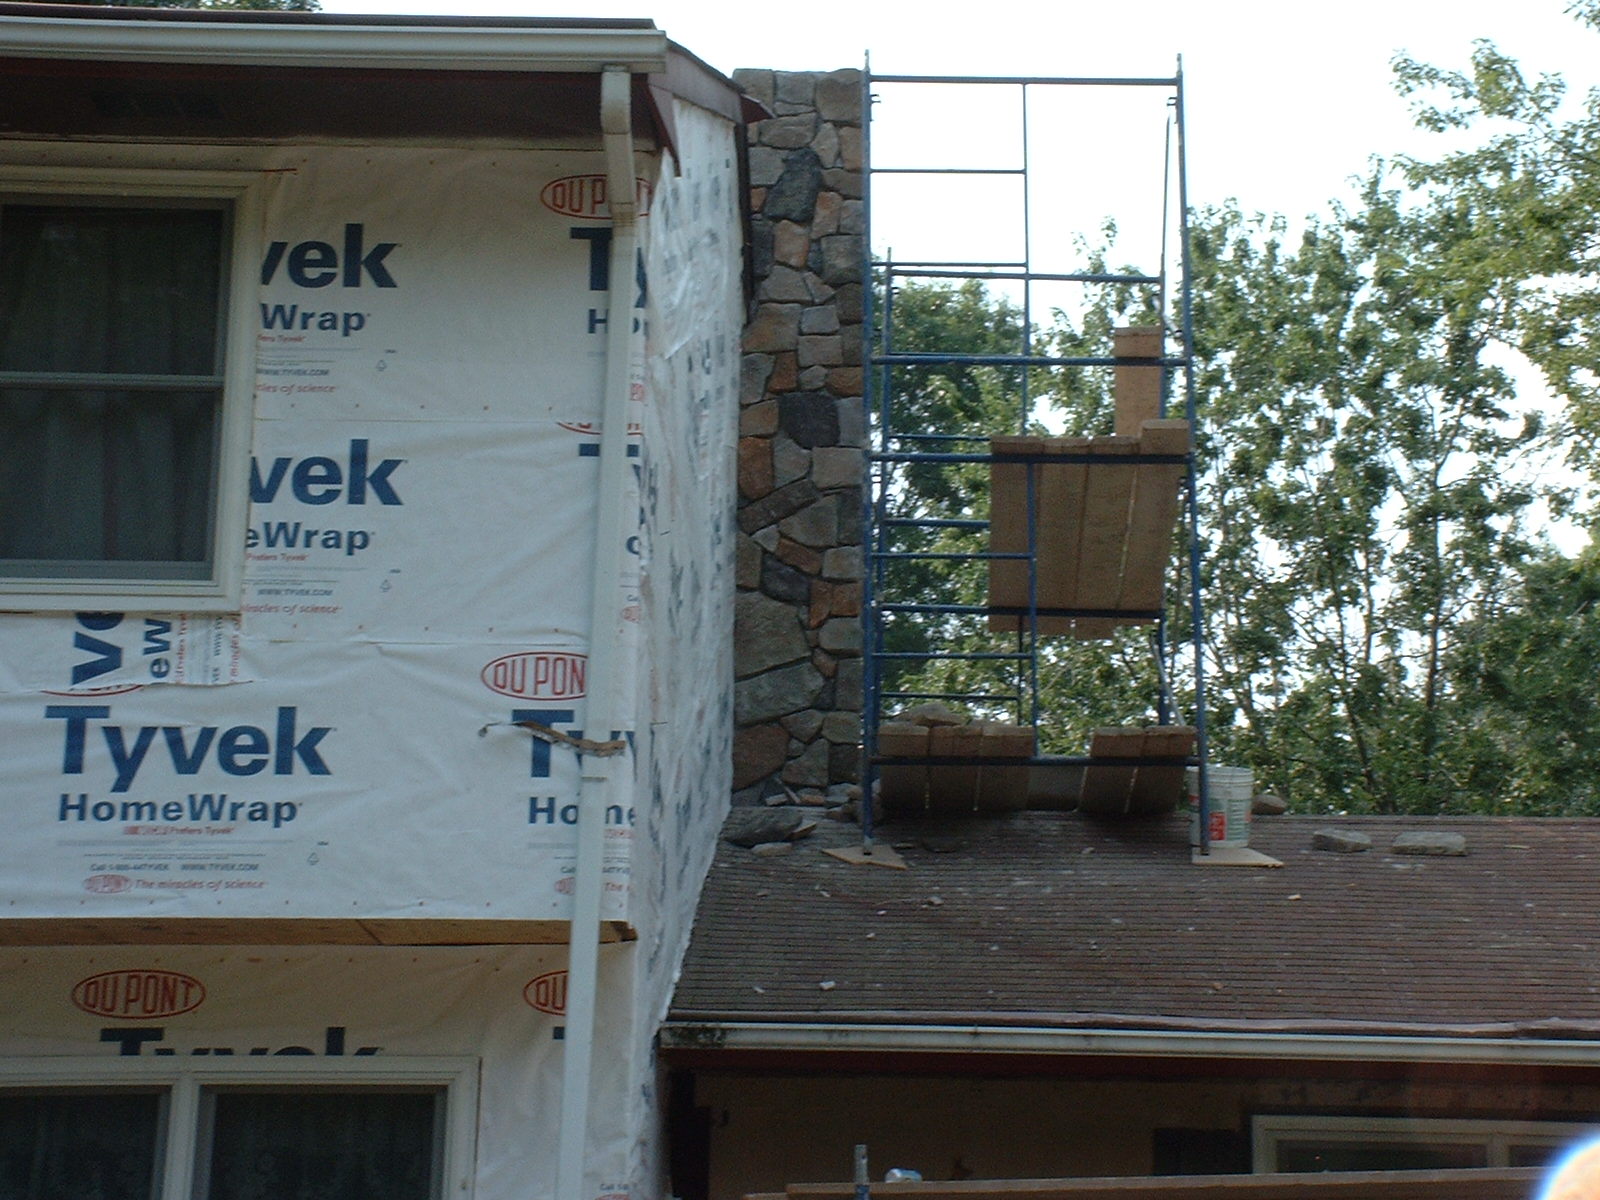
| The Chimney is now complete and ready for the new fireplace to be installed.The cultured stone on the bay window and piers for the porch will be next. We altered the plans a little, because as the job progresses you can see how some changes will enhance the total project. One of the big changes was the detail under the bay window, the plans called for partial stone on the bottom and AZEK frame on top. I convinced the owners to go all the way up with the stone, and well look at the pictures and tell me if I was wrong. |


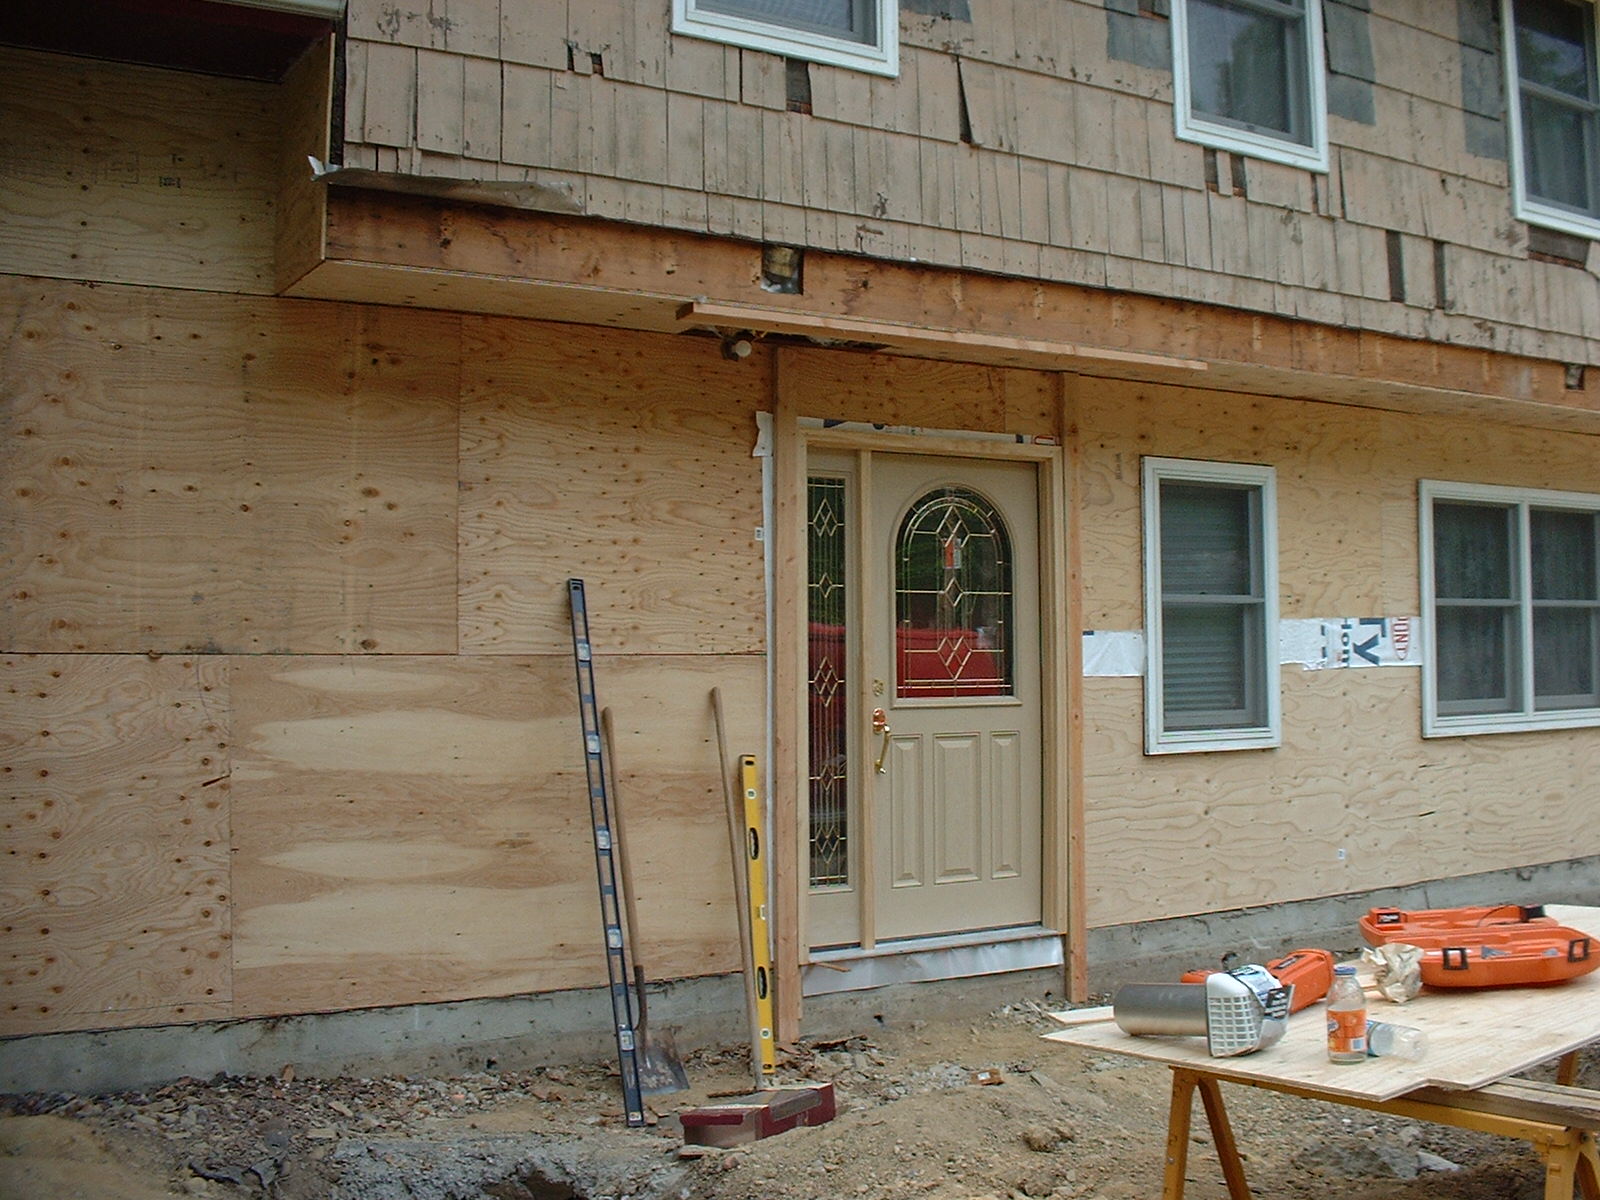
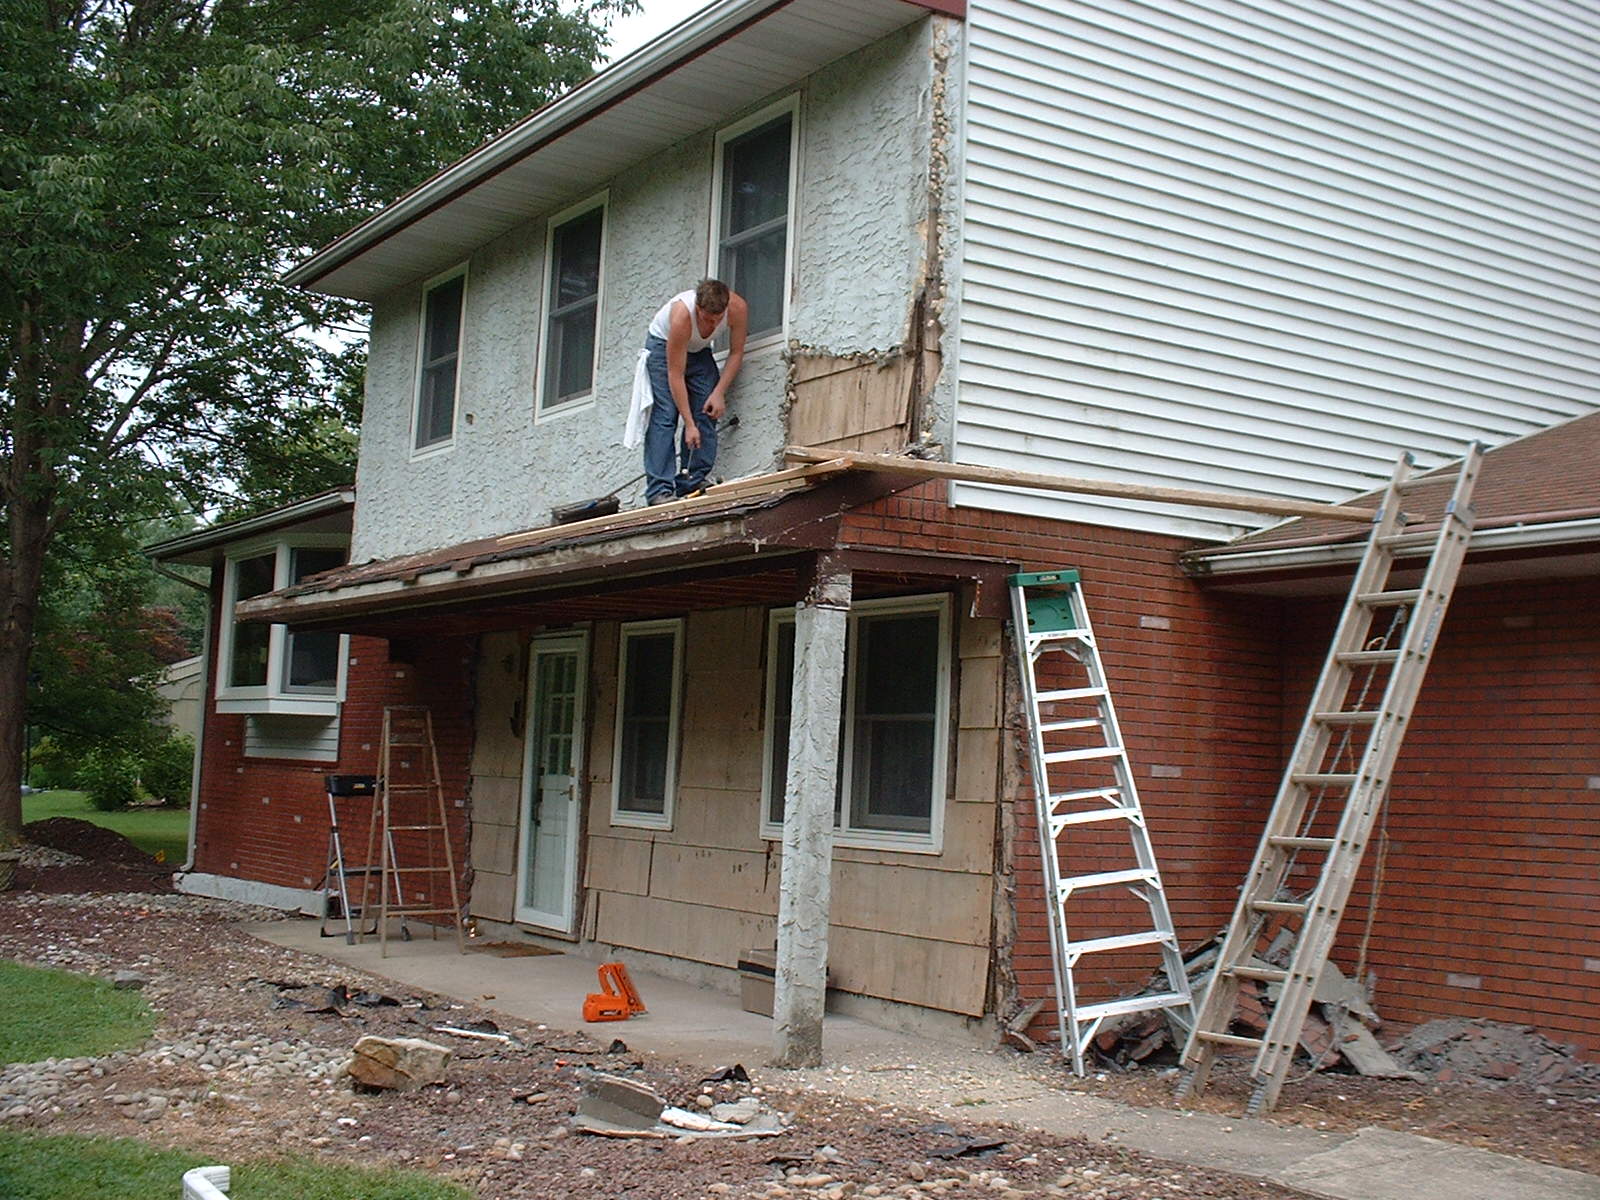


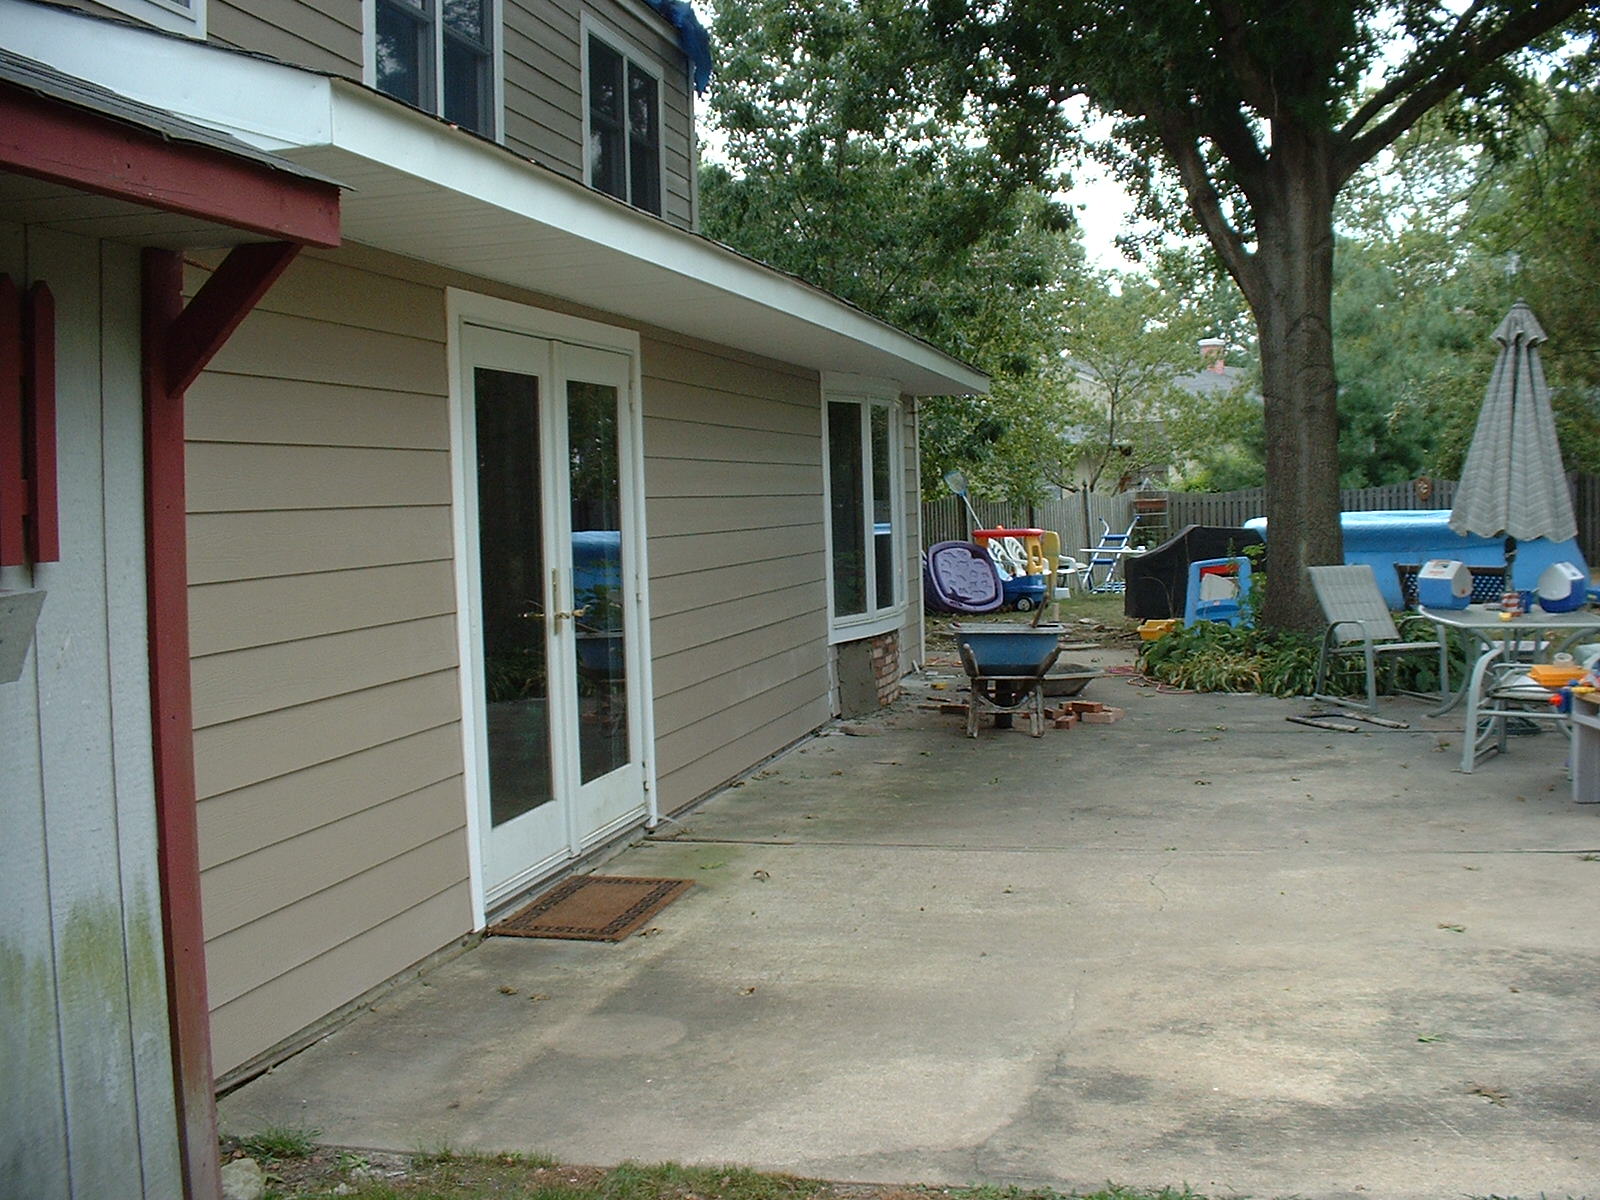
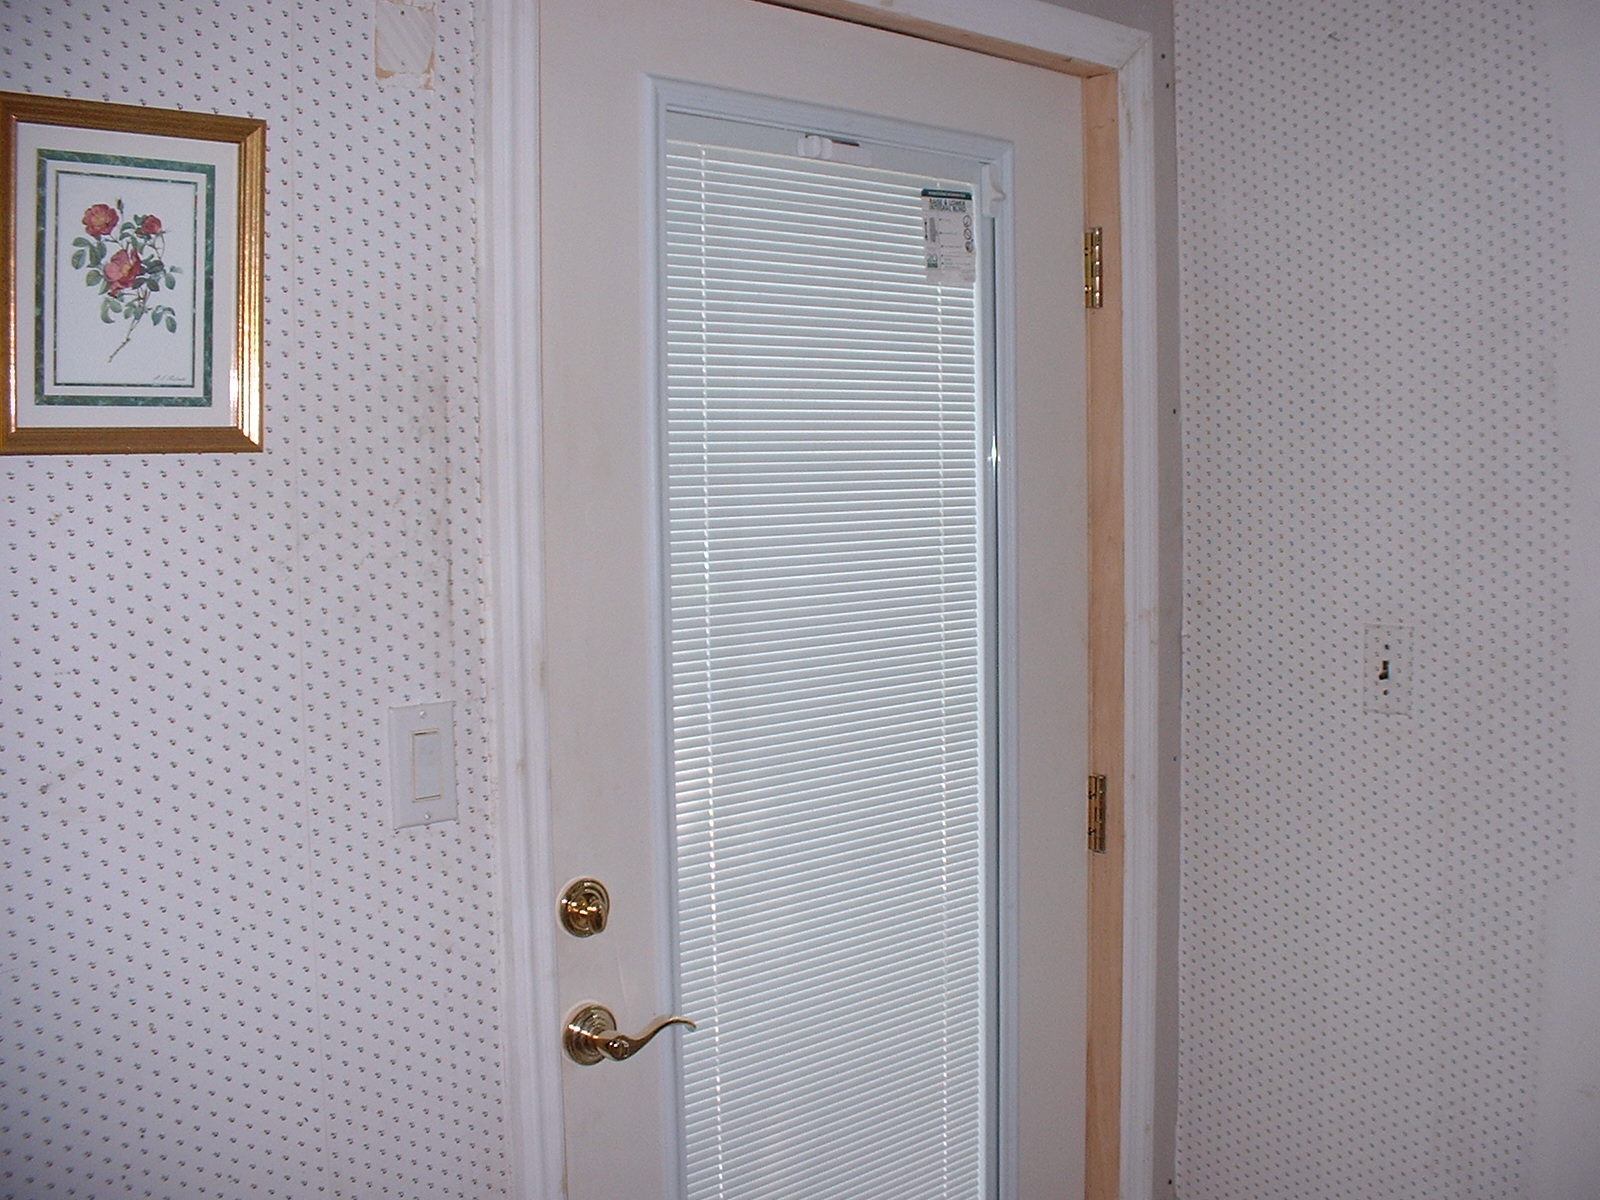
| Before we got the permits for this job(which was a job in itself) We removed the old back door and installed a "Therma Tru" door with built in blinds. In these pictures on the right and left, you can see the process of taking off the stucco. We used the old fashioned muscle method. This created alot of debris, which had to be carried off in a dumpster just for the masonry. The old, cracked,concrete walkway was also taken out and disposed of. |
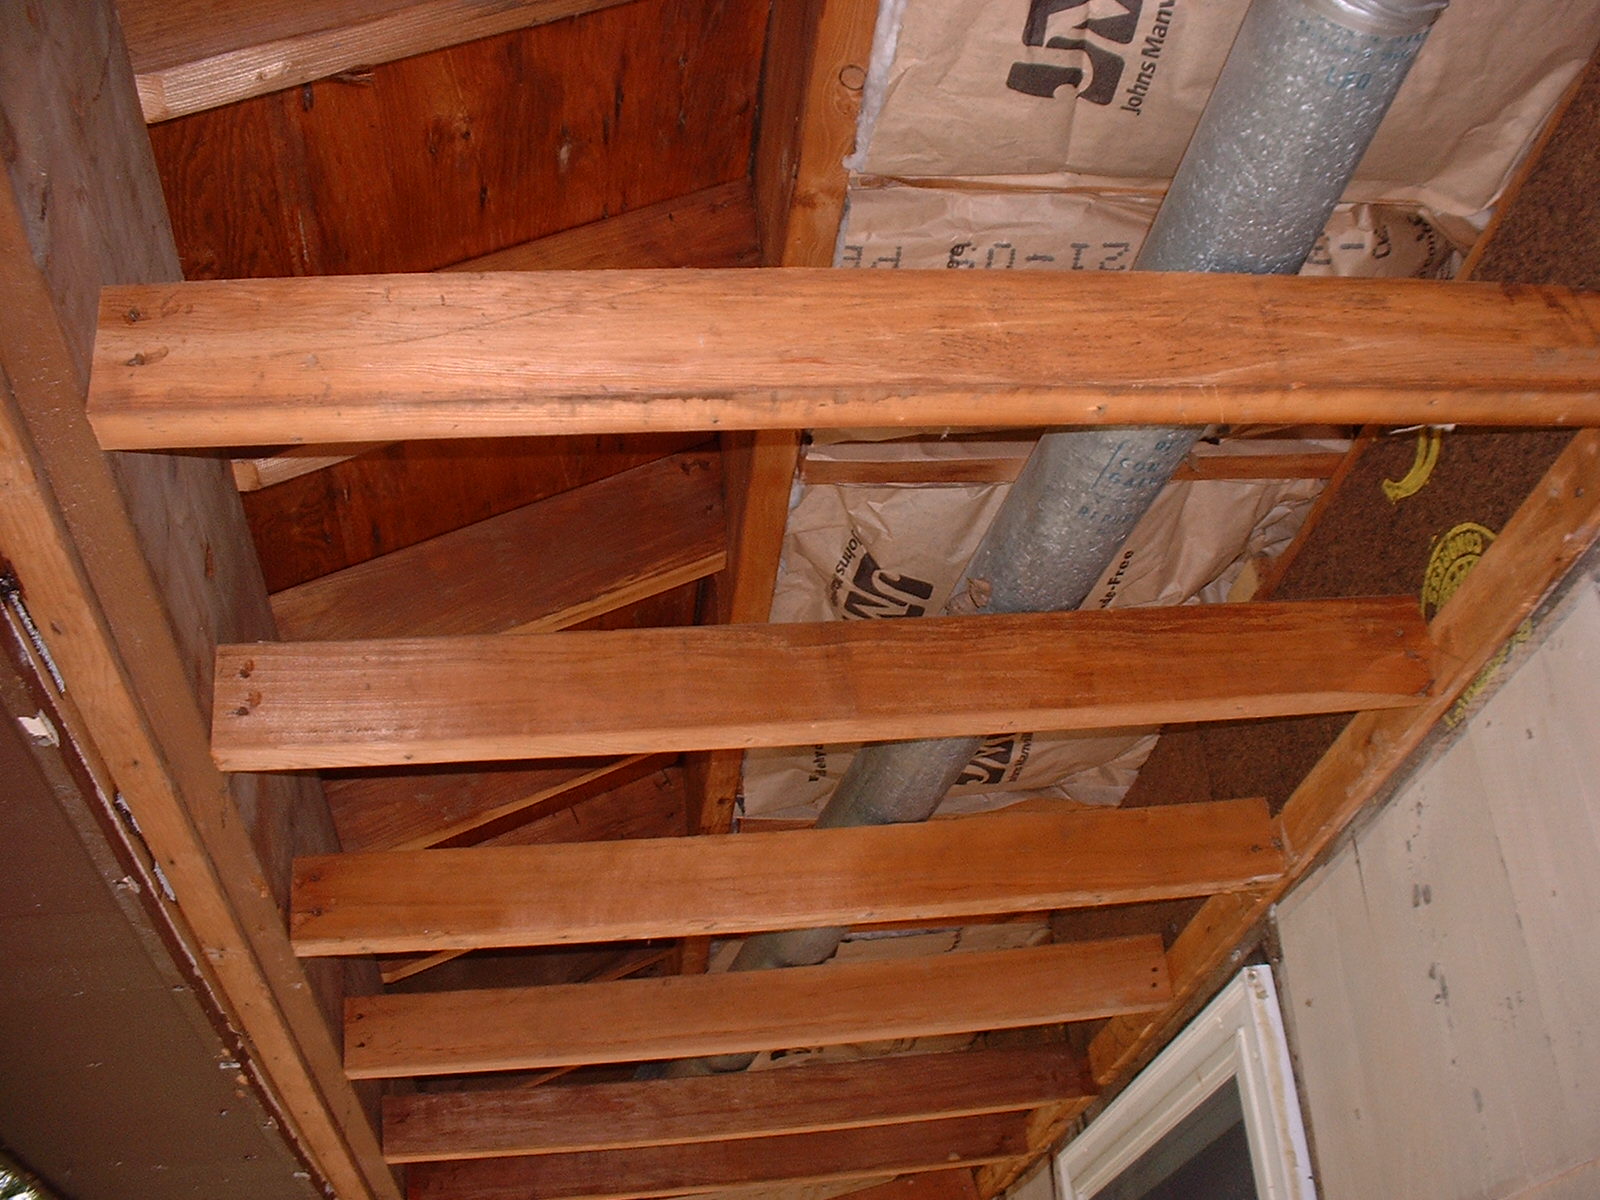


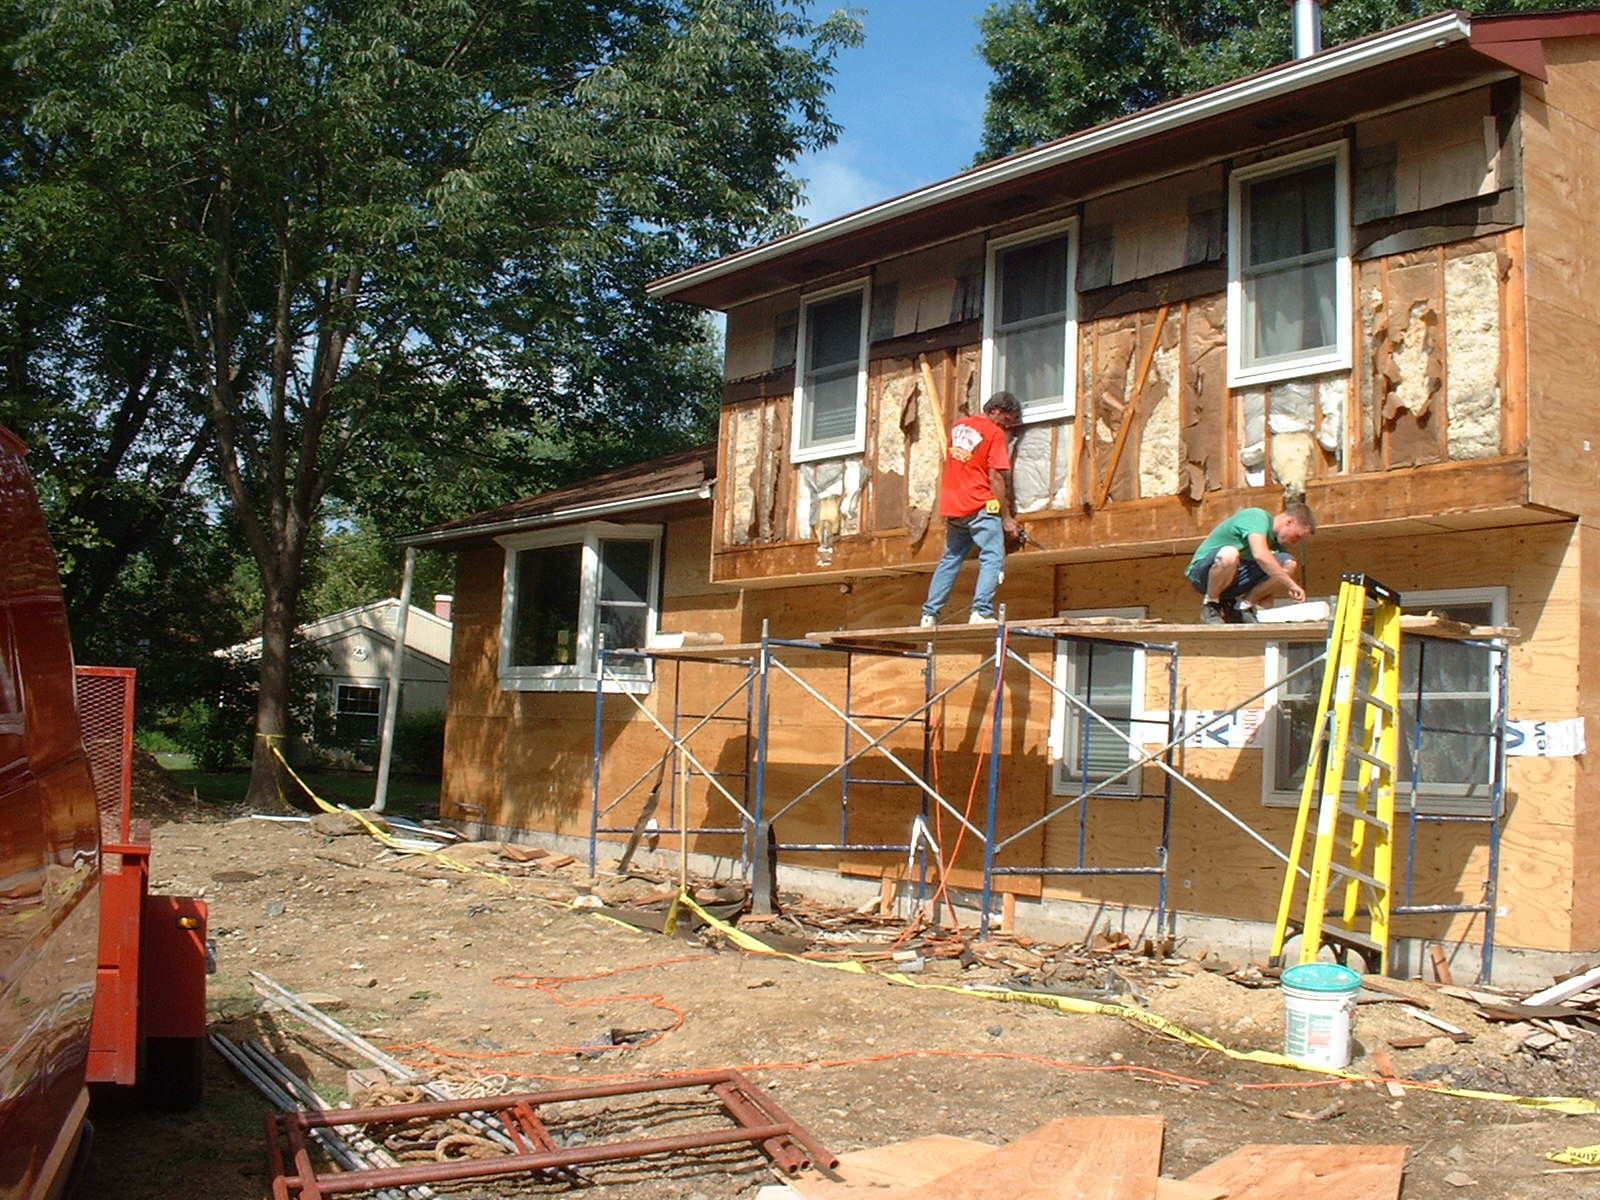
In the pictures above, we found that the original builder ran the heat duct for the master bath through the ceiling of the
porch. The second story overhang had little if any insulation, which exposed the upstairs to the elements. We removed
the duct and tied into another duct from the attic, and insulated the overhang. It was finished off with 1/2" plywood.
The chimney stack for the new fireplace has been started, and the new "Stanley" fire door is installed in the garage.

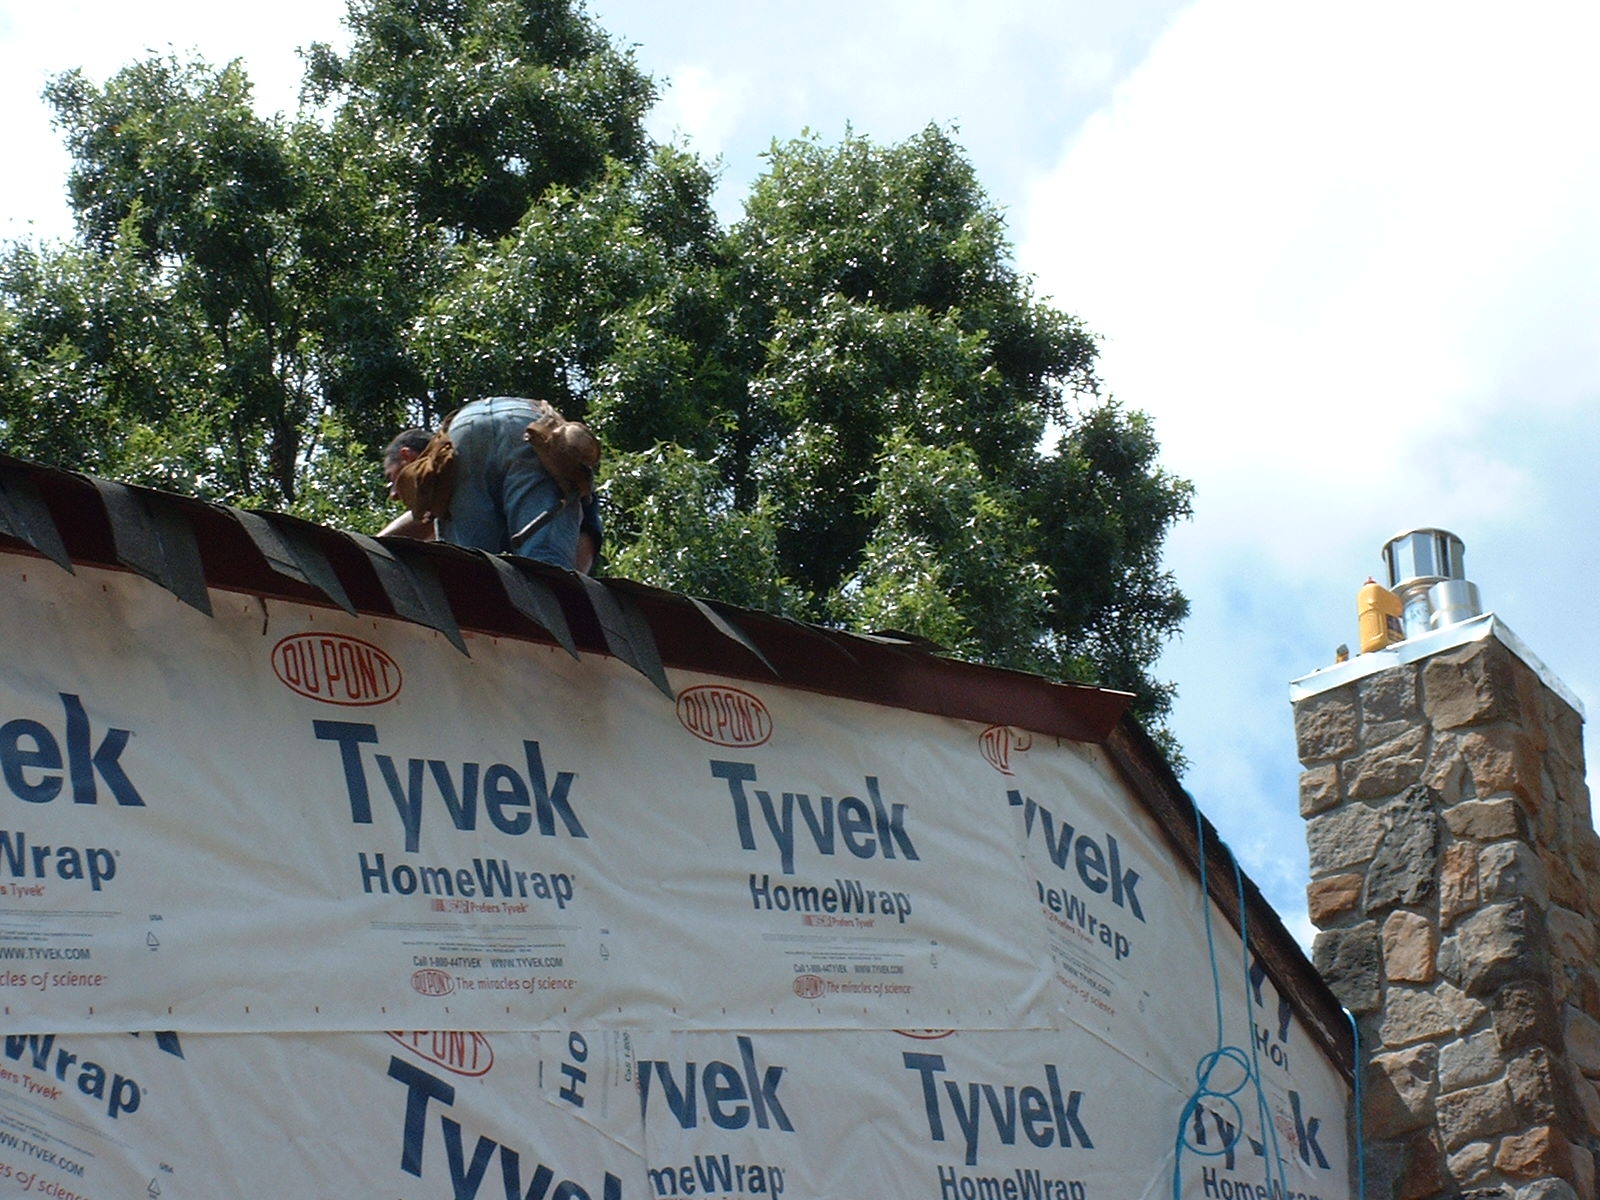
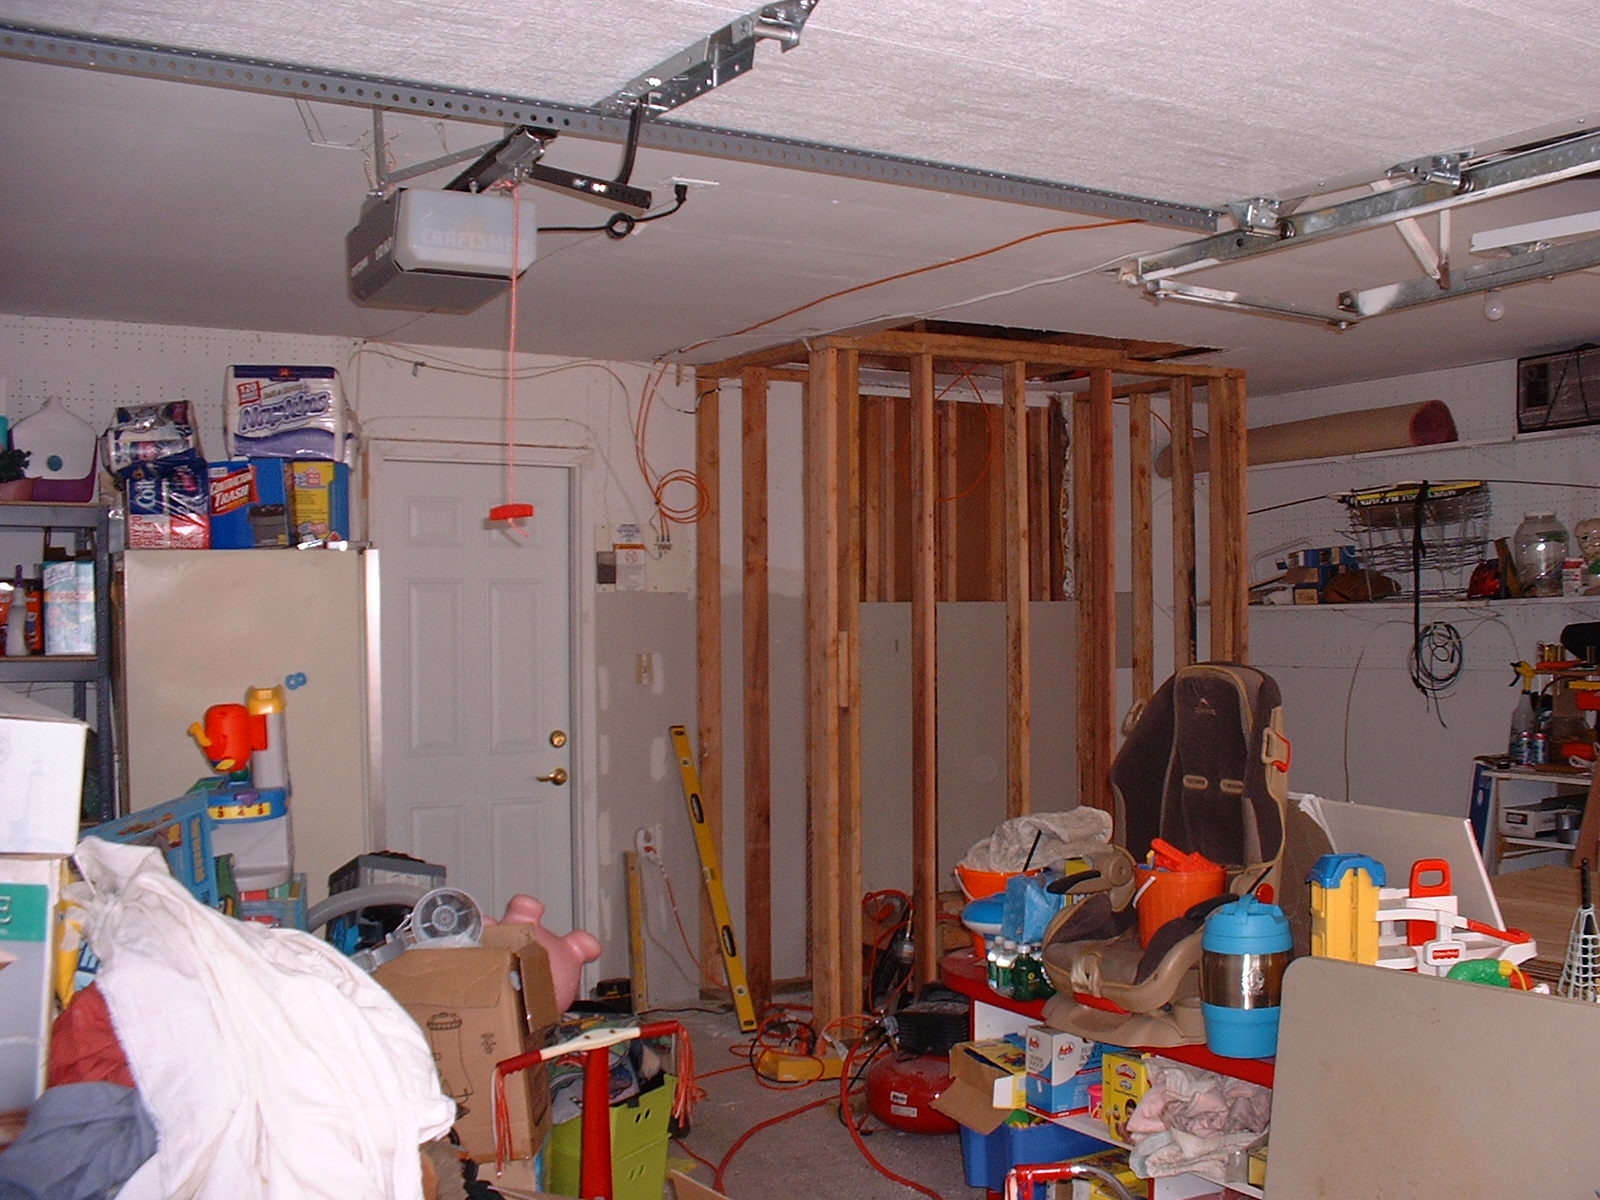
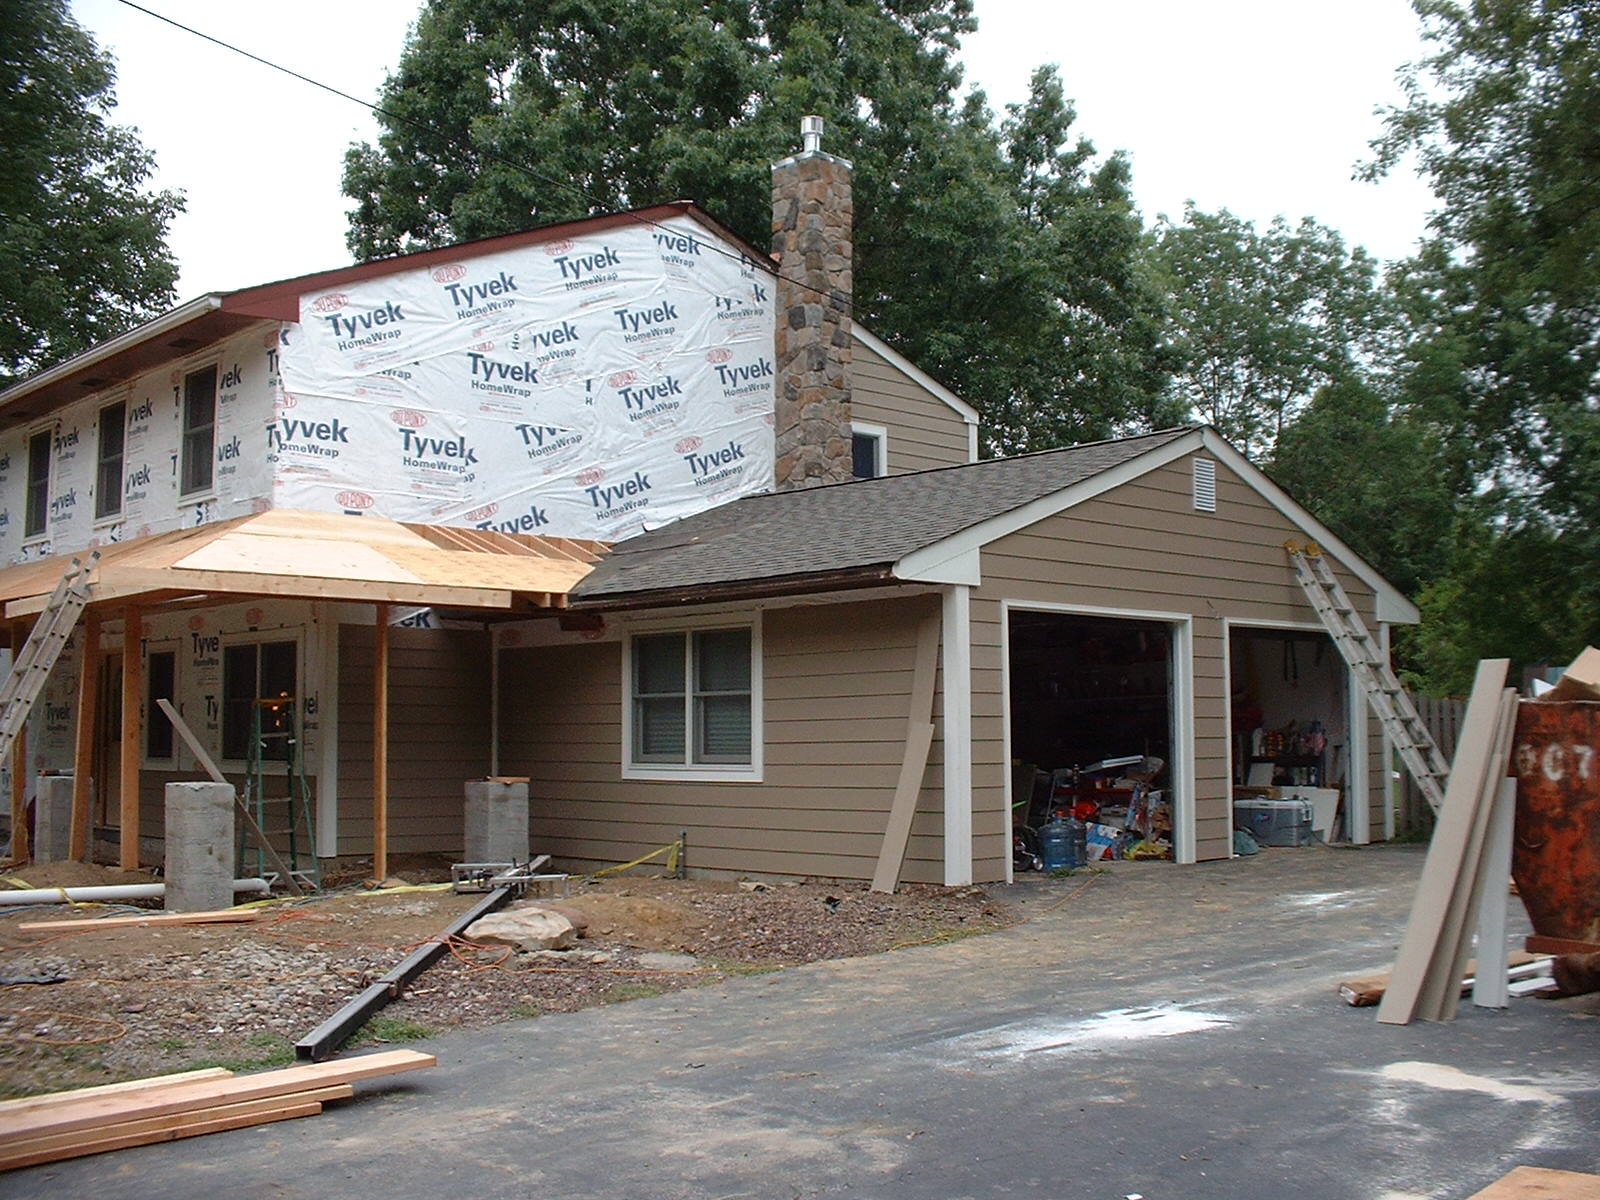
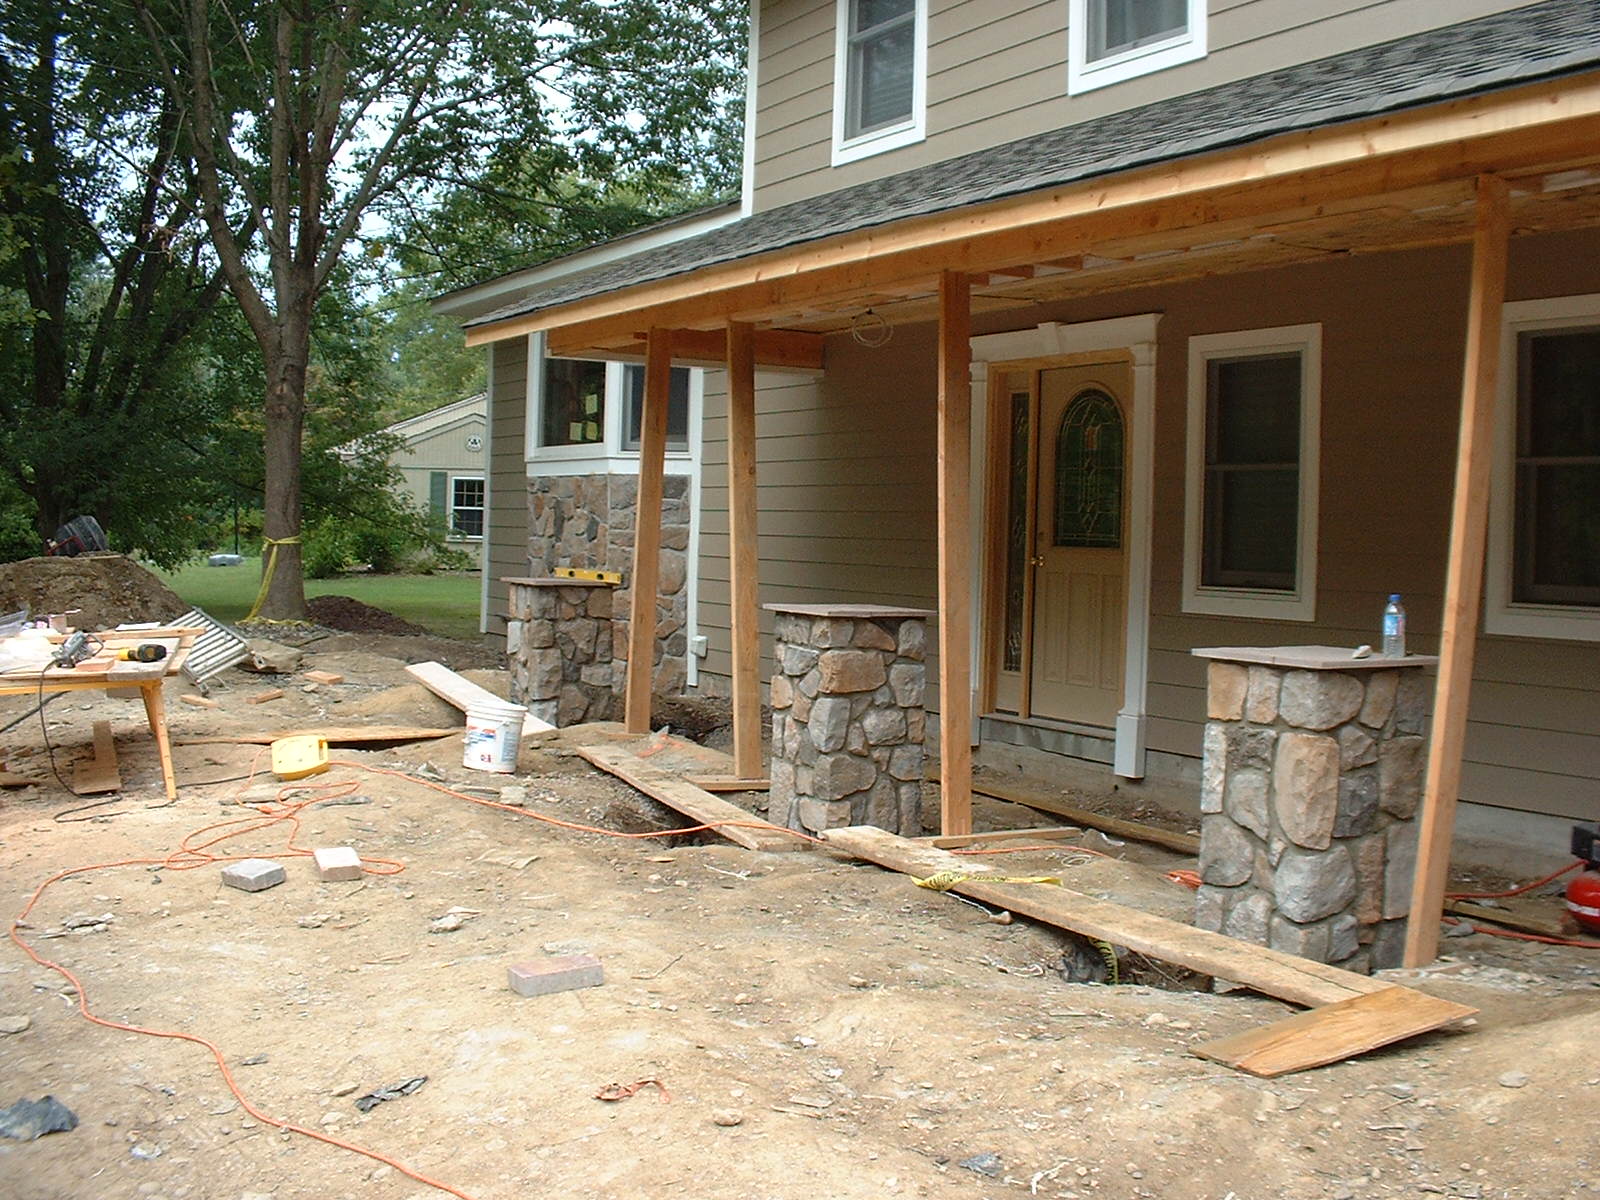
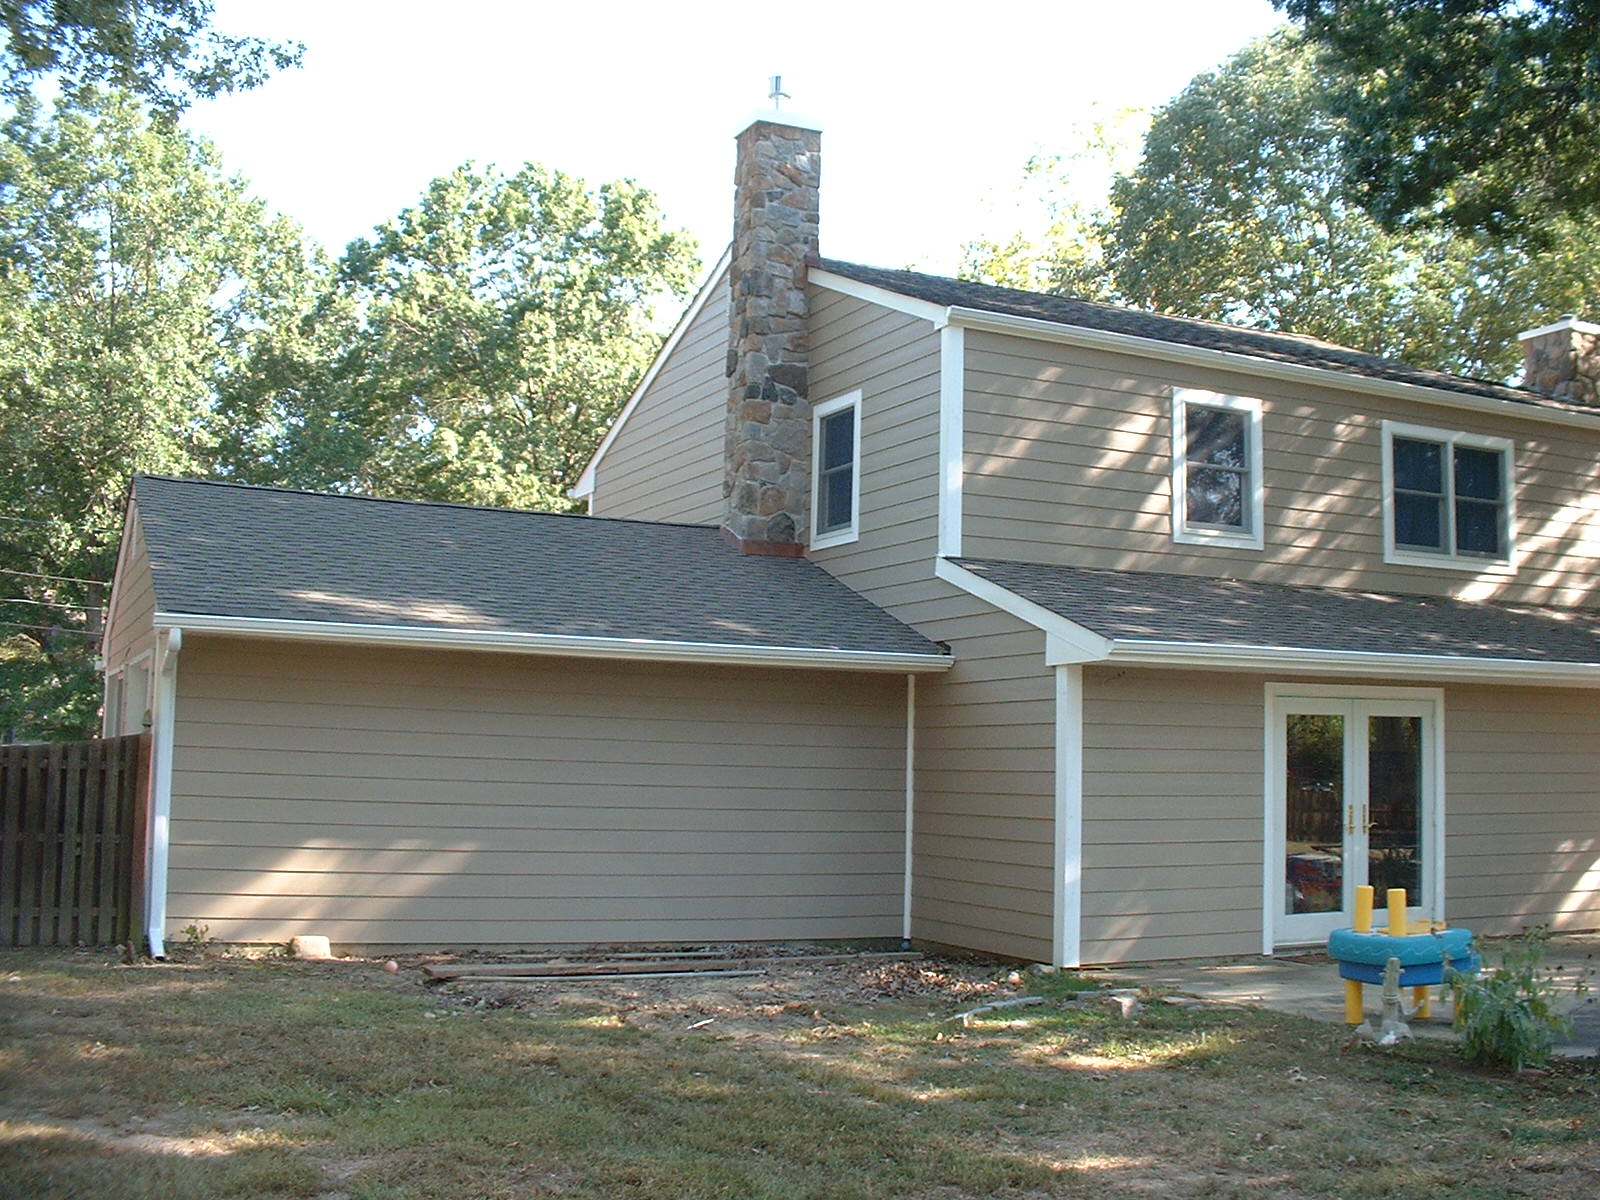
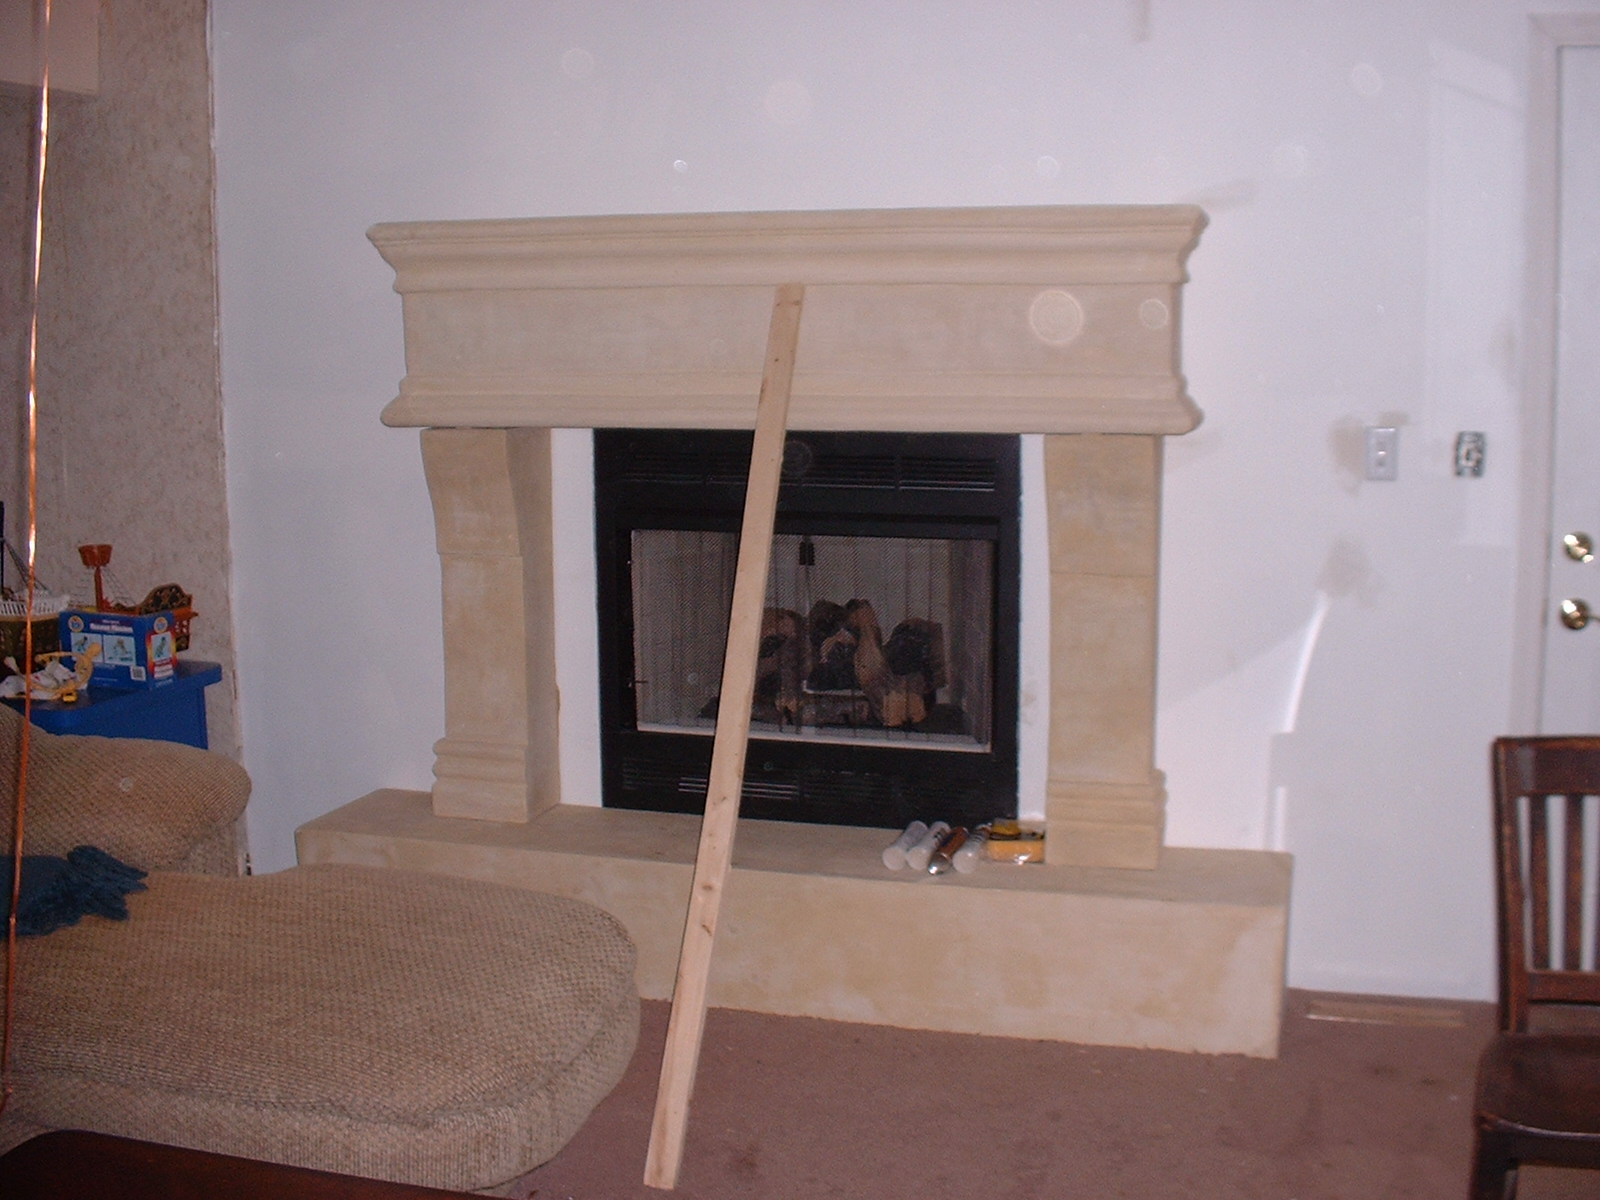
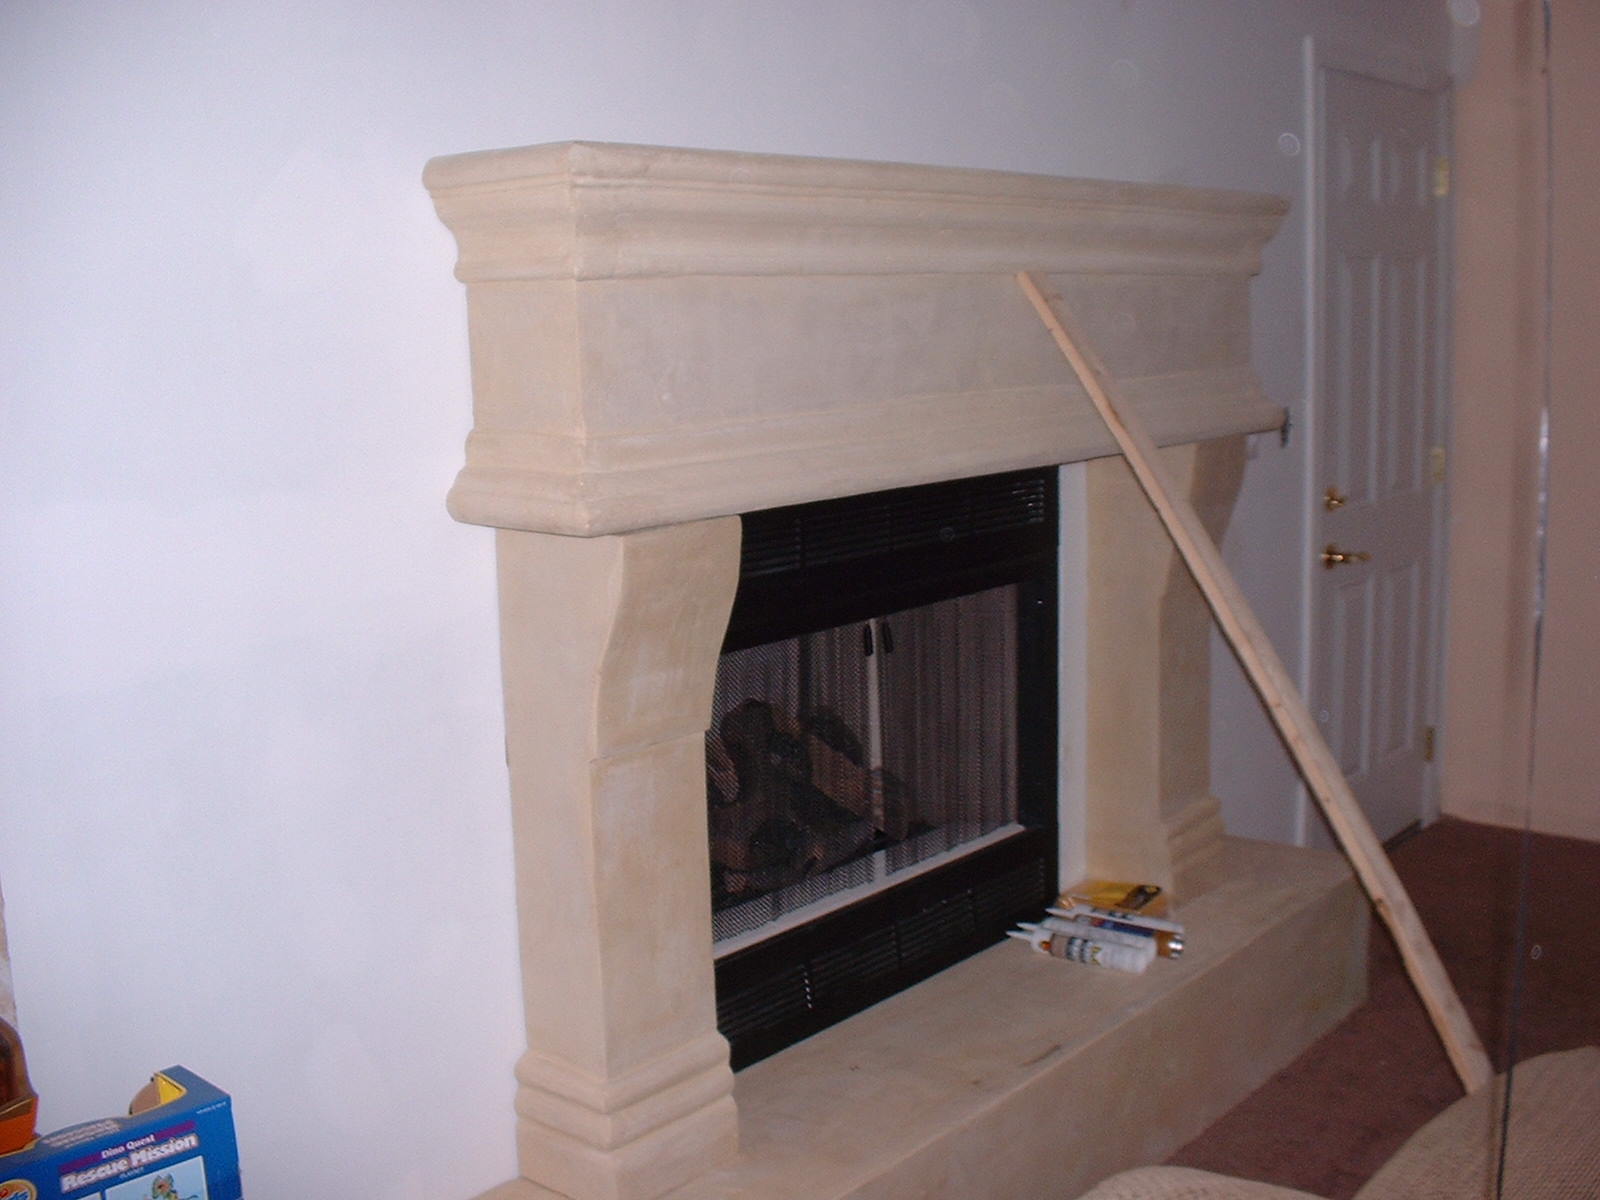
| The cultured stone if finished under the bay window. The original plan was to stop the stone about two feet under the bottom of the window and frame it out with the AZEK. The roofers have started the new roof. The original roof had two really old layers on and had to be ripped off. Fortunately for the owners only about ten sheets of plywood had to be replaced. The fireplace is now installed and we took down a wall to wall mirror in the living room and had to re-sheetrock the wall. We also installed crown moulding in the entire room. |
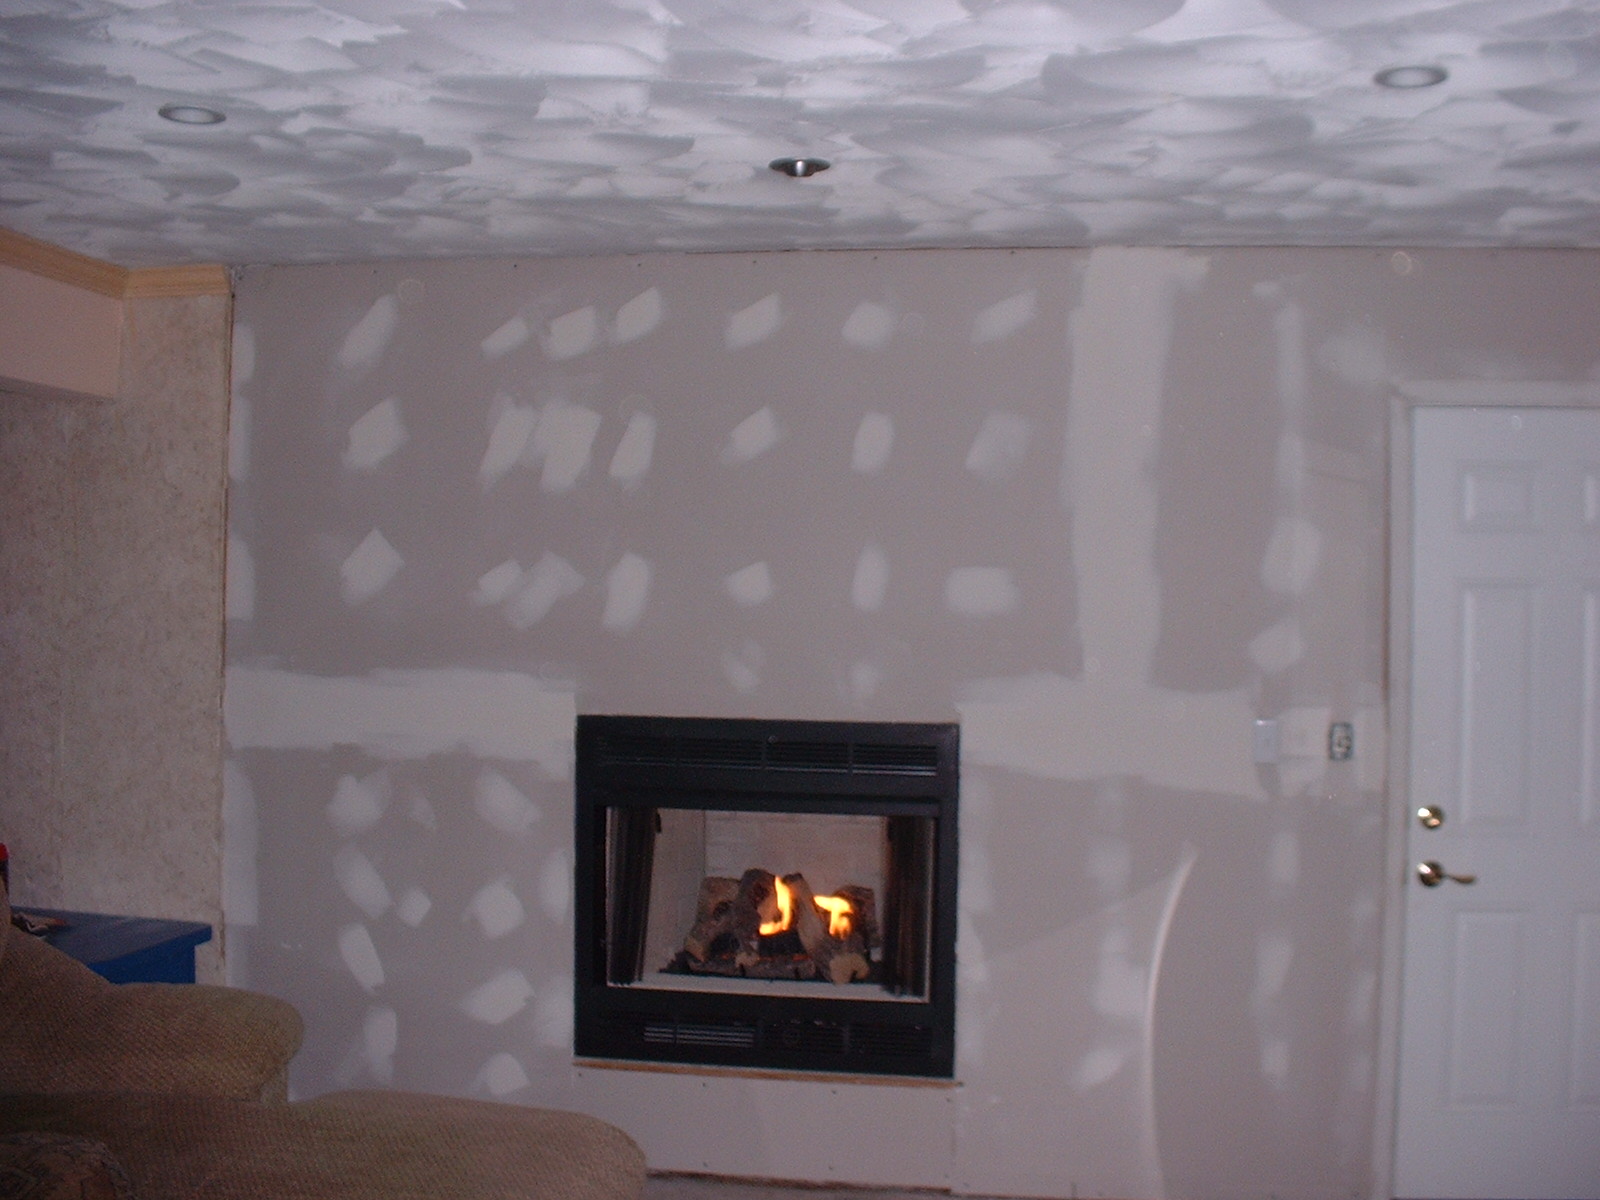
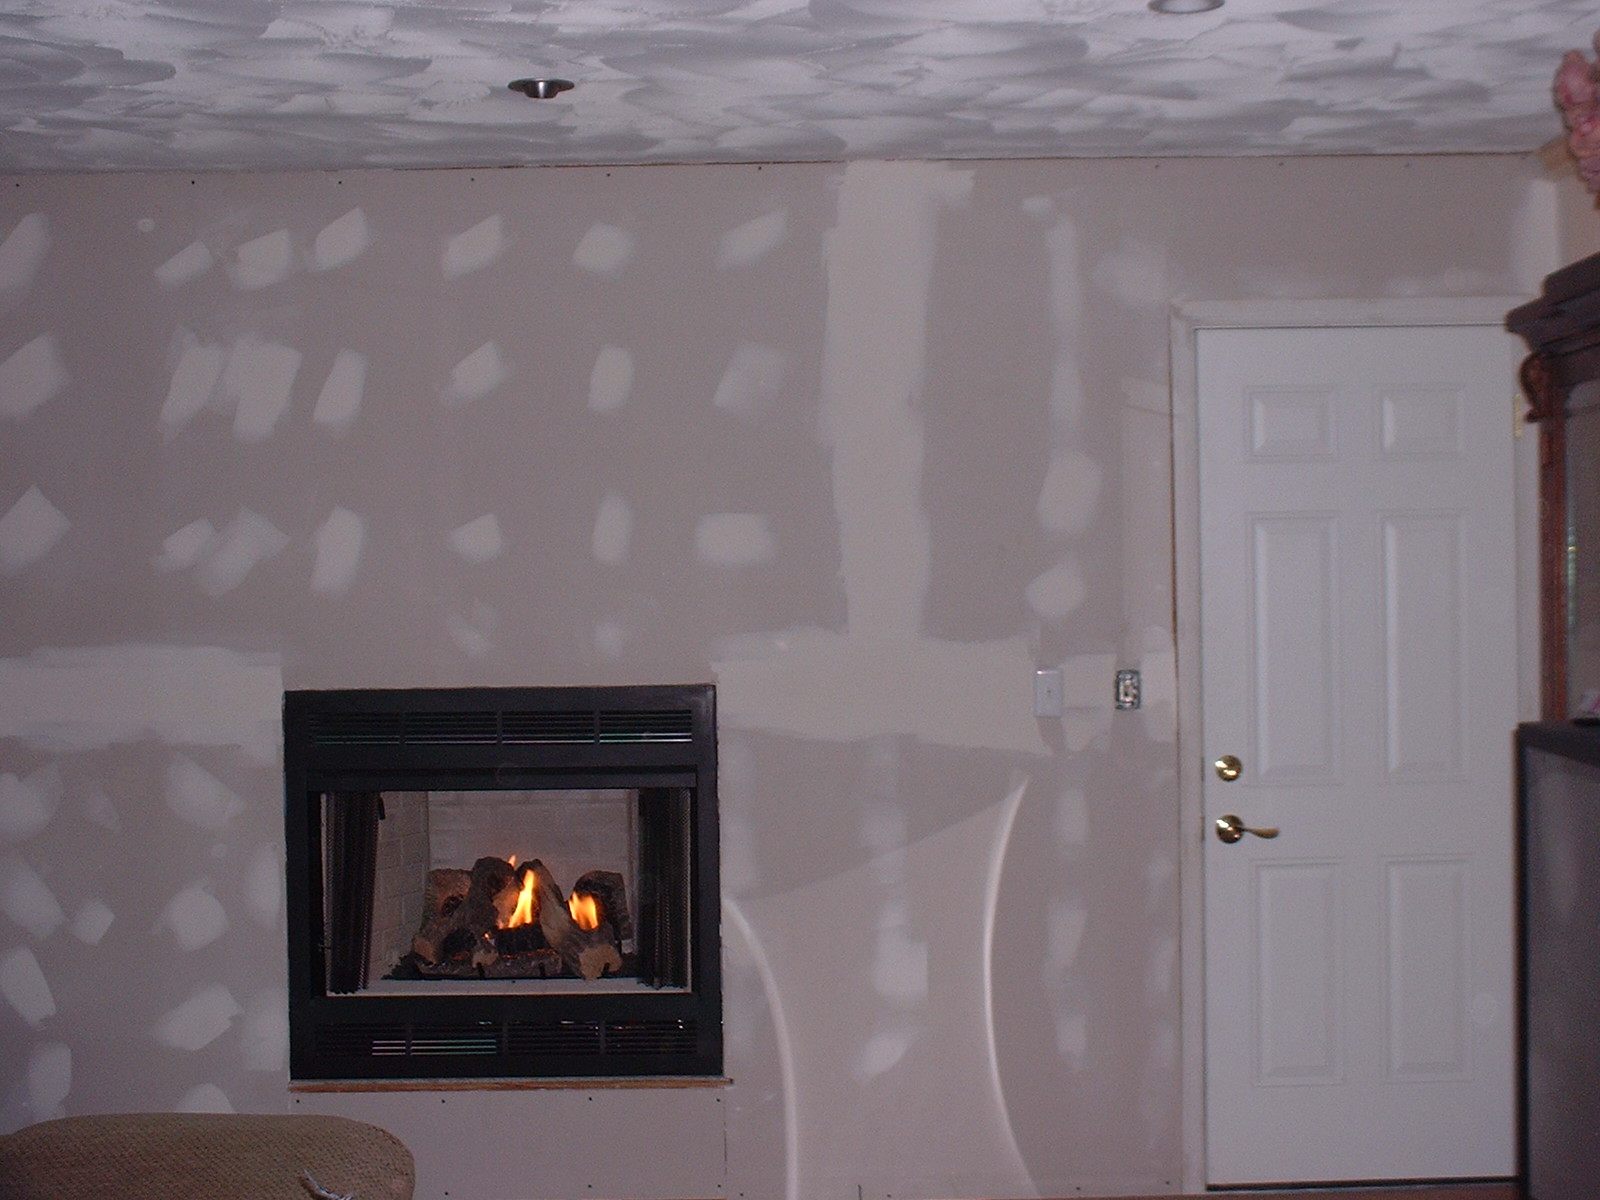


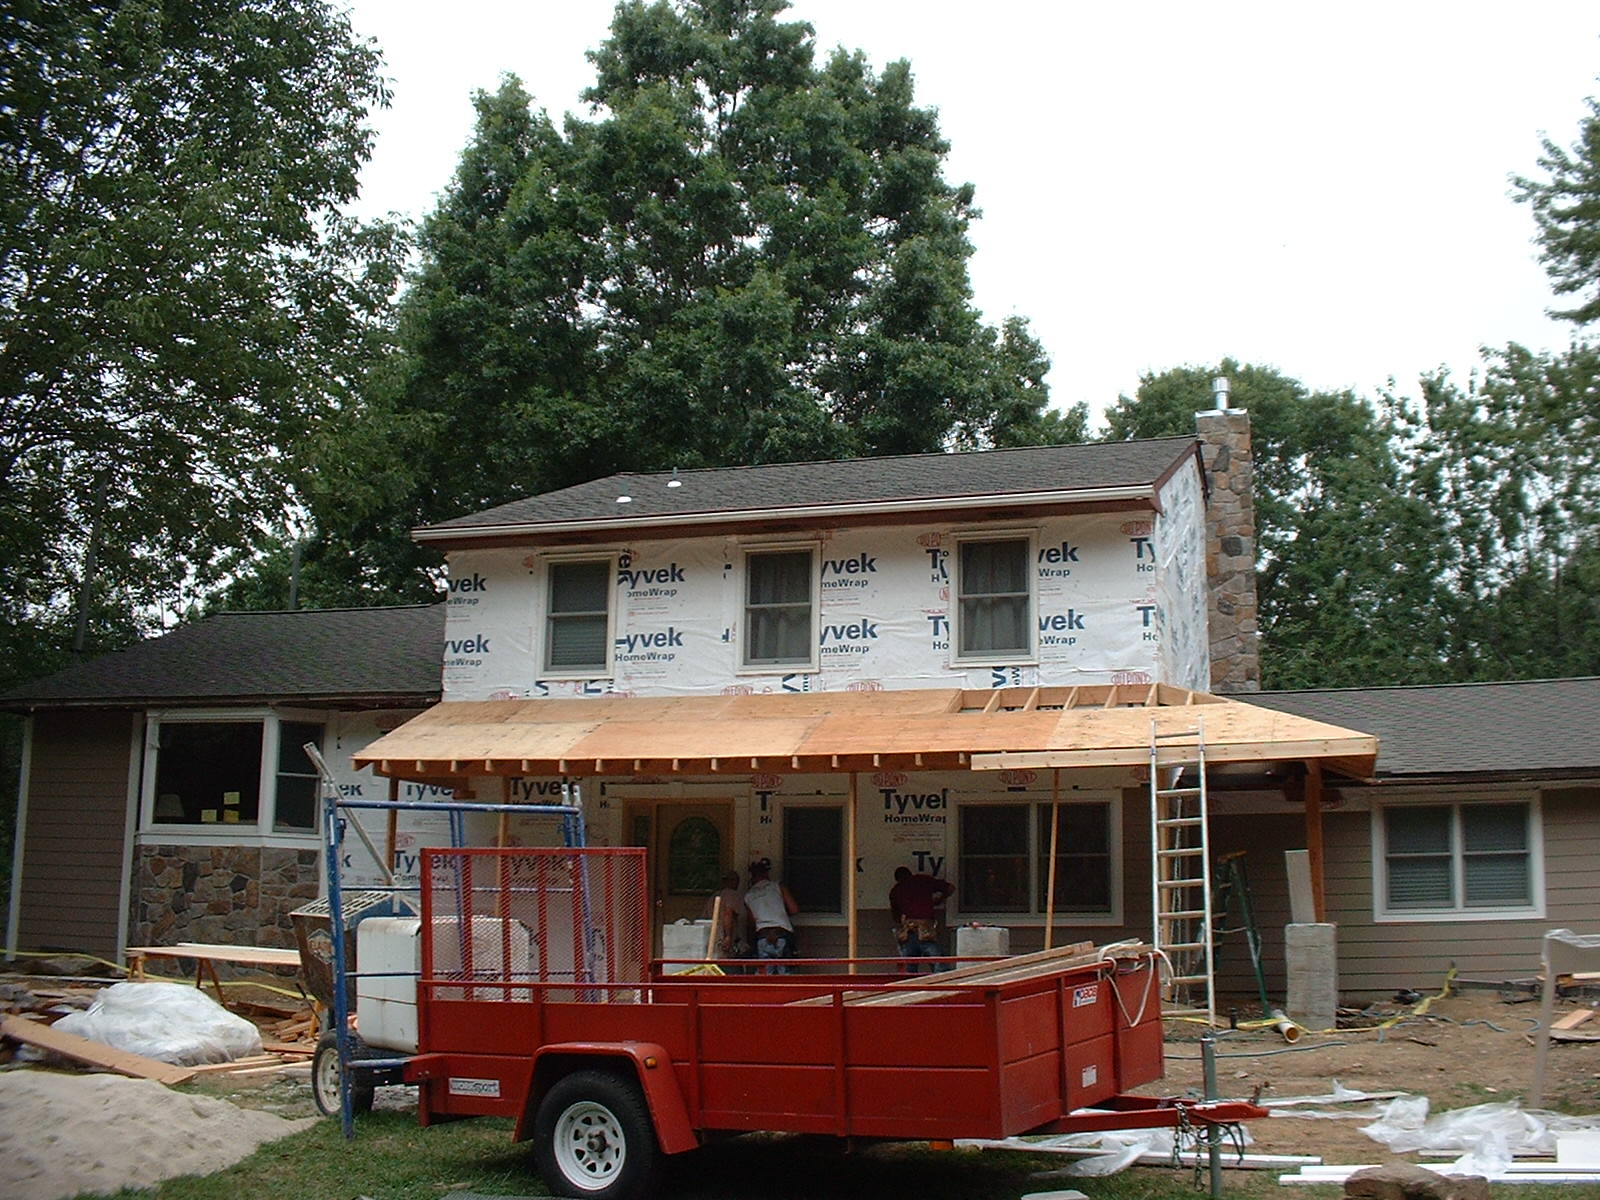
| In these pictures, you can see the different phases of the roof progress. The fireplace was installed, but caused me a small problem. Being a Zero Clearance fireplace, with a metal vent and chimney stack, the very top had to be flashed(look at it on the picture above right). Well it didn't look good to have flashing bent over the top, on the stone. In the next couple of weeks I needed to come up with a solution.....and I did. The new wrap around porch is now being framed. We need this porch done so we can start the "Hardy Board" siding. |
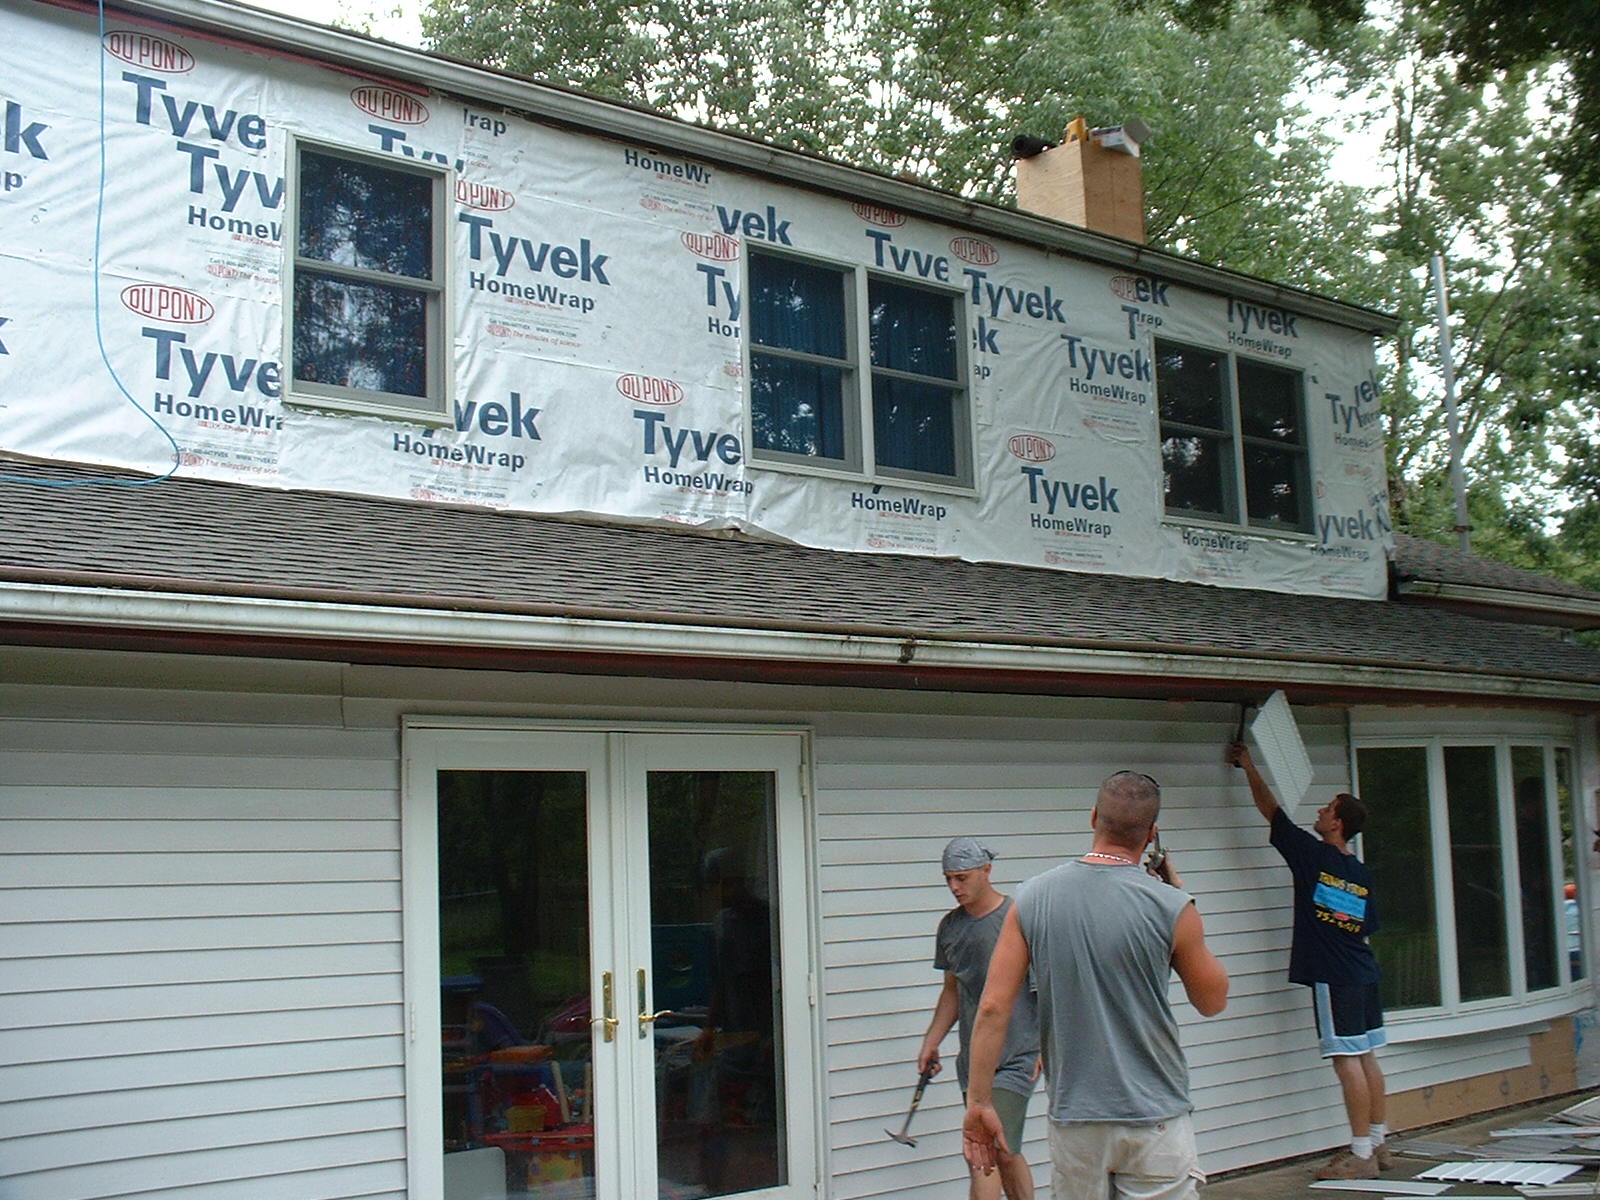

| For those of you who don't know, "Hardy Board" is a fiber cement product with a fifty year warranty, and carries a fifteen year paint warranty. click here to check out the James Hardy site. I personally, am very impressed with this product. You look at it and swear that it's wood. All of the corners and windows are trimmed with a pvc product called AZEK, click on the word to check out their web site. |
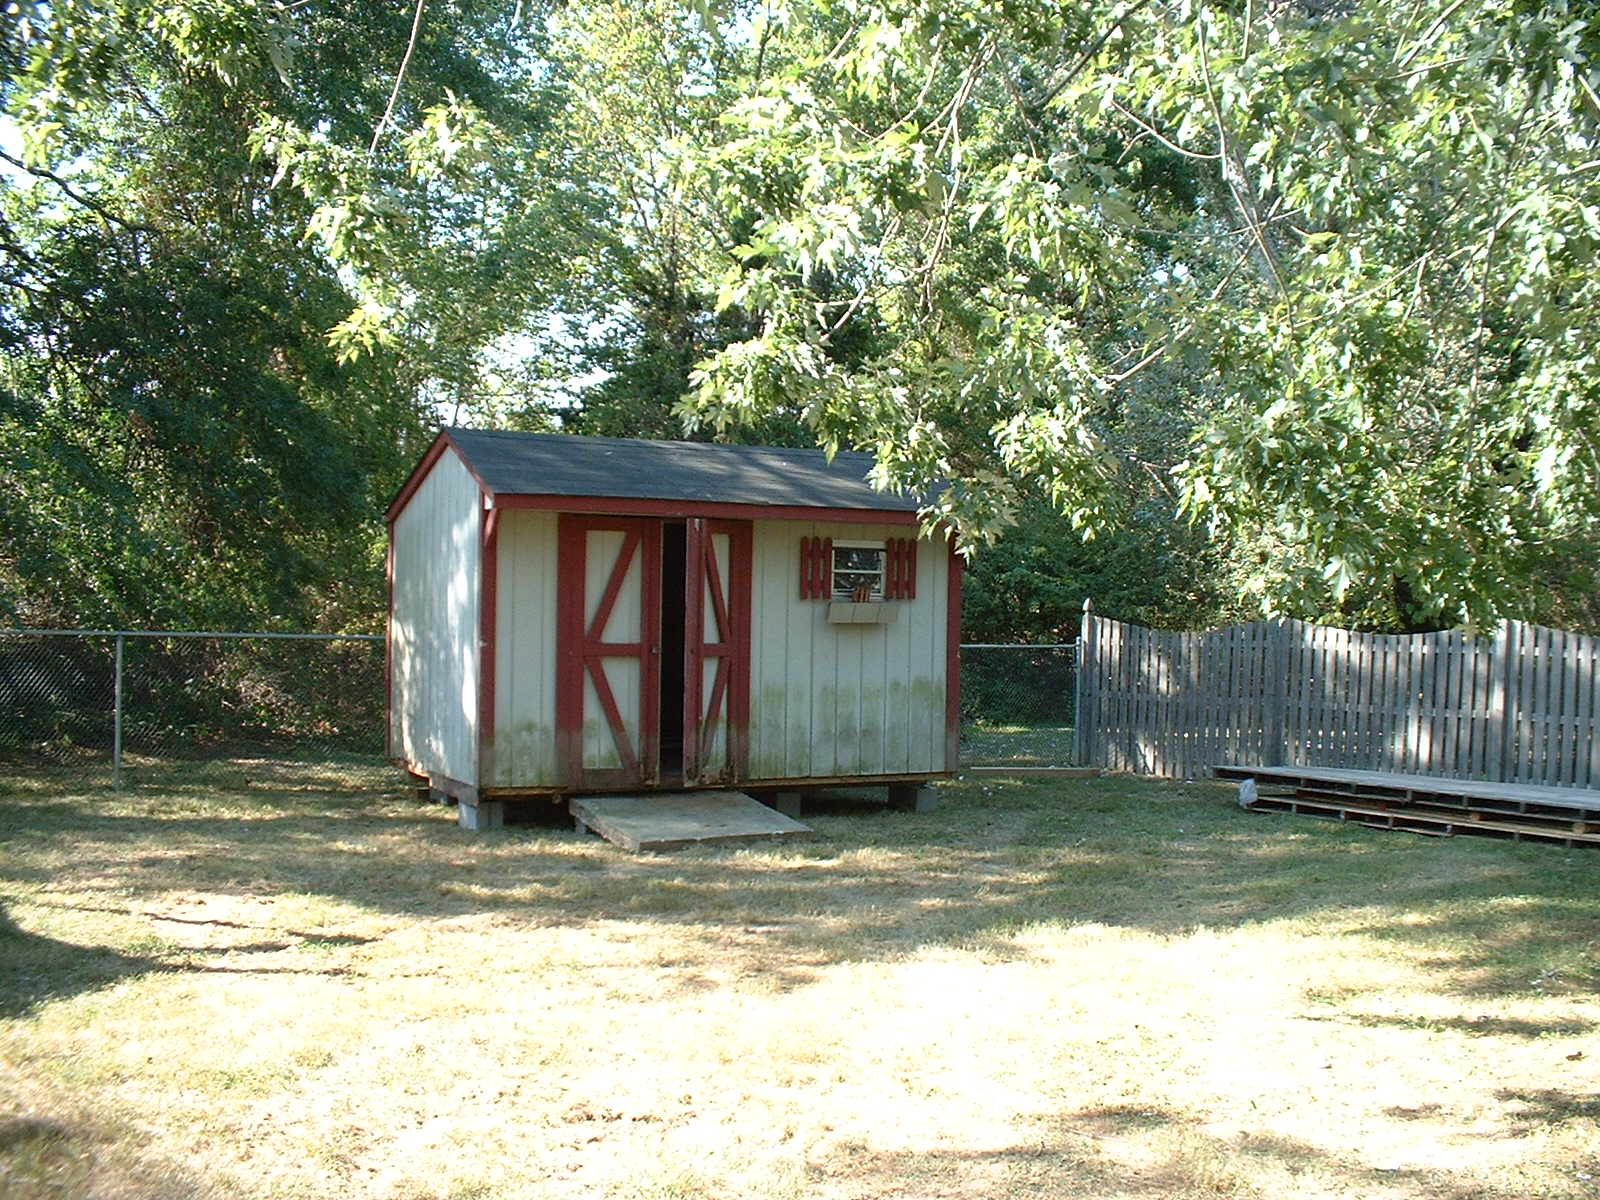
| In the interest of saving space, I'm going to put more pictures in each section, because..... there are a ton of them. In some of these pictures, notice the shed in the rear of the house. It was about a foot away from the corner and created a bad moisture and mold situation. You will see later that I insisted that it be moved. |

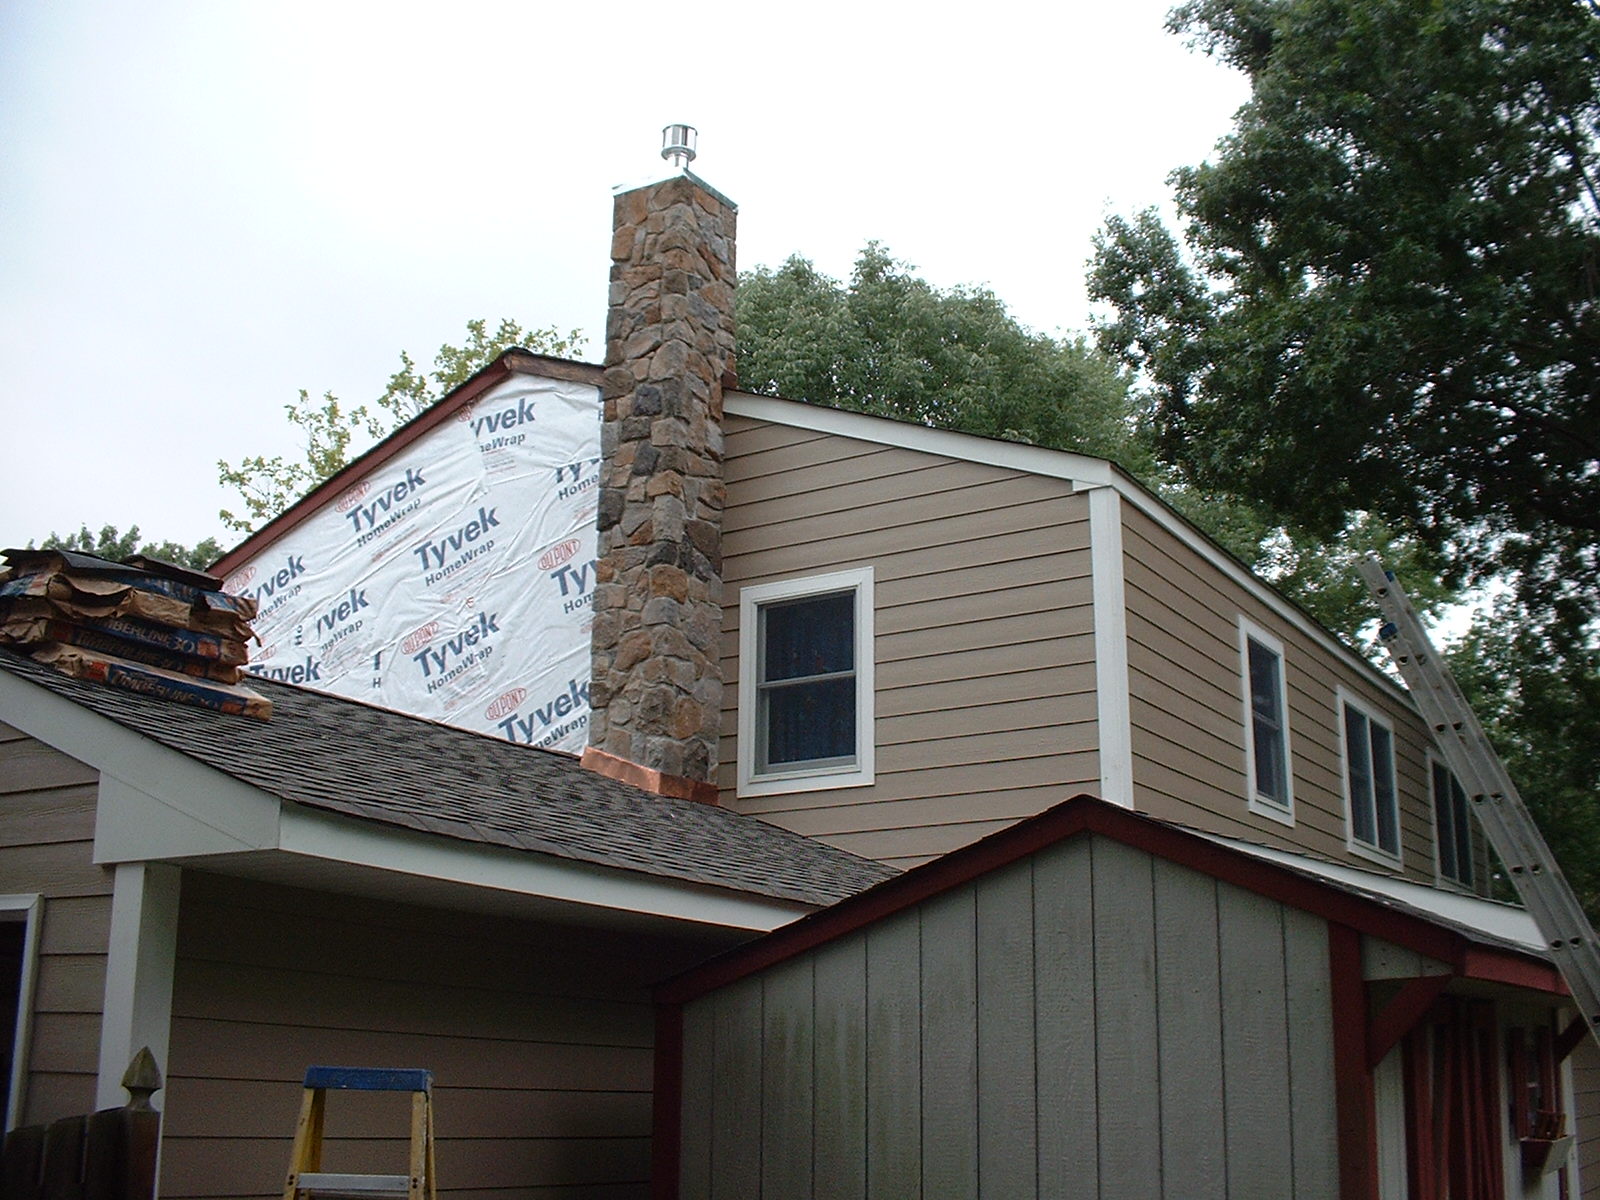


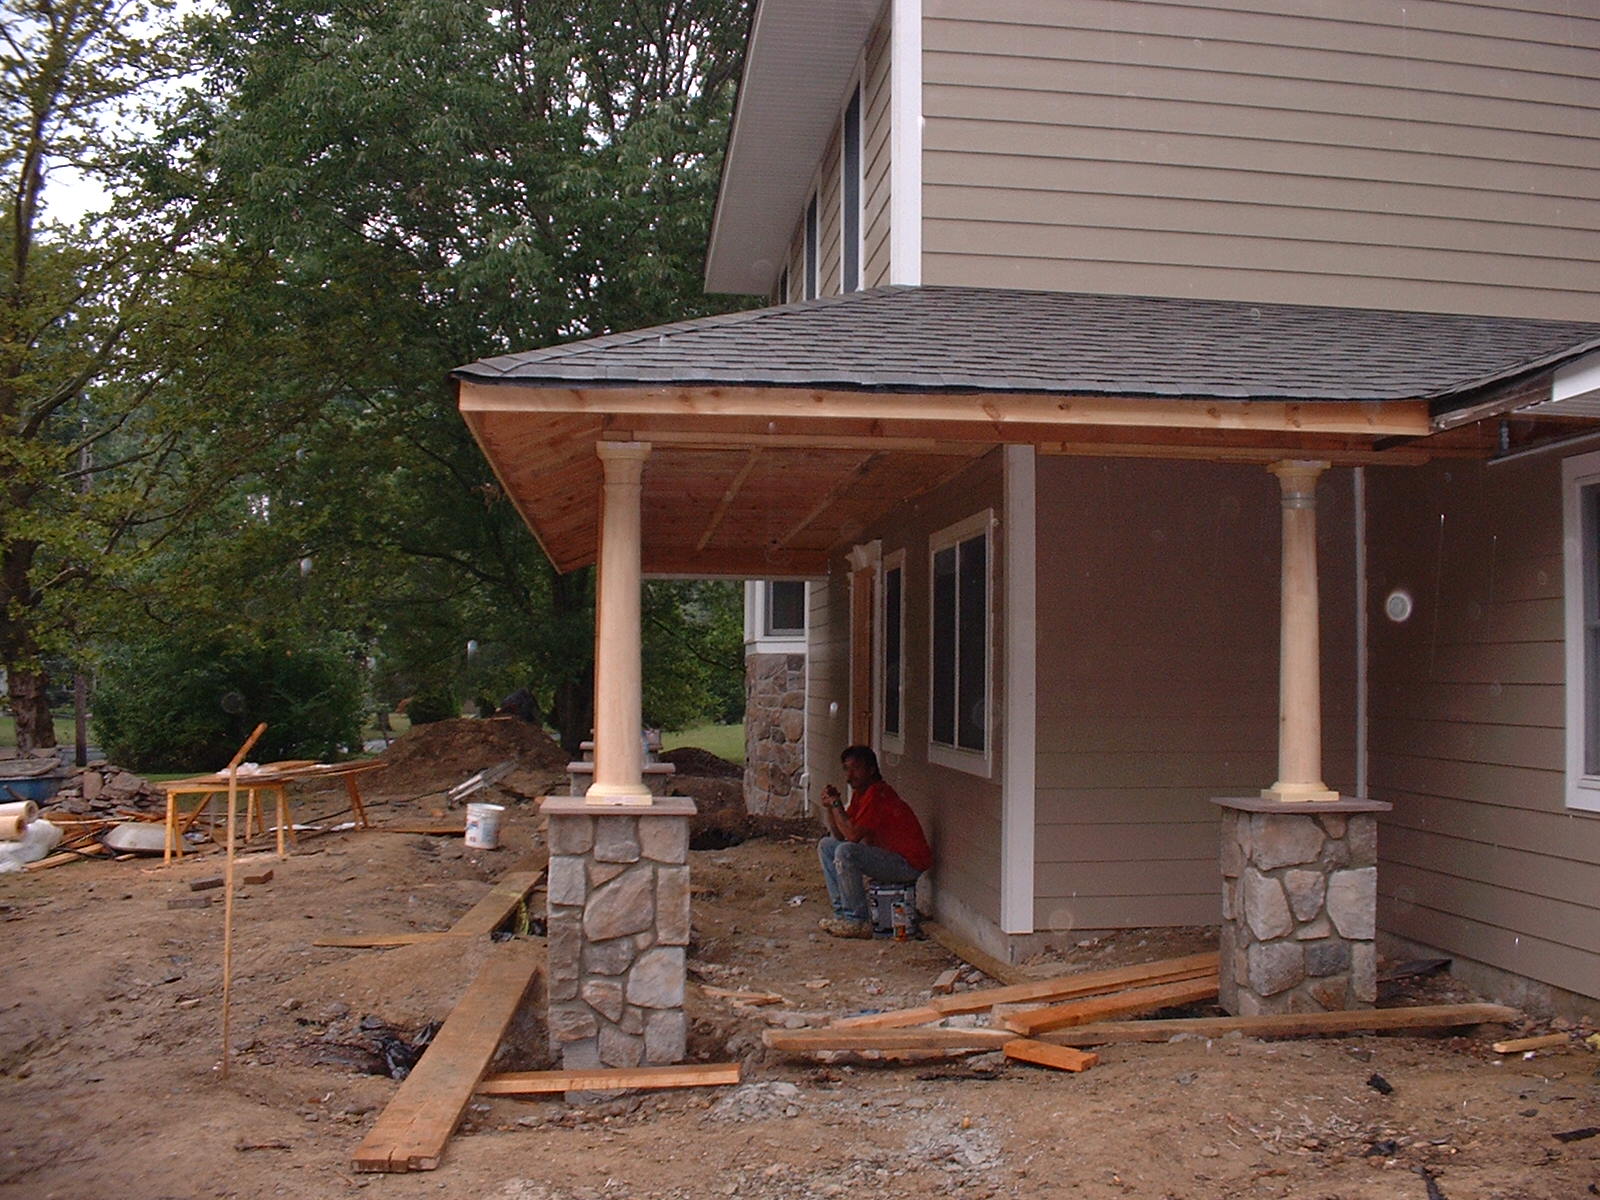
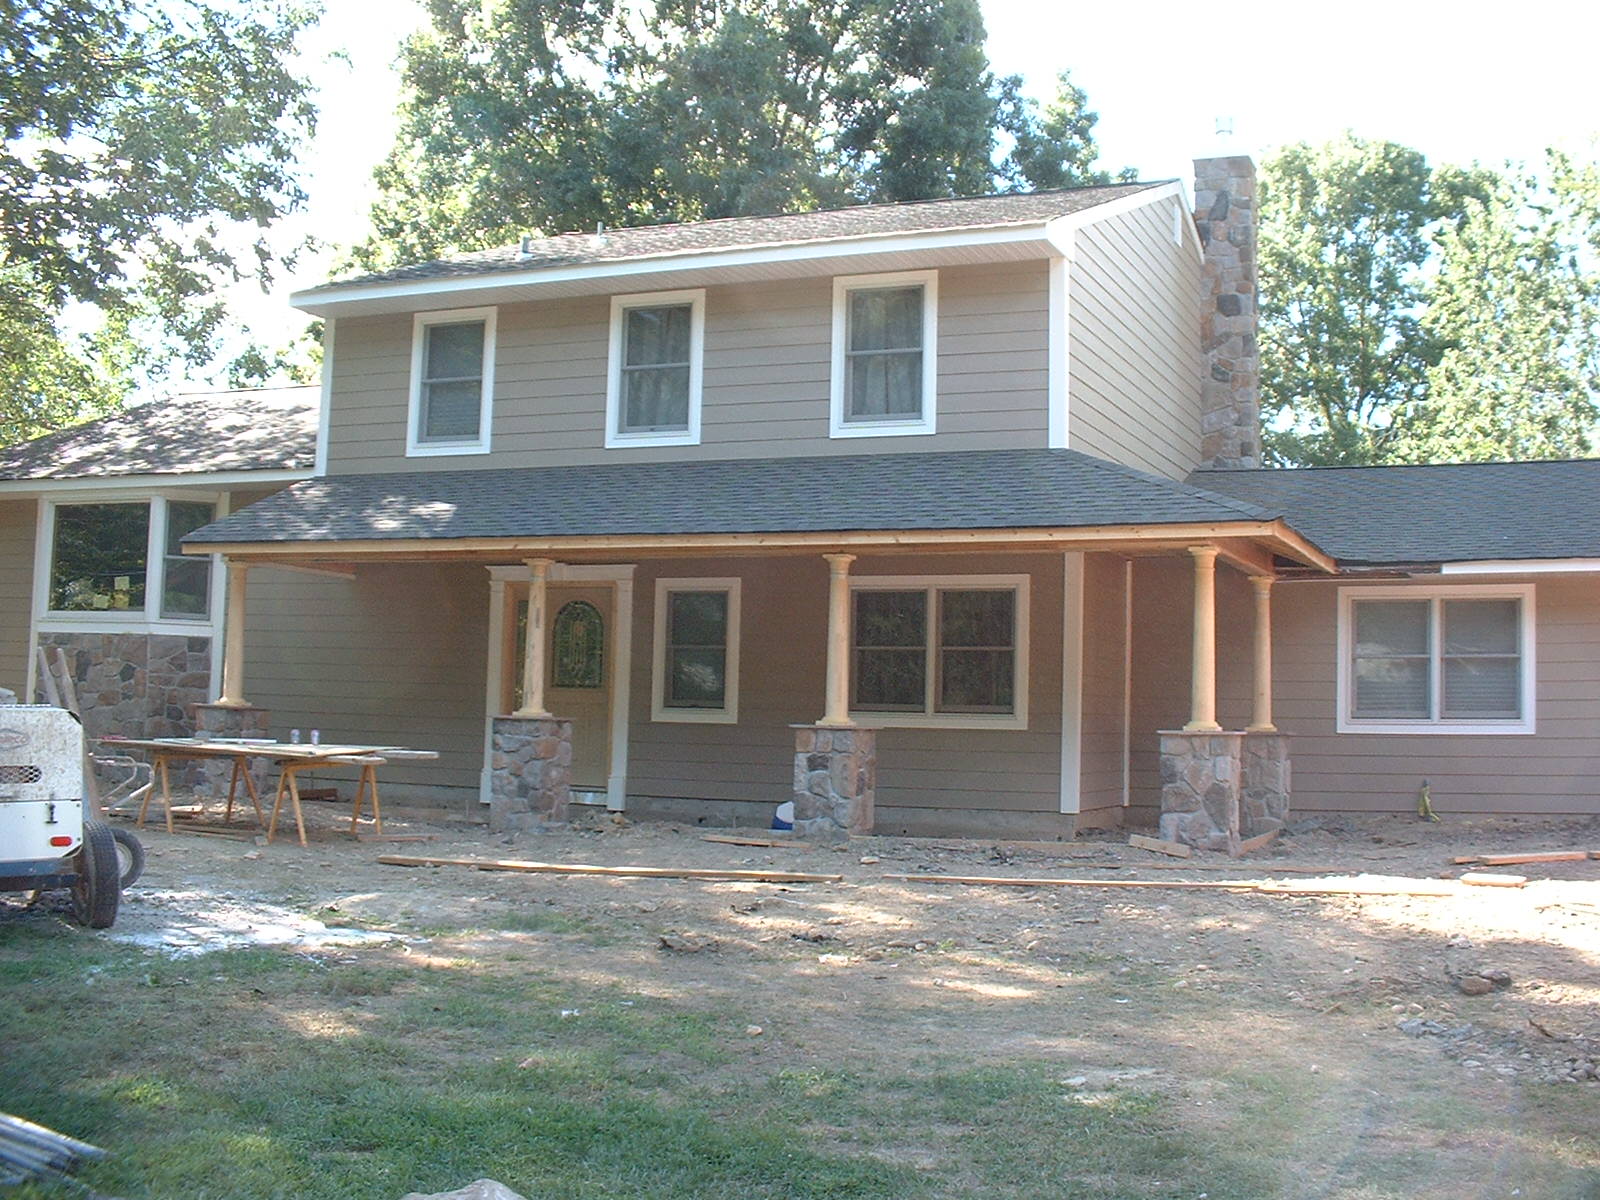
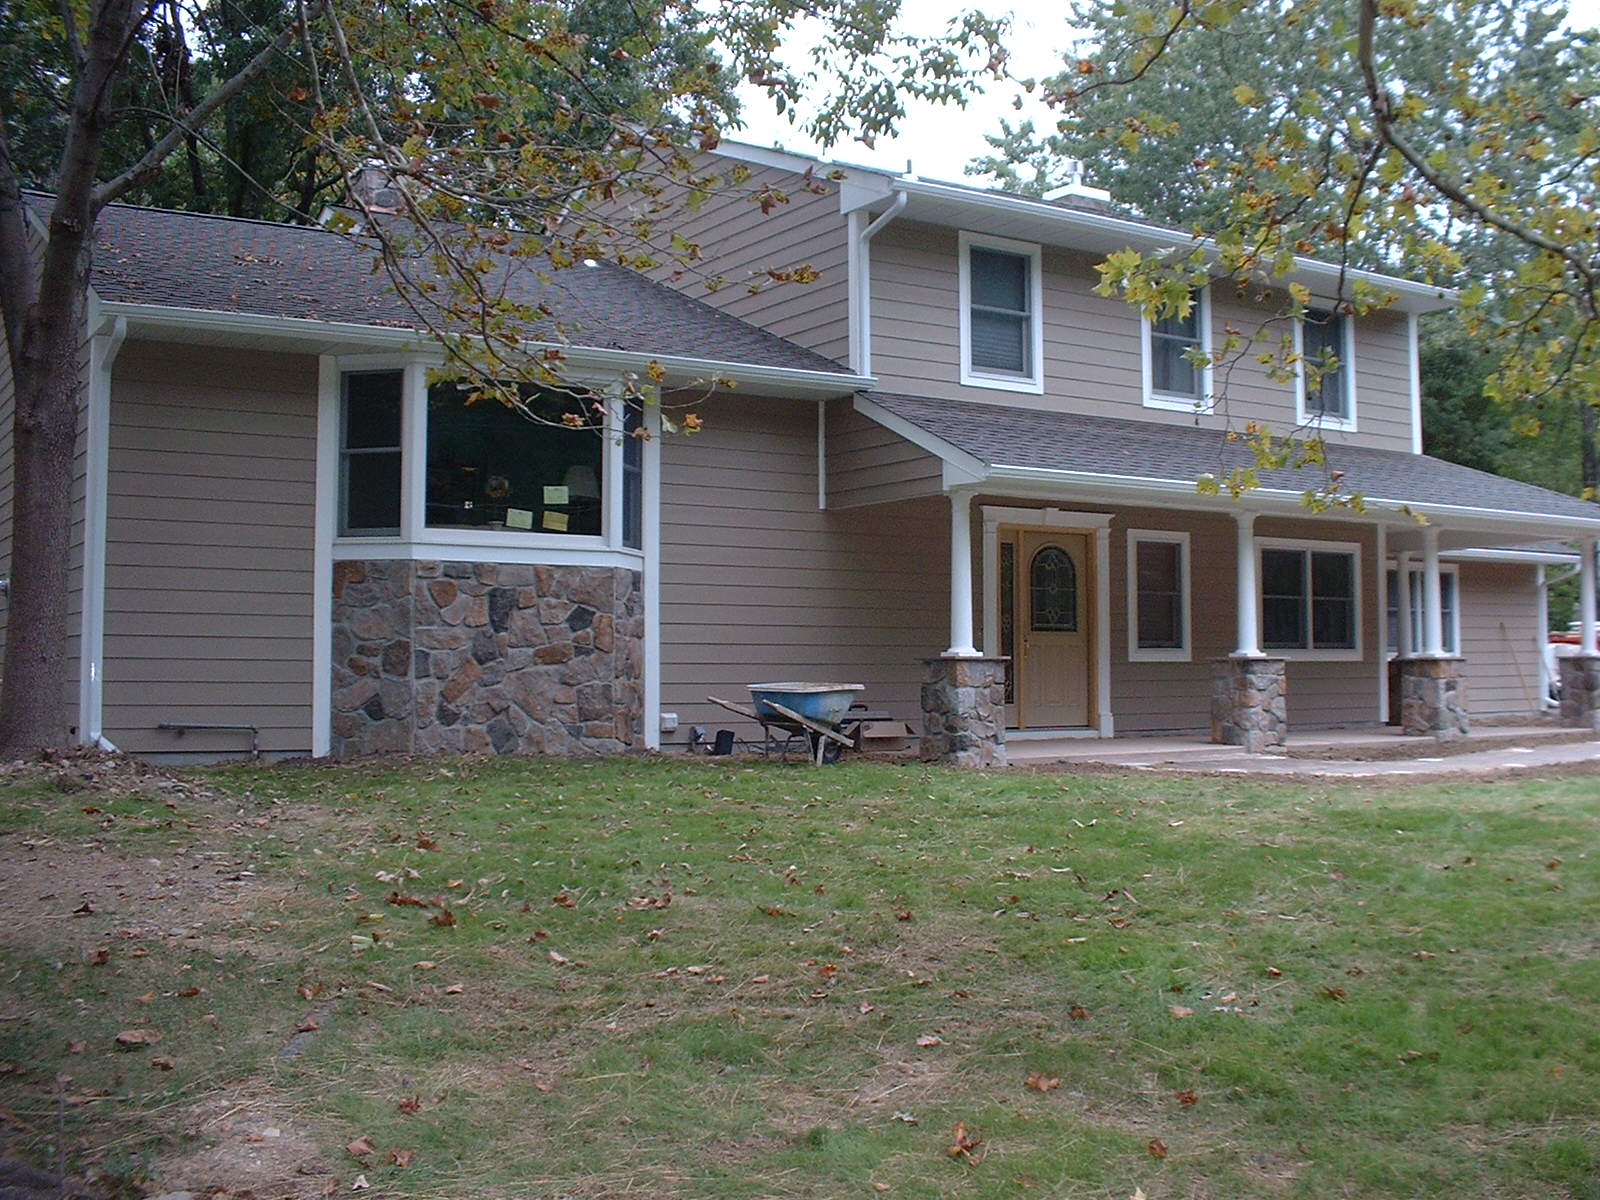
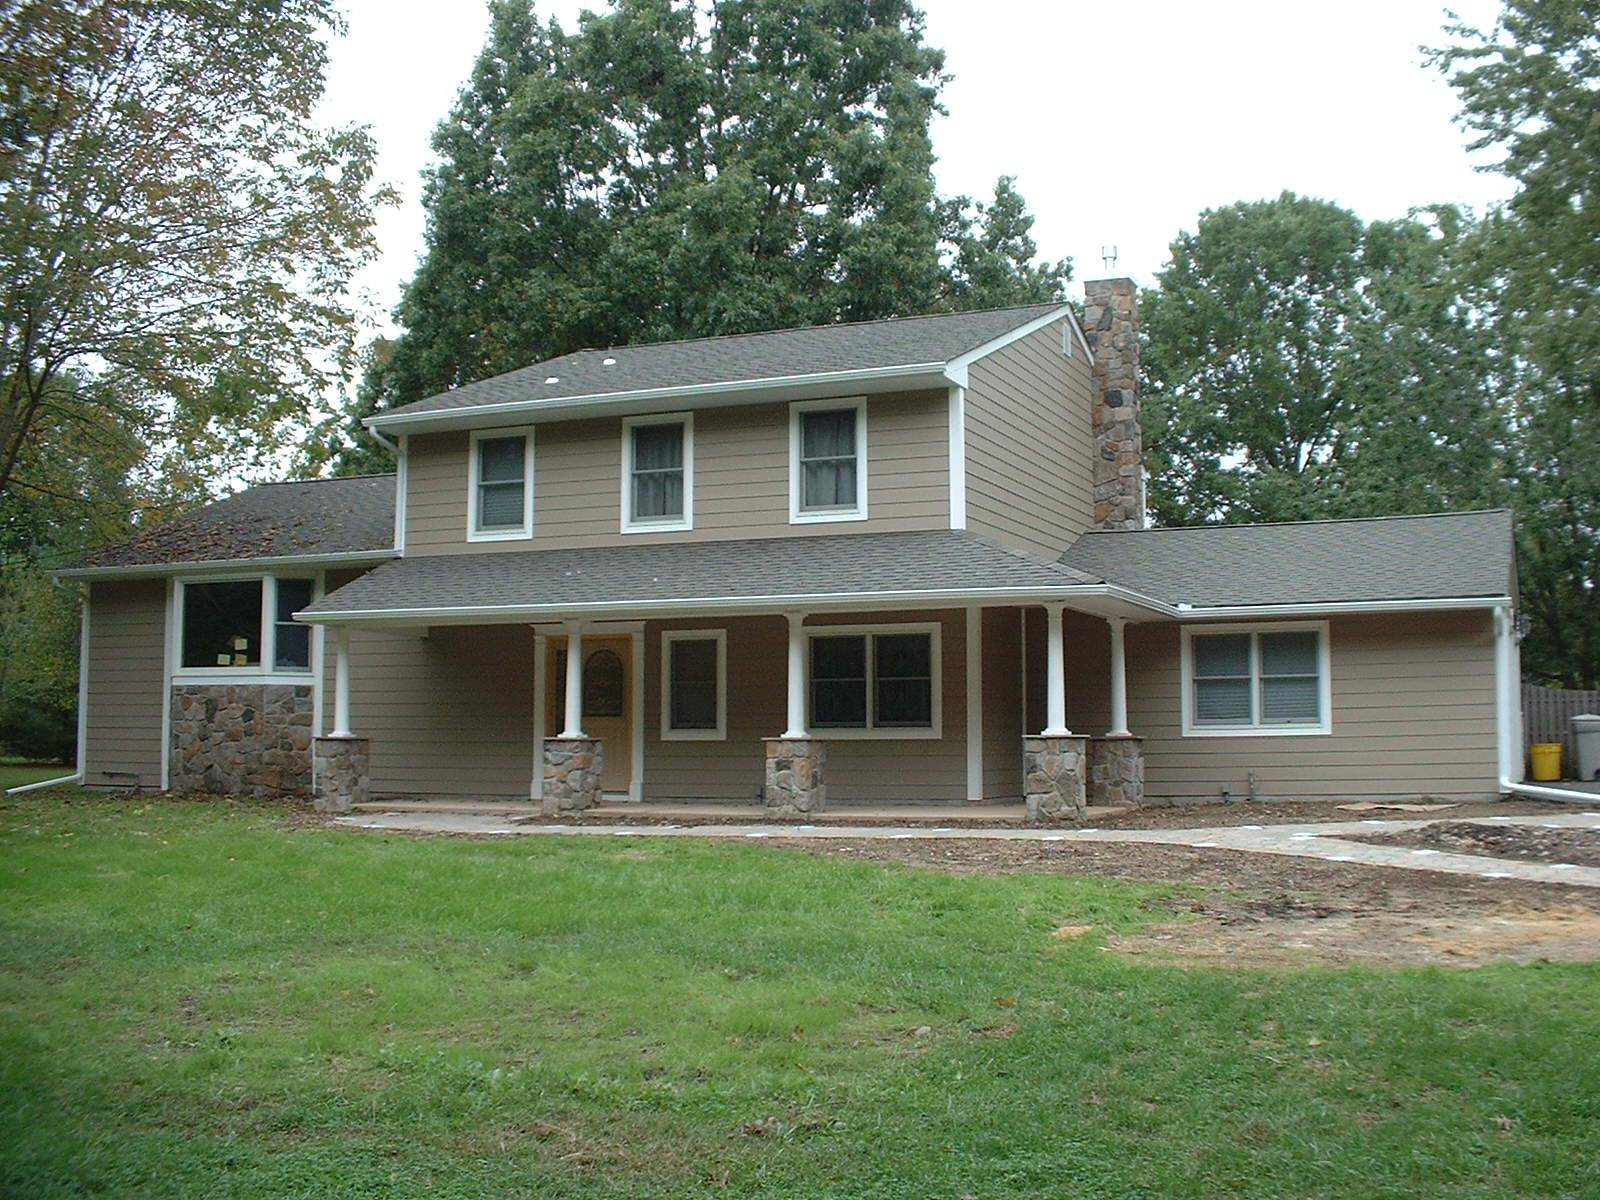
| As you can see, the roof is done, the siding is now finished, the porch is roofed, and the stone work is complete. The wood coloumns were a bit of a problem though. By working closely with the homeowners, Mike and Kathy, we went through four different kinds of coloumns untill they were satisfied. I'm very happy with the final decision. |
| In the pictures below, you can see that we have come to a solution on the top of the chimney. The stone work on the bow window in the rear of the house is finished. The owners love the stone so much that they requested that we put stone on the other metal chimney stack which is also pictured below. The color for the concrete pad under the porch is on order and will take two weeks to come in. The brick pavers for the front walk are also ordered. The porch is now complete, and the gutters are going on the house. The challange for the gutters was that the owners didn't want to run the downspouts in front of their beautiful stone piers, so the solution was to try to pitch the front all the way to the garage....it was really a challange! The shed is moved with a bobcat with forks attached, and chains, and rope, and time, and care..... |


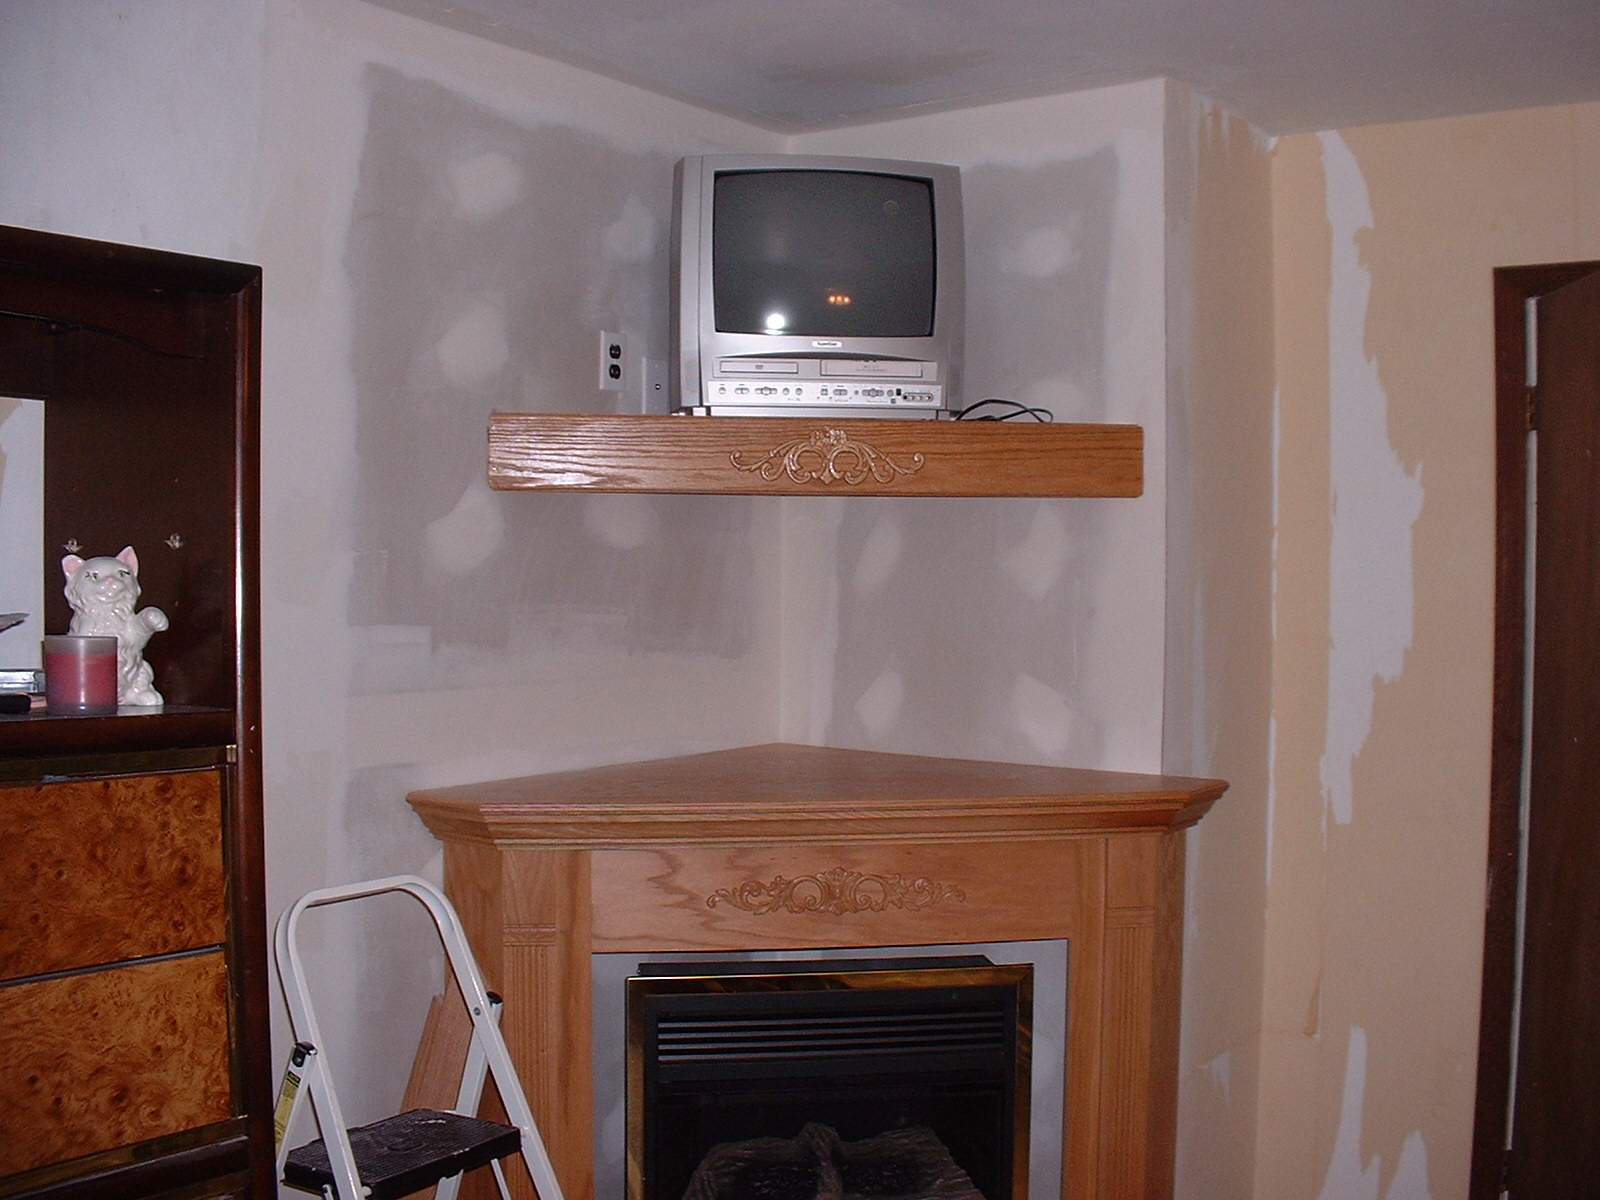
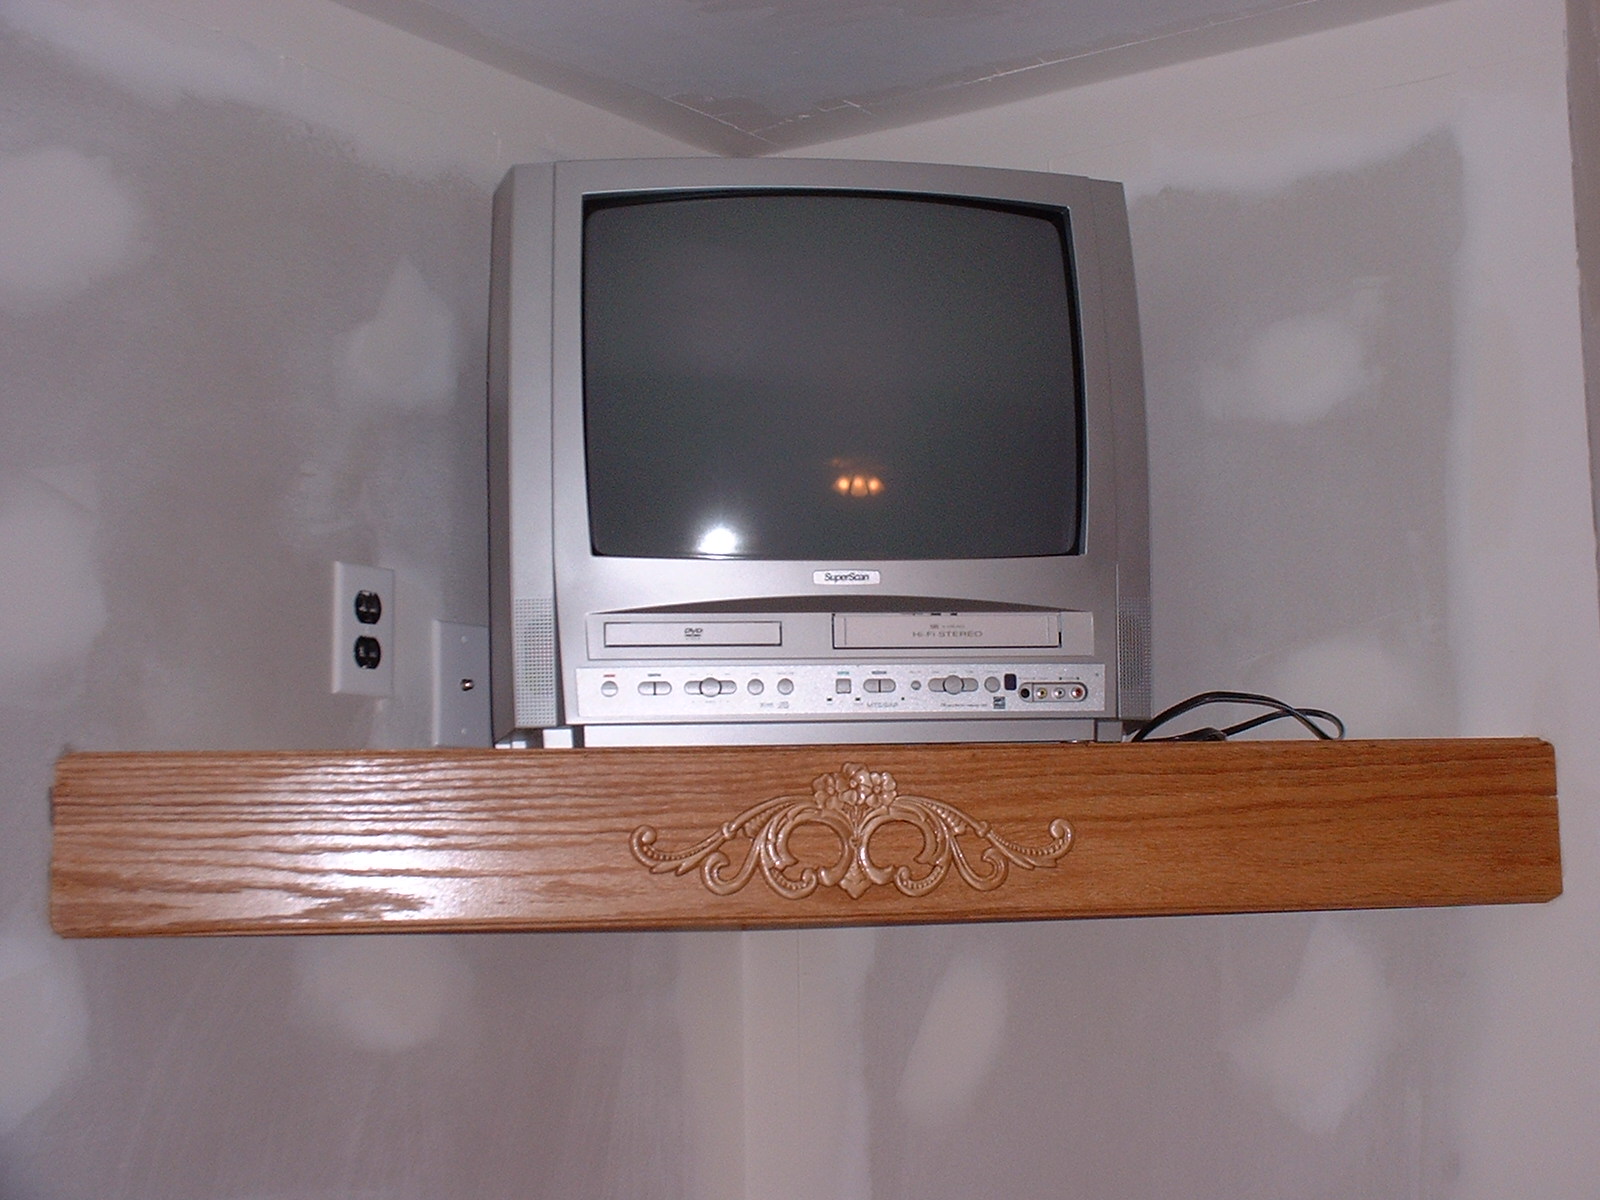
| Now we go back to the inside of the house. The surround for the fireplace has arrived and is being installed. It is a man made stone product. You can visit their website here. www.missionstone.com. Unlike natural stone, it is not only half the weight, but it looks incredibly real. I'll give you a dollar if you can tell the difference between the two. We also installed a ventless fireplace, with an oak surround in the master bedroom. They had what looked like a "Pocono's" 1960 wood burning fireplace surrounded by fake brick...nice. We also installed a shelf to match the surround. The grading, seed and hay is now finished(the grass started to grow in three days!!!) and the exterior lights were installed on custom made pieces of "AZEK". Oh wait...did I forget Sheldon?... I can't go on without mentioning Sheldon. Sheldon is the Havardansky's old Bassett Hound. He often escapes and comes outside to inspect the progress. I swear he really is checking things out. He is currently going through chemo and still gets around really good. Lets all take a second now and give a little prayer for Sheldon's continued success. |

Don't forget...click on all the
pictures to enlarge, and if you hold
the curser on the picture to the left
you can see before and after !!
pictures to enlarge, and if you hold
the curser on the picture to the left
you can see before and after !!


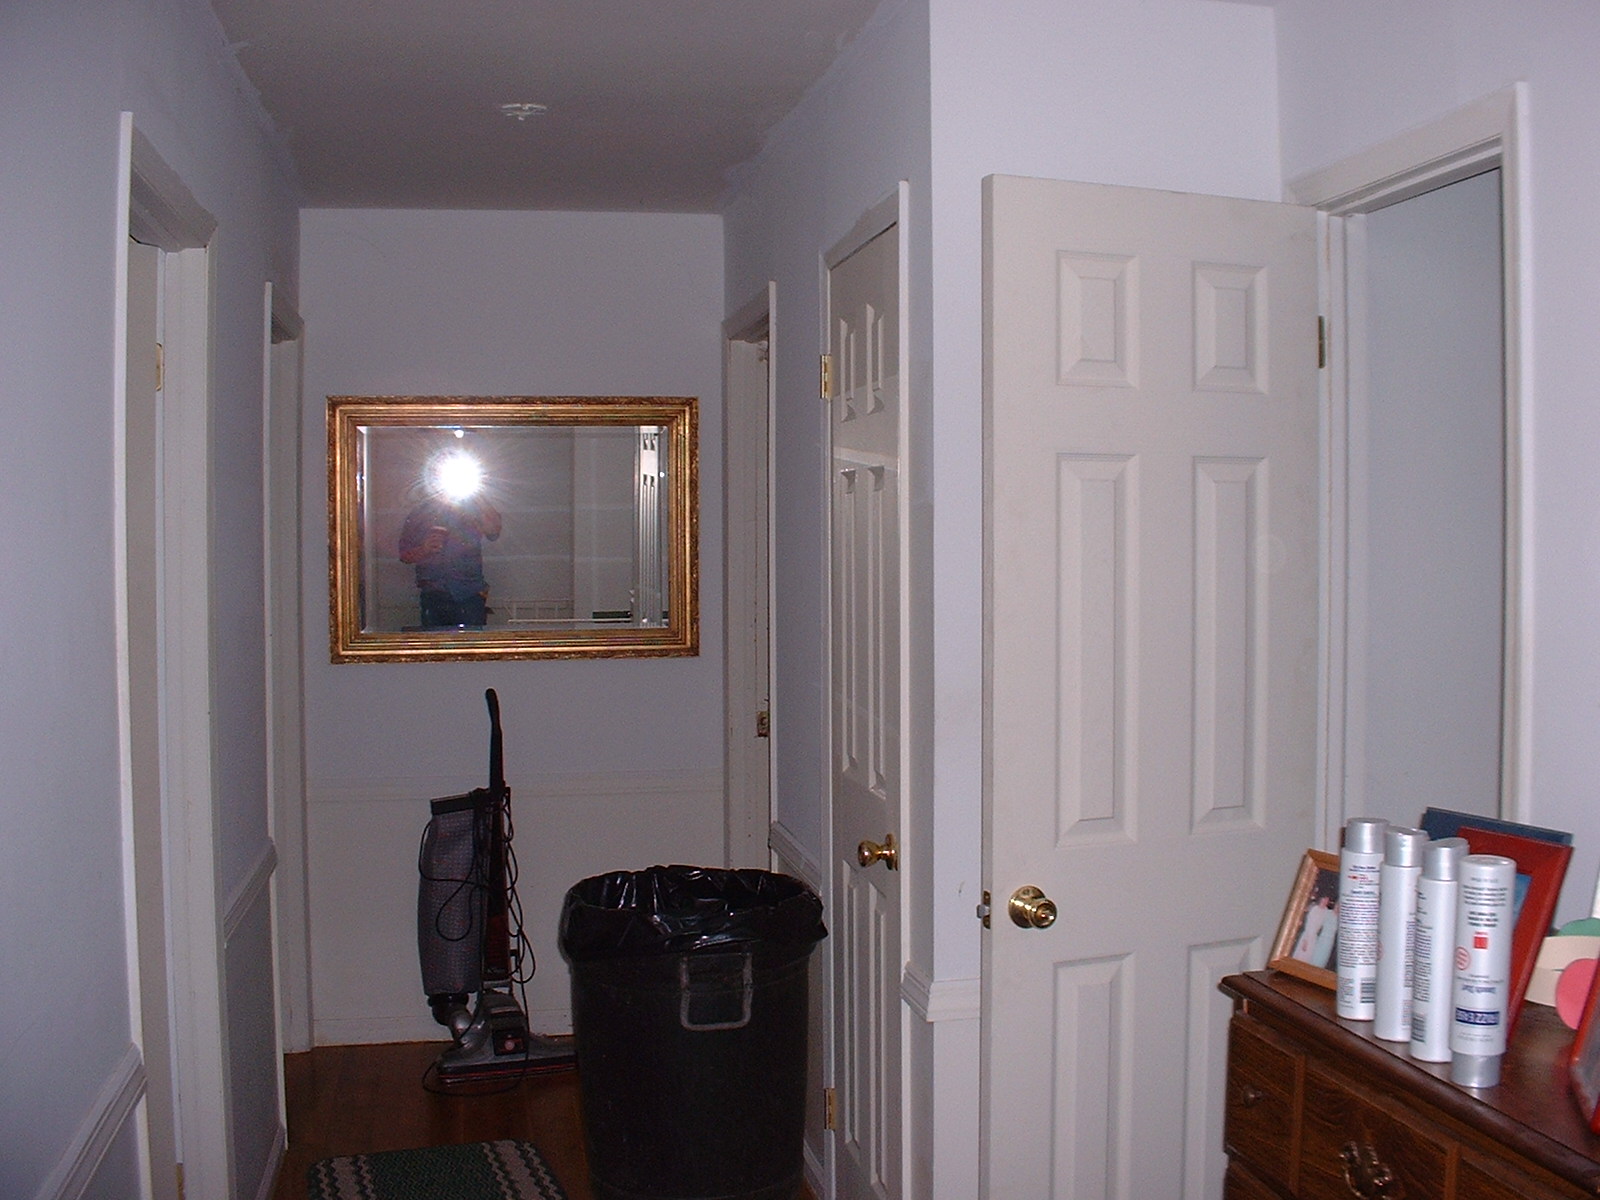
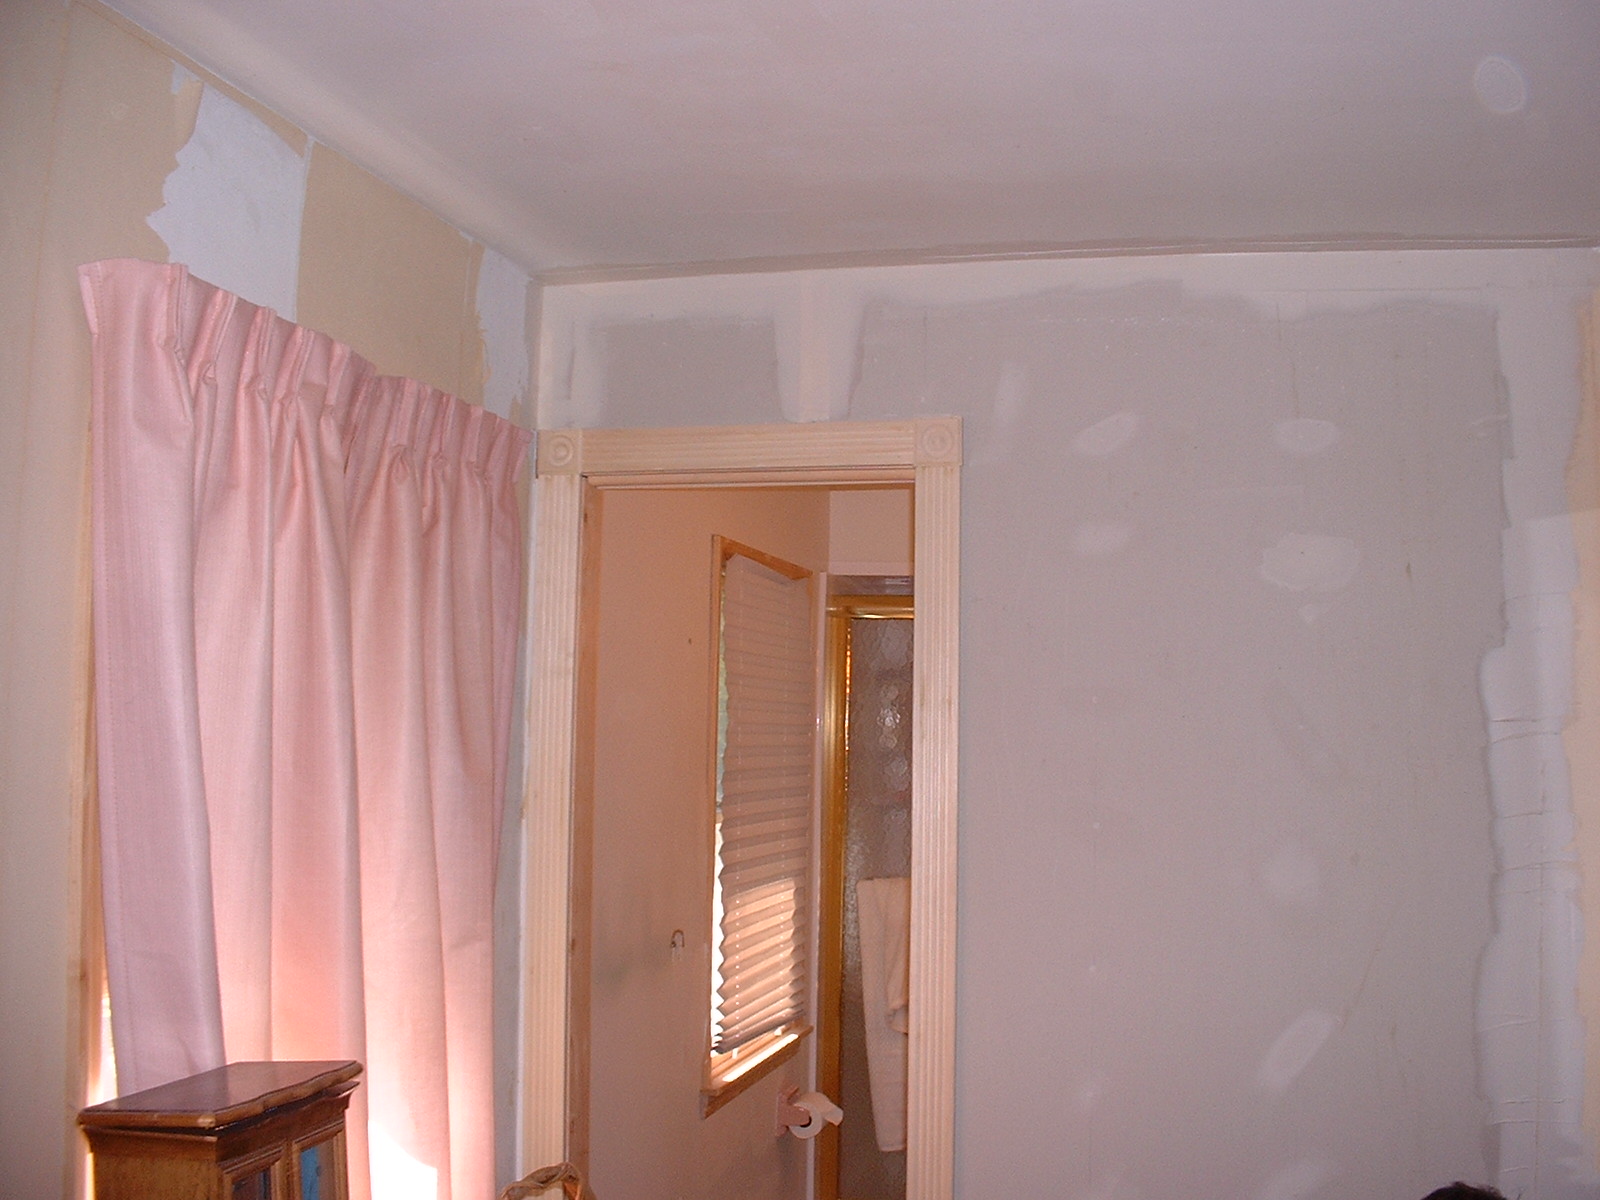
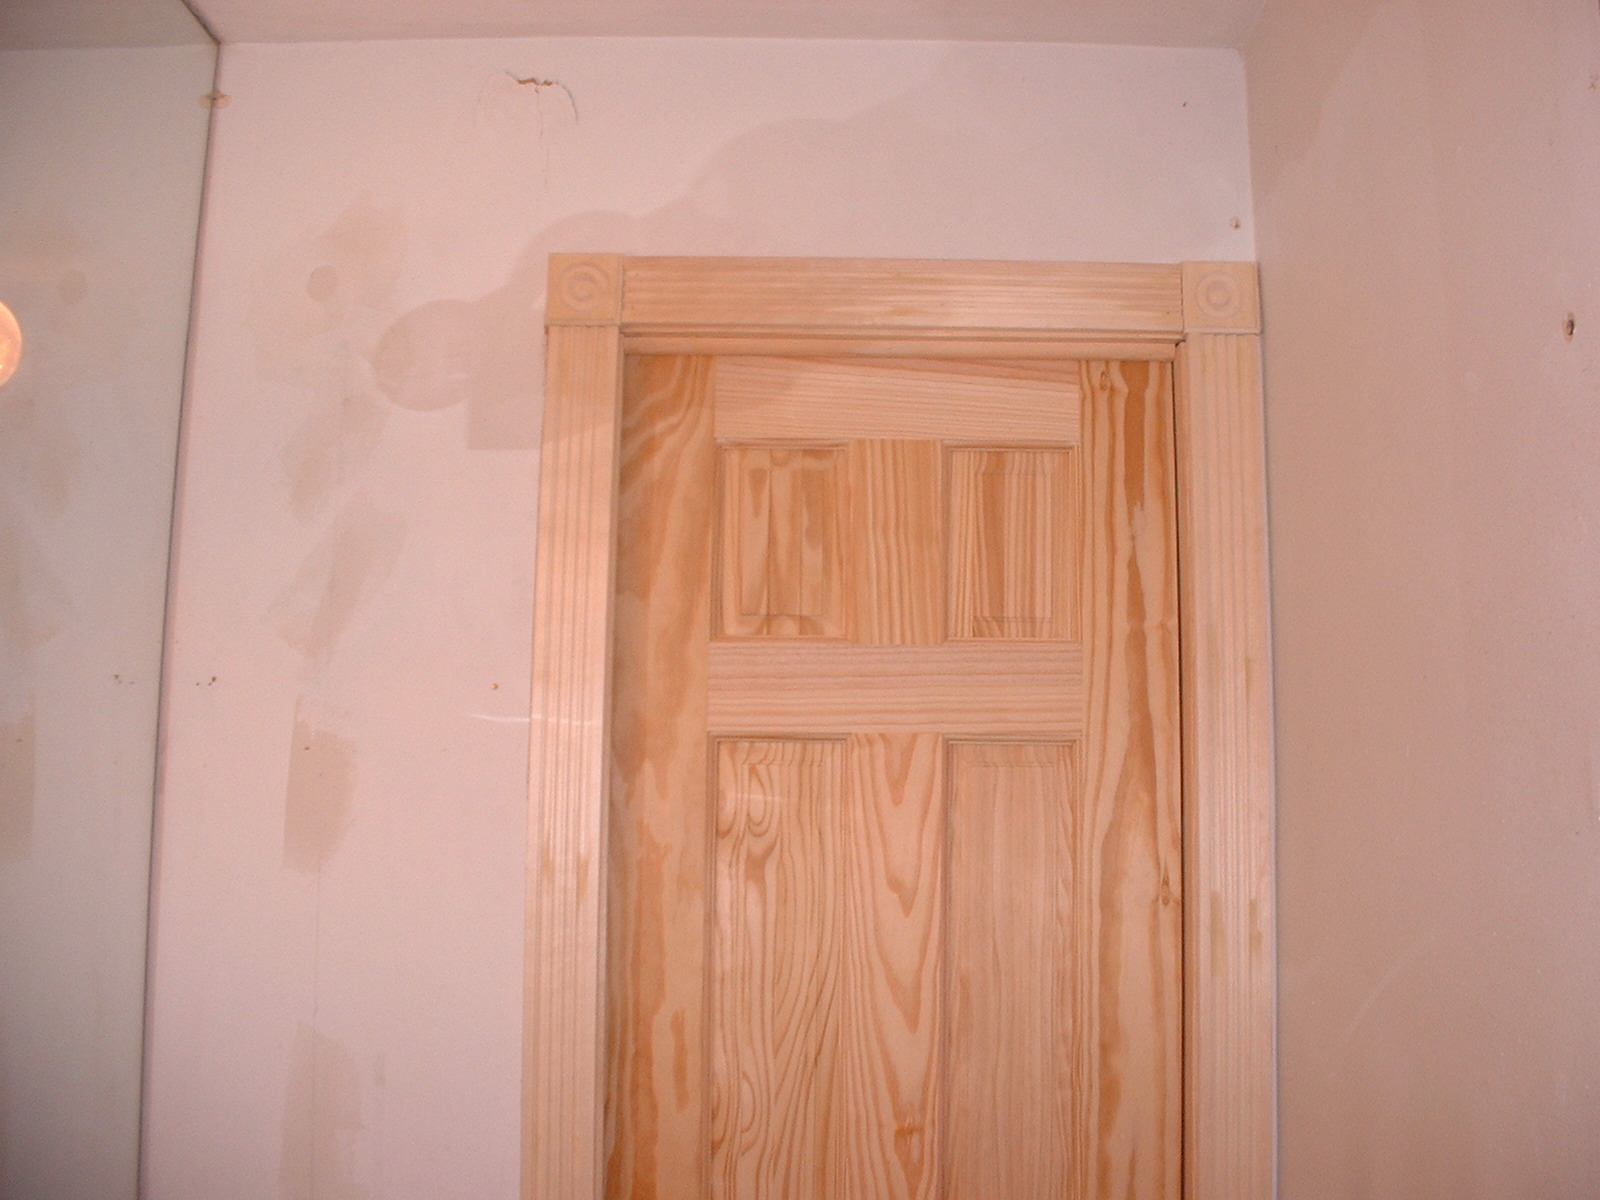
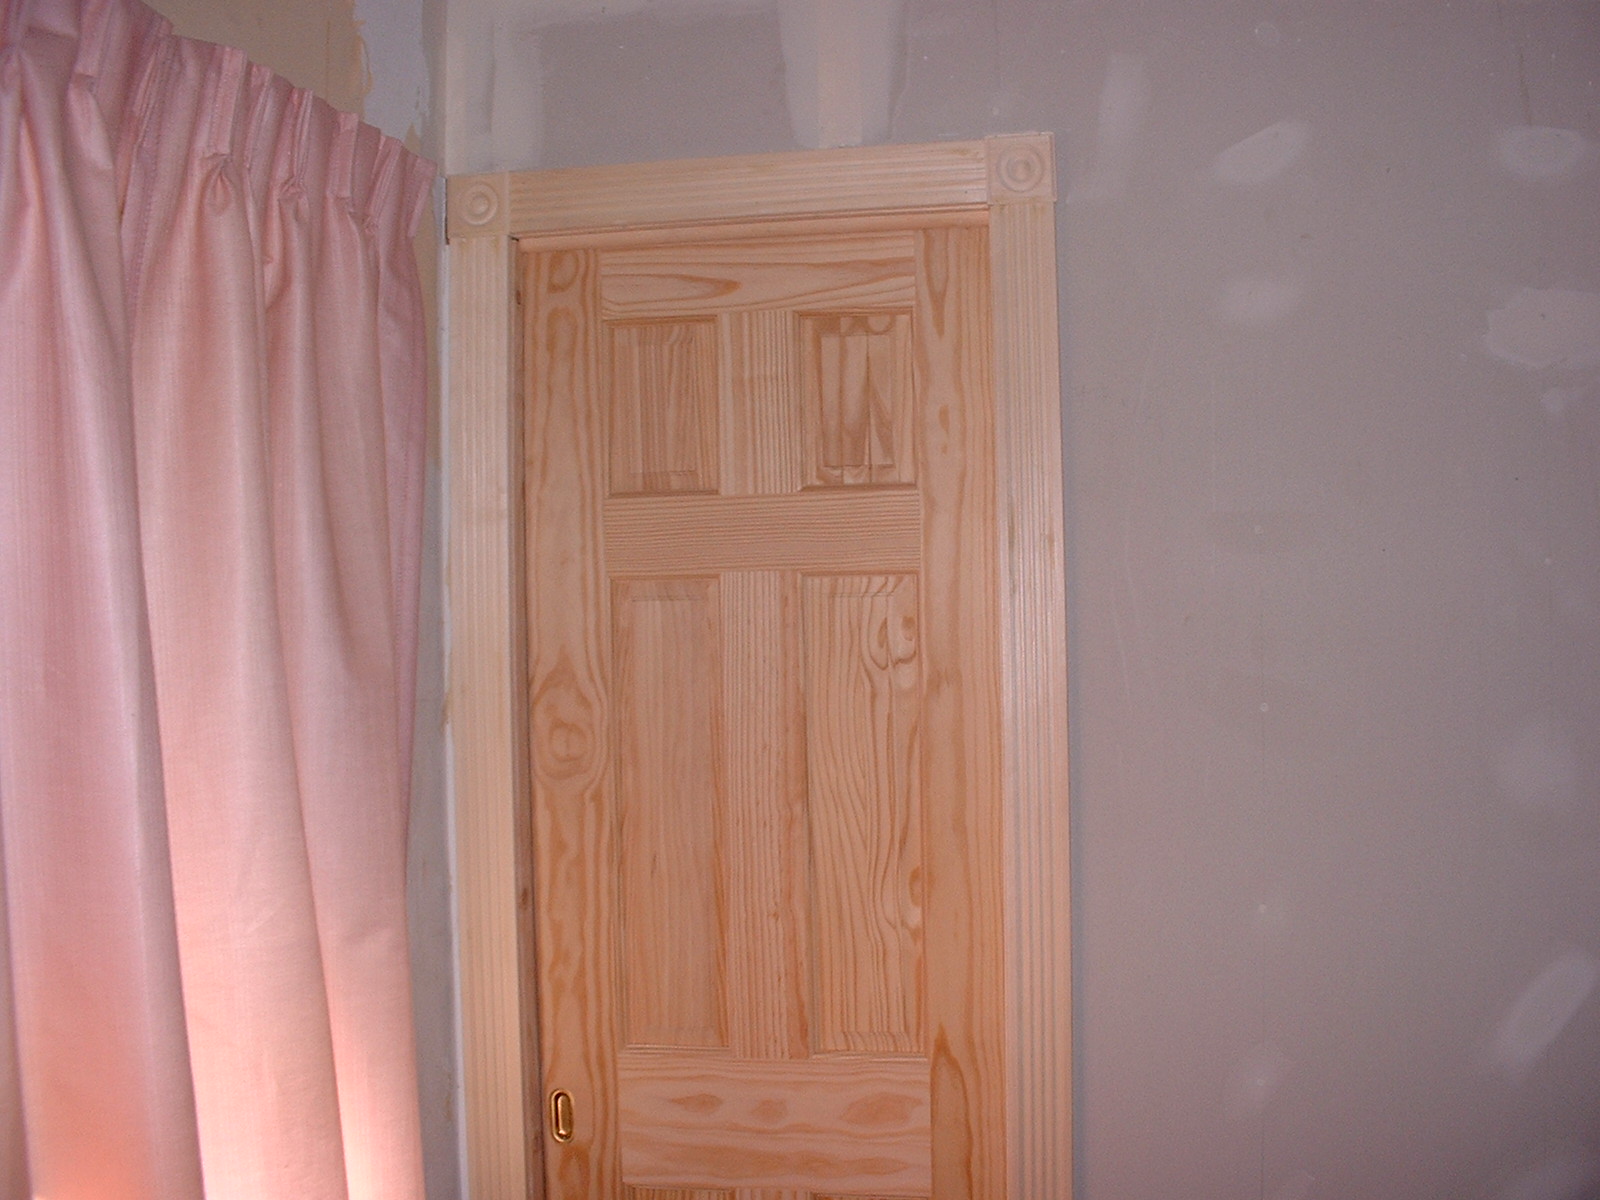
| In the pictures below, we replaced all the interior doors. On most of the doors the frame was in good shape, so we replaced the door slab, the hinges and hardware. We also installed a pocket door for the master bedroom. The bathroom was small and the old door swung into the room, creating a "skinny person only" entrance. We had to knock down part of the wall and reframe it to accomidate the pocket door. |
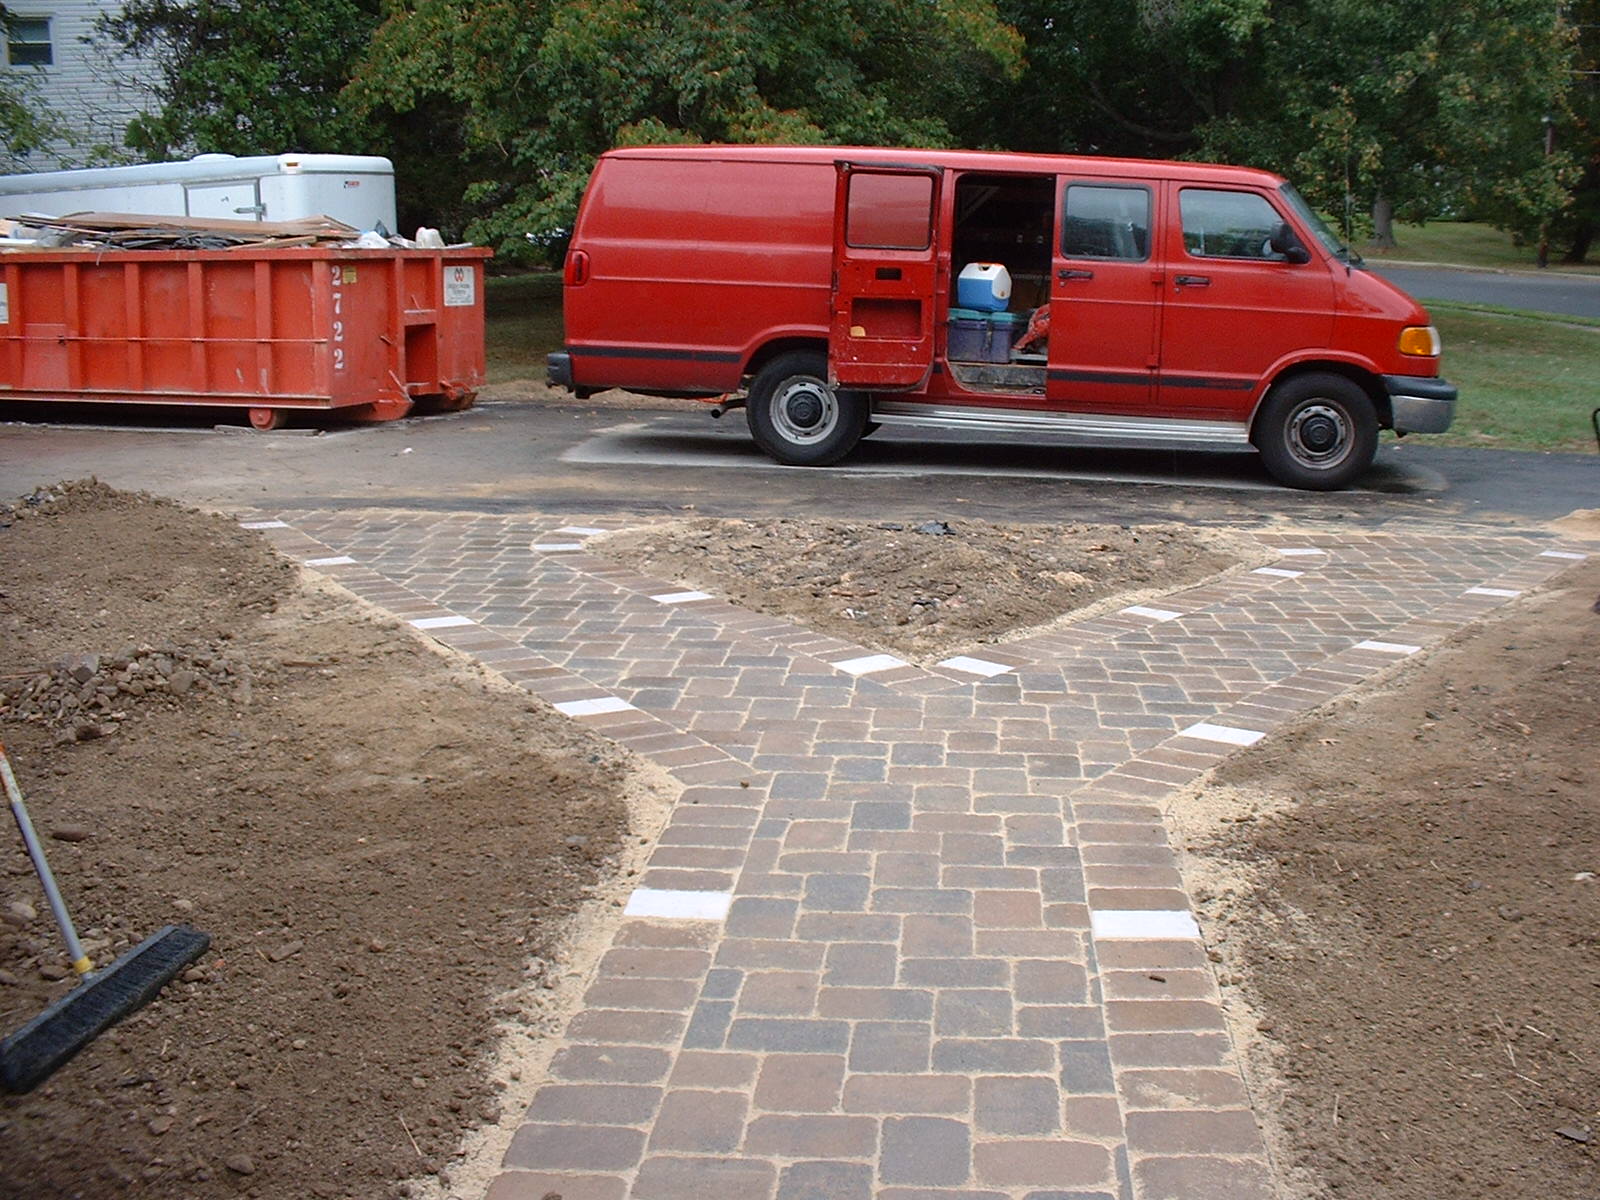
| The inside of the house is now finished. We go back outside to pour the front slab for the porch. The owners picked a colored concrete...Sombrero Buff.... The final phase of this job is to install a brick paver walkway. By now you should know the Havardansky's, They don't just want a walkway, but the kind that lights up. So we installed paver lights right into the border. I think it looks beautiful! I hope you enjoyed this page. It was really a great job to turn an ugly home(no offense Mike & Kathy) into a beautiful masterpiece. I am truly proud to have been a part of this project. See You On The Next Job!.... |


NOTE:
This page is exceptionally large with a lot of
pictures. It may take a while for the page to
completely load, but I guarantee it'll be
worth the wait.
This page is exceptionally large with a lot of
pictures. It may take a while for the page to
completely load, but I guarantee it'll be
worth the wait.


Here is a beautiful letter we received
from the Homeowners!
Click on it to see the larger version!
from the Homeowners!
Click on it to see the larger version!
